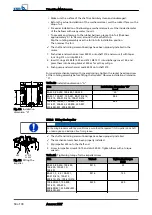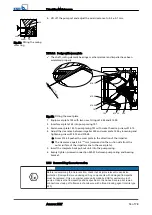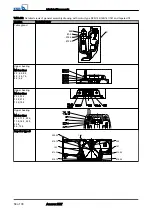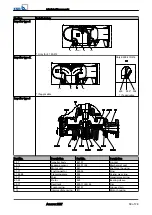
For dismantling and reassembly observe the general assembly drawing.
In the event of damage you can always contact our service staff.
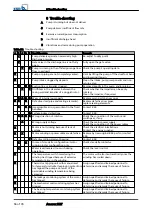
DANGER
Insufficient preparation of work on the pump (set)
Risk of personal injury!
▷
Properly shut down the pump set.
▷
Close the shut-off elements in the suction and discharge line.
▷
Drain the pump and release the pump pressure.
▷
Close any auxiliary connections.
▷
Allow the pump set to cool down to ambient temperature.
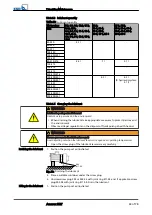
WARNING
Components with sharp edges
Risk of cutting or shearing injuries!
▷
Always use appropriate caution for installation and dismantling work.
▷
Wear work gloves.
7.4.2 Preparing the pump set
✓
The notes and steps stated in (
Section 7.4.1 Page 45) have been observed/
carried out.
1. Completely disconnect the pump set from the power supply.
2. Drain the lubricant .
3. Drain the leakage chamber and leave it open for the duration of the disassembly.
7.4.3 Dismantling the pump section
Dismantle the pump section in accordance with the relevant general assembly
drawing. (
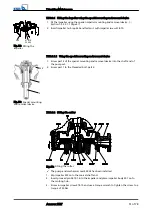
7.4.3.1 Removing the back pull-out unit
1. Unscrew screwed connection 902.01 and 920.01 and pull the complete back pull-
out unit out of pump casing 101.
2. Place the back pull-out unit in a safe and dry assembly area and secure it against
tipping over or rolling off.
7.4.3.2 Removing the impeller
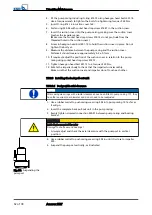
7.4.3.2.1 Removing the impeller with tapered fit
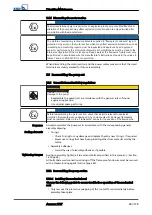
1. Unscrew socket head cap screw 914.10 with disc 550.23.
2. Completely screw the grub screw into the shaft thread.
3. Use a forcing screw to pull off impeller 230.
914.10
550.23
230
Fig. 22: Removing the
impeller
7 Servicing/Maintenance
46 of 78
Amarex KRT
Summary of Contents for Amarex KRT
Page 77: ......

