Chapter 5 Scanner
Print Controller INSTRUCTION MANUAL 5-13
■
To import scanned data
1.
Run the Application that conforms to TWAIN (Adobe PhotoShop LE).
2.
Select File - Acquire, and select [Select TWAIN_32_Source...].
3.
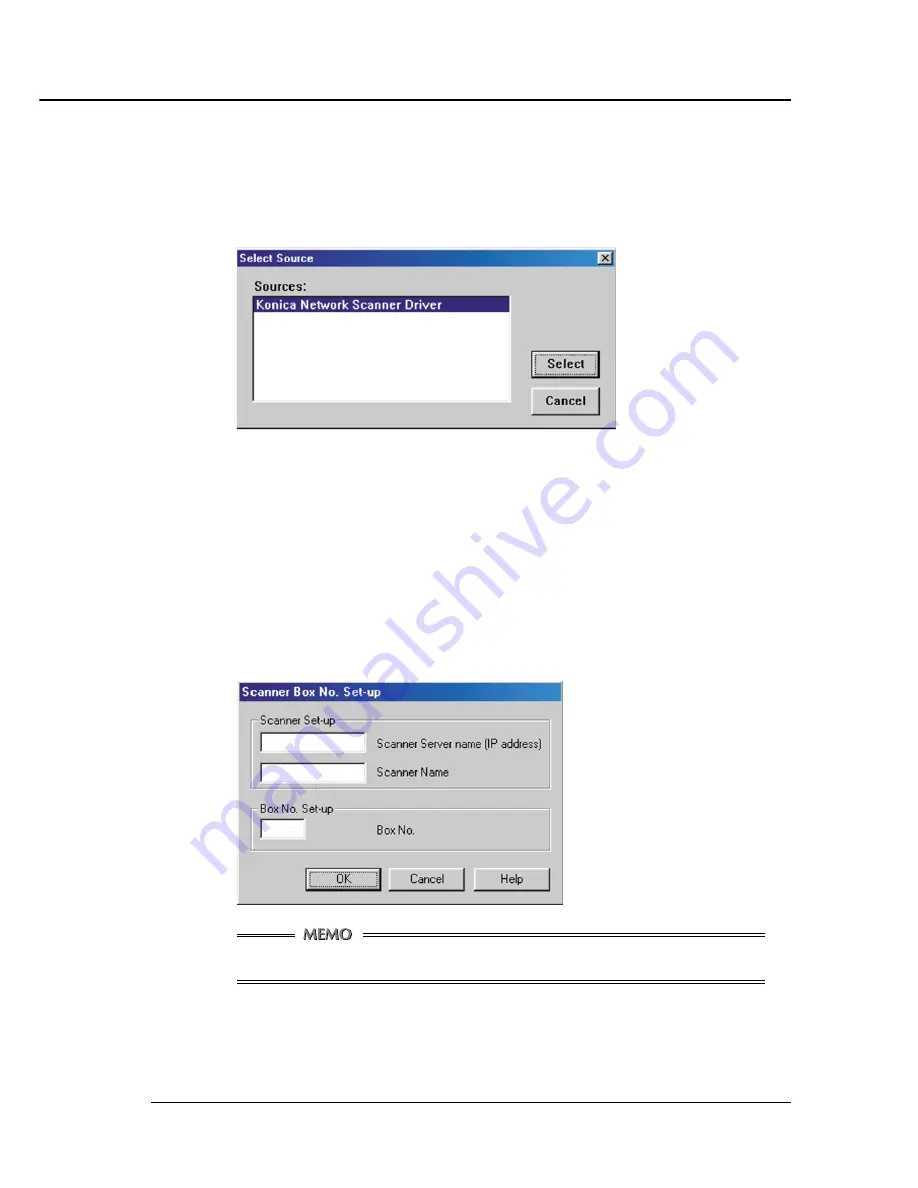
Select [Konica Network Scanner Driver] in the Select Source dialog box.
The displayed Screen varies according to the application in use.
4.
Click the [Select] button.
5.
Select File - Acquire [TWAIN_32_Source...].
6.
In the Scanner Box No. Set-up dialog box, enter the server name (IP address) of the
scanner you want to connect to, the scanner name the driver to identify the scanner,
and the box number you entered when scanning the document. Then click [OK].
Once the Scanner setting has been set, this dialog box is not displayed the next time you perform a
scanning task. To displayed this dialog and use another scanner, click [Scanner Selection] button on
the Konica Network Scanner Driver’s Main Screen. Then click [Add] button on the Scanner Box No.
Set-up dialog box.
Neither the DNS nor the NetBIOS names can be used as a Scanner Server name.


