2.
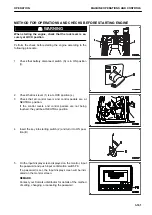
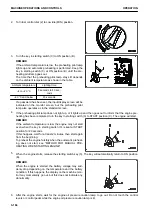
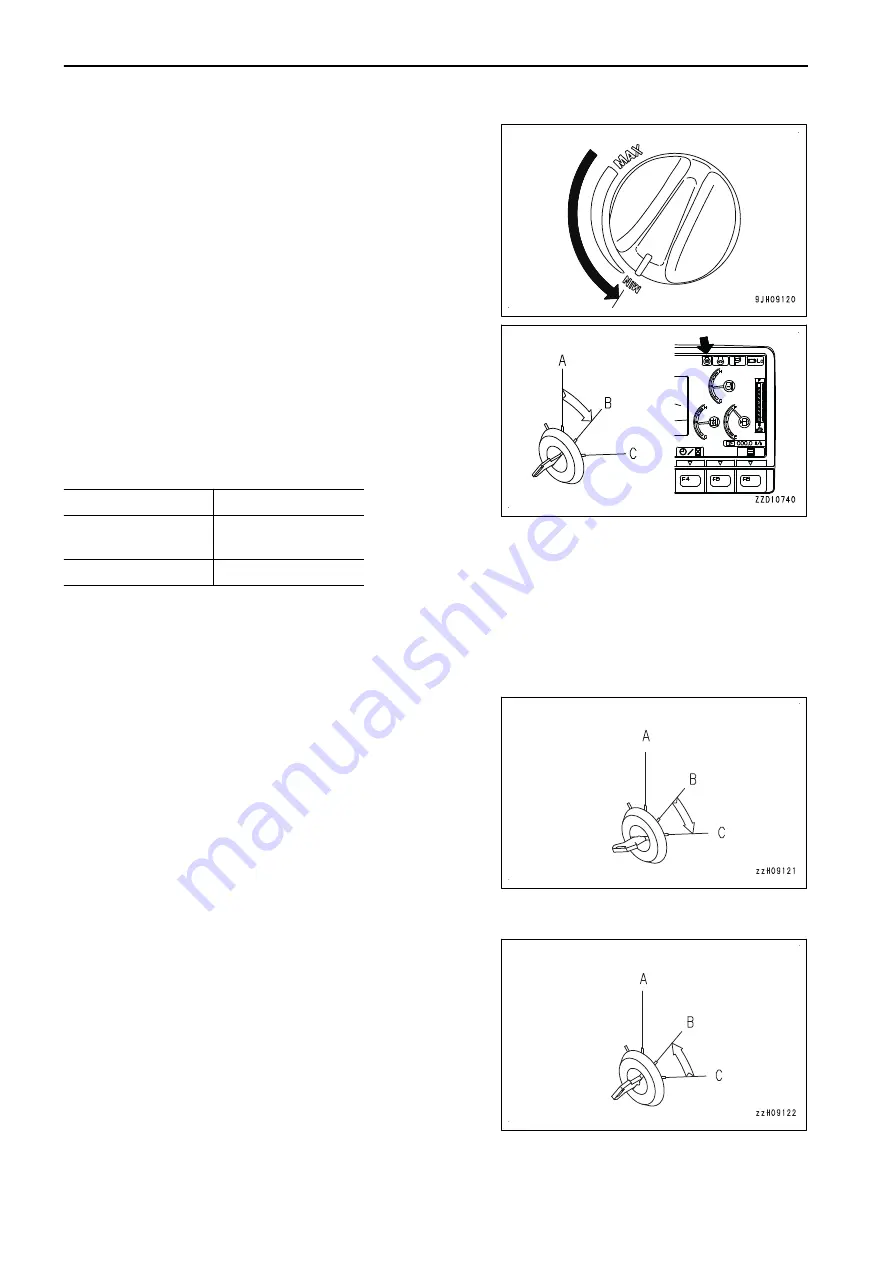
Turn fuel control dial (2) to Low idle (MIN) position.
3.
Turn the key in starting switch (3) to ON position (B).
REMARK
If the ambient temperature is low, the preheating pilot lamp
lights up and automatic preheating is performed. Keep the
key in starting switch (3) at ON position (B) until the pre-
heating pilot lamp goes out.
The time that the preheating pilot lamp stays lit depends
on the ambient temperature as shown in the table.
Ambient temperature
Lighting time
–4 to –20 °C
5 seconds to 40 sec-
onds
–20 °C and below
40 seconds
If a password has been set, the input display screen will be
indicated on the monitor screen, but the preheating pilot
lamp also operates as in the standard screen.
4.
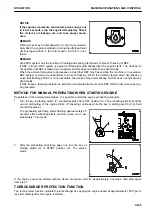
If the preheating pilot lamp does not light up, or it lights up and then goes out to inform that the engine pre-
heating has been completed, turn the key in starting switch (3) to START position (C). The engine will start.
REMARK
If the ambient temperature is low, the engine may not start
even when the key in starting switch (3) is kept at START
position for 20 seconds.
If this happens, wait for at least 2 minutes, then start again
from the beginning.
To preheat the engine forcibly when the automatic preheat-
ing does not start, see “METHOD FOR MANUAL PRE-
HEATING WHEN STARTING ENGINE”.
5.
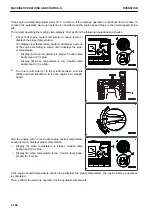
When the engine starts, release the starting switch key (3). The key will automatically return to ON position
(B).
REMARK
When the engine is started, the battery voltage may sud-
denly drop depending on the temperature and the battery
condition. If this happens, the display on the machine mon-
itor may momentarily go out, but this does not indicate any
abnormality.
6.
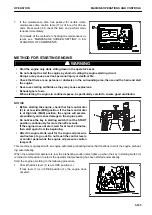
After the engine starts, wait for the engine oil pressure caution lamp to go out. Do not touch the control
levers or control pedal while the engine oil pressure caution lamp is lit.
MACHINE OPERATIONS AND CONTROLS
OPERATION
3-164
Summary of Contents for PC700LC-11
Page 2: ......
Page 23: ...LOCATION OF SAFETY LABELS 5 SAFETY SAFETY LABELS 2 3...
Page 66: ......
Page 316: ......
Page 396: ......
Page 397: ...SPECIFICATIONS 5 1...
Page 401: ...For 7 6m Boom SPECIFICATIONS SPECIFICATIONS 5 5...
Page 402: ...SPECIFICATIONS SPECIFICATIONS 5 6...
Page 426: ......
Page 427: ...REPLACEMENT PARTS 7 1...
Page 434: ......


