123
3. Go to
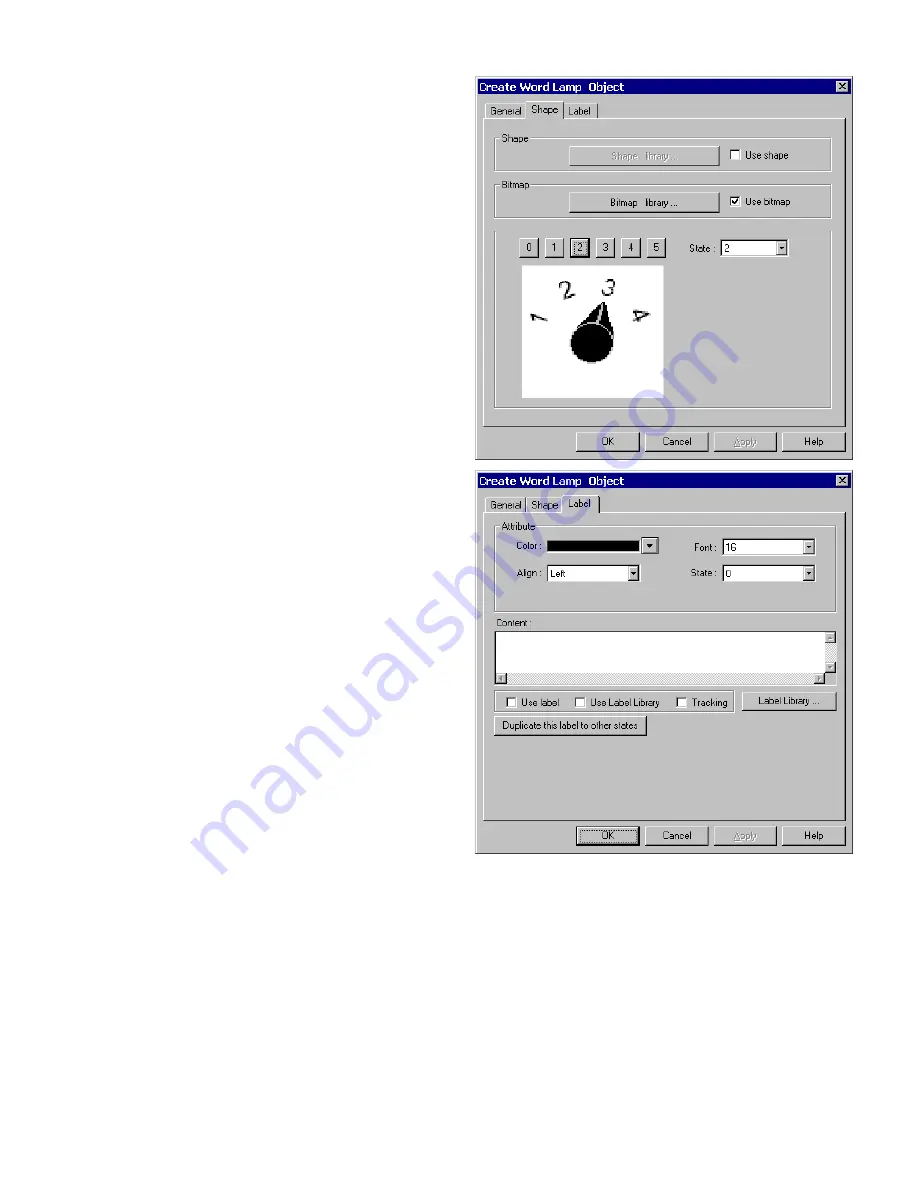
Shape
Tab: Select
Use shape
and/or
Use
bitmap
. Click
Shape library
or
Bitmap library
to display
the library for choosing the Shape or Bitmap to display the
word states.
Note:
If the Shape or Bitmap only has one state, the
lamp seems to disappear when the Word Lamp
changes from that state.
Note:
When both Shape and Bitmap are selected,
the Shape always over writes the Bitmap graphic.
Use the State select buttons or State dropdown to view the
shape/bitmap in various states.
4. Go to
Label
Tab: Fill in text to denote each state.
Note:
Refer to Bit Lamp procedure for more details on
filling out the Label tab.
5. Click
OK
to place the Word Lamp on the window.
Position the Word Lamp and resize it if necessary. Adjust
the label positions as desired.
Note:
Refer to Section 2: Software Reference Guide, Part
Placement for details about completing each tab item.
Word Lamp Design Tips:
1. Use the Word Lamp as a Mini-Message Center. The Read address becomes the message triggering word. The number
of messages is the number of states (1-32). Select an appropriate shape for the background. In the Label tab, enter a
message for each state. To call up a message, just put its state number in the Read address word.
2. The word lamp can also be used to create traffic lights, stack pole lights and other multi-colored indicators.
3. Create animation by saving sequential bitmaps of a process to a bitmap library. Put a Periodical JOG++ Set Word part
on the same window to animate the Word Lamp part.
Summary of Contents for MMI-1500
Page 2: ...ii...


