5
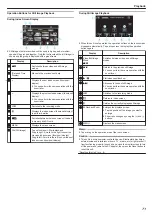
Tap “EXECUTE”.
.
EXECUTE
PREPARE AN EMPTY DISC
BD:1
REQUIRED DISC SPACE
ALL SCENES
0
The number of discs required to copy the files is displayed.
Prepare the discs accordingly.
6
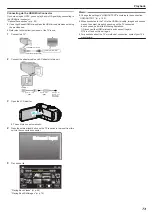
Tap “AUTO” or “BY DATE”. (
A
mode only)
.
BY DATE
AUTO
SELECT THE SORT METHOD
ON THE TOP MENU
CREATE HEADLINES
ALL SCENES
0
When “AUTO” is selected, videos with similar recording dates are
displayed in groups.
0
When “BY DATE” is selected, videos are displayed according to
recording dates.
7
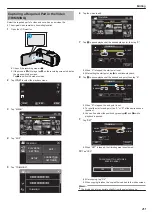
Tap “EXECUTE”.
.
STOP
EXECUTE
BD:1
REMAINING
ALL SCENES
0
When “INSERT THE NEXT DISC TO CREATE OR PRESS STOP TO
EXIT” appears, change the disc.
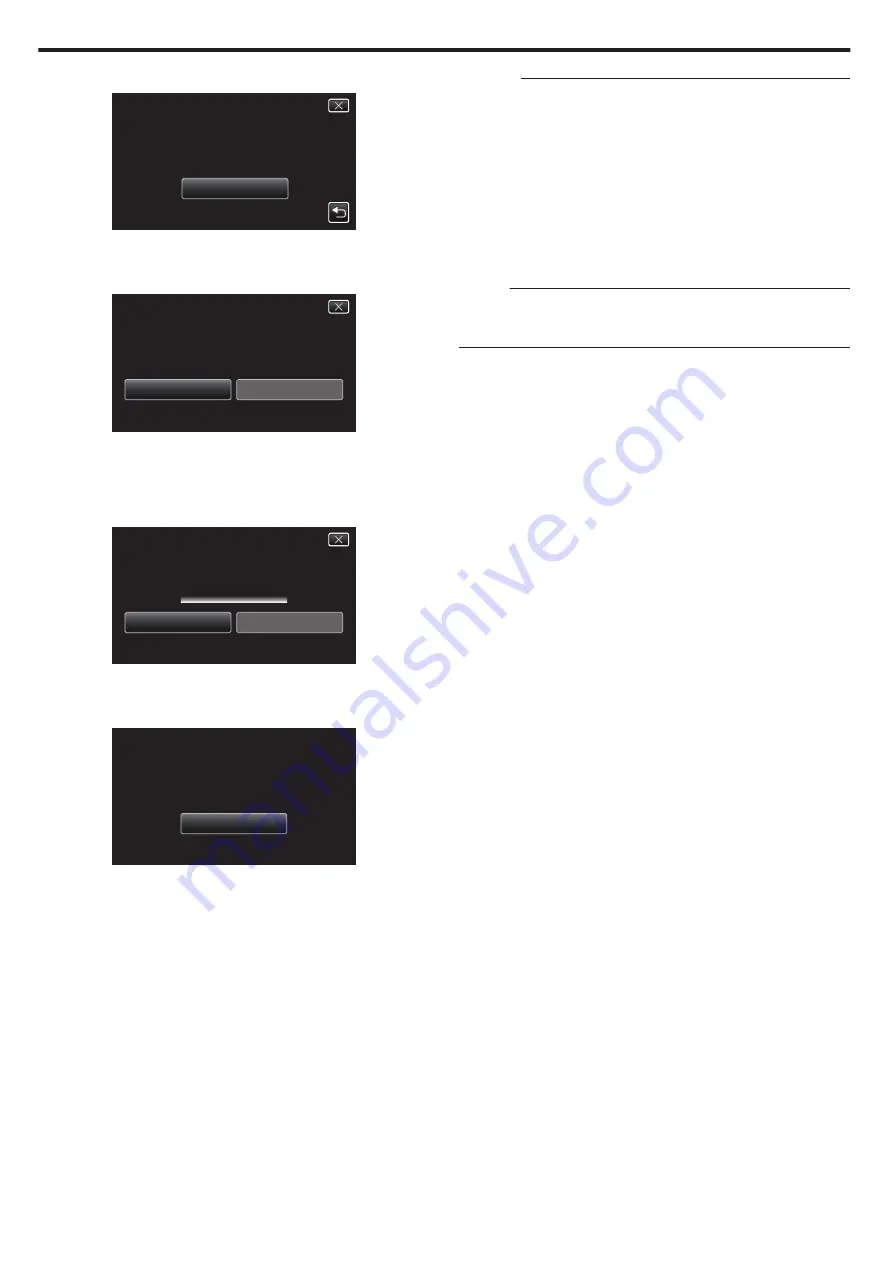
8
Tap “OK” when “COMPLETED” is displayed.
.
OK
COMPLETED
ALL SCENES
9
Close the LCD monitor of this unit to turn off this unit and disconnect the
USB cable.
Caution :
0
If you copy many images at once, it may not be possible to create the disc
halfway through the process. If the volume of the image data is large, copy
the data in several times.
0
Do not turn off the power or remove the USB cable until copying is
complete.
0
Files that are not on the index screen during playback cannot be copied.
Special files cannot be copied either.
0
If the created BD-R/BD-RE is played back on a Blu-ray recorder, your Blu-
ray recorder may disable additional recording on the BD-R/BD-RE. In this
case, files cannot be added to the disc.
0
If you stop the process of creating the disc at the screen for creating disc,
the disc in use for writing cannot be used again.
Memo :
0
To check the created disc, refer to ““Playing Back with a BD Writer
p. 87) ”.
“Playing Back with a BD Writer (External Blu-ray Drive)” (
Copying
84


