USER’S MANUAL
31
MENU SETUP
③
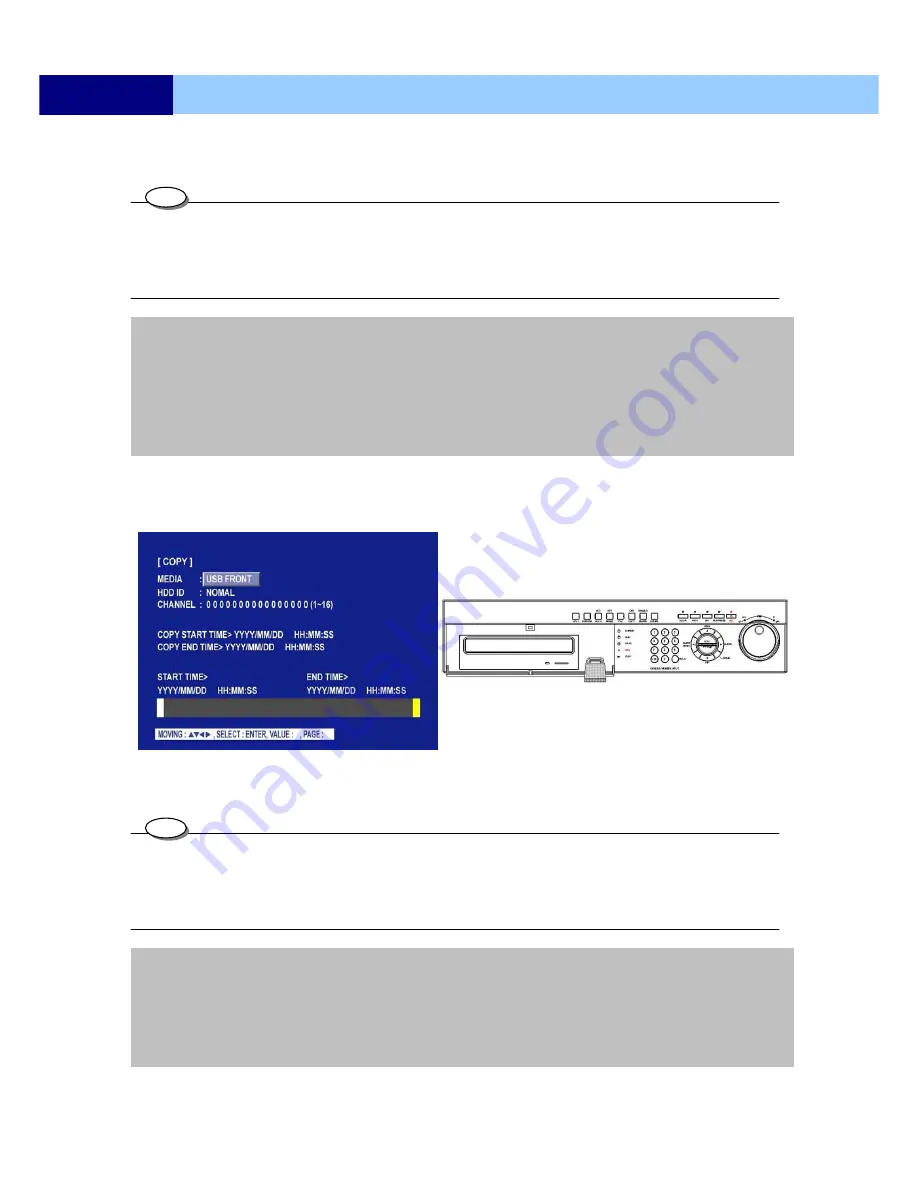
Select the desired MEDIA, HDD, CHANNEL, TIME, and press the ENTER button to copy.
④
Press COPY button to stop the copy, refer to P32.
•
Scroll bar:
- Turn the shuttle ring to the right to move the cursor of COPY END TIME or to the left to move the cursor of COPY START
TIME and the cursor will be yellow. And then turn the Jog dial to move the cursor to the desired time.
- It can operate with just Mouse click.
- You can see a password input message. You need this password when opening the file in network viewer.
5.2.10.1-2 COPY TO USB flash memory
①
Connect the USB flash memory to DVR first.
②
Enter the
COPY SEARCH
menu.
③
Select the desired MEDIA, HDD, CHANNEL, TIME, and press the ENTER button to copy.
④
Press COPY button to stop the copy, refer to P32.
•
Scroll bar:
- Turn the shuttle ring to the right to move the cursor of COPY END TIME or to the left to move the cursor of COPY START
TIME and the cursor will be yellow. And then turn the Jog dial to move the cursor to the desired time.
- It can operate with just Mouse click.
- You can see a password input message. You need this password when opening the file in network viewer.
NOTE:
- You can see a password input message. You need this password when opening the file in the network
viewer.
- When the copy is in process, the copying status(ex. “COPY 30%”) will be displayed on the right side of
the monitor.
- You can search and playback the copied images in HDD with DVR itself (Please refer to 5.2.4.6 FILE
SEARCH,P24).
- Please format the DVR before use.
TIPS
NOTE:
-You can see a password input message. You need this password when opening the file in network viewer.
- When the copy is in process, the copying status(ex. “COPY 30%”) will be displayed on the right side of
the monitor.
- You can search and playback the copied images in HDD with DVR itself (Please refer to 5.2.4.6 FILE
SEARCH, P24)
- Please format the DVR before use.
TIPS


