10
Installation
4
|
Confirm i-Pilot Link Connection on the Humminbird Control Head
After connecting the i-Pilot Link to the Humminbird control head, it is important to confirm the connection. All equipment should
be connected and powered before you turn on the SOLIX, ONIX, or ION.
NOTE:
If i-Pilot Link is connected during navigation, a message will display on-screen and navigation will be canceled.
Power On
1. Turn on the power source and i-Pilot Link equipment.
2. Press the POWER key on the SOLIX, ONIX, or ION.
3. Select
Start Normal Mode
. When the first view is displayed on the screen, the control head is ready for operation.
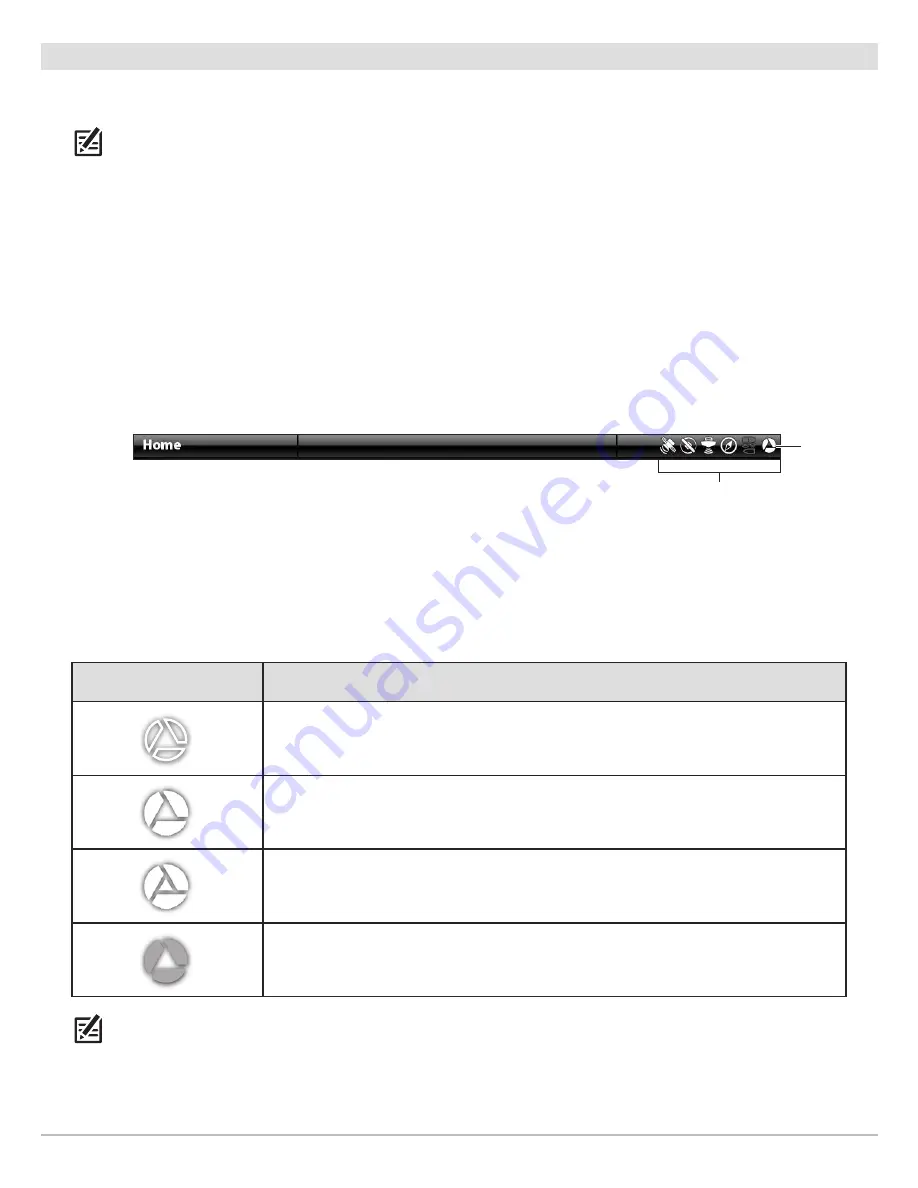
Check the System Status Bar
You can confirm i-Pilot Link connection by checking the system status bar. Each accessory connected to the Humminbird control
head is represented by a status icon in the system status bar.
1. Press the HOME key.
2. Review the top, right corner of the status bar.
Confirm the i-Pilot is shown as Connected and Detected.
It may take up to one minute for the i-Pilot to be detected.
Unconnected:
If the i-Pilot icon is not shown in the status bar, check the cable and power connections to confirm they are
secure and powered on. Review the installation guide that was included with your i-Pilot Link to confirm it is installed correctly.
NOTE:
For additional system information, select Home > Settings > Network > System Info.
i-Pilot Link Status Icon
Icon Description
Connected and Detected:
i-Pilot Link is connected and detected on the network.
Detected and Enabled:
i-Pilot Link is connected to the network, enabled, and ready to be
used for navigation or currently being used in manual mode (prop on, but not navigating).
Detected, Enabled, and Actively Navigating:
i-Pilot Link is connected to the network,
enabled, and actively navigating.
Connected, but not Detected or Active:
i-Pilot Link is connected, but not detected on
the network or enabled.
system status bar
Status Bar (top of the screen) (ONIX, ION)
i-Pilot Link
status icon


