Chapter 2
59
System Board
Devices on the SMBus
The LCD Menu
To access the LCD main menu, press one of the LCD keys. This menu is composed of
several menu items which are displayed two at a time on the LCD screen. The following
menus are available:
• System Info. Obtains information from the BIOS and the system’s Serial EEPROM
from a previously successful boot. This information includes: product name, BIOS
version, serial number, the number of processors and speed, size of memory for each
DIMM socket.
The BIOS logs information in the serial EEPROM with SYSINFO.COM at the end of
the boot.
• Boot Steps. Shows the Power-On Self-Test (POST) codes during the system start-up.
The POST code is provided by the BIOS and is displayed on the LCD panel as soon as it
is available. If the system stops during the
start-up, the last successful boot step POST code is displayed on the LCD.
• Diagnostics. Runs a set of diagnostics assessing the system’s components (CPU
presence, CPU power errors, power supply, clocks, and DIMM presence). To view the
test results for each system component, press
button. If no errors are detected, a
screen will display a smiling face. If an error is detected, an error screen appears
indicating the problem.
Using MaxiLife When the Computer Is Powered Off
NOTE
MaxiLife is powered by VSTBY. This means that it is functional as soon as
the power cord is plugged in. For MaxiLife to work correctly, the Personal
Workstation must always be connected to a grounded outlet.
Even if the computer is powered off (the LCD status panel will be blank), MaxiLife is still
running and monitoring the state of the LCD buttons. From this state, the diagnostics
program can be run by pressing one of these buttons. When the
Power
on
option is
selected, the main power supply is started, enabling the hardware monitoring chip to
access the status of the computer’s components. Although the main power supply has been
started, the computer does not continue to complete a normal boot.
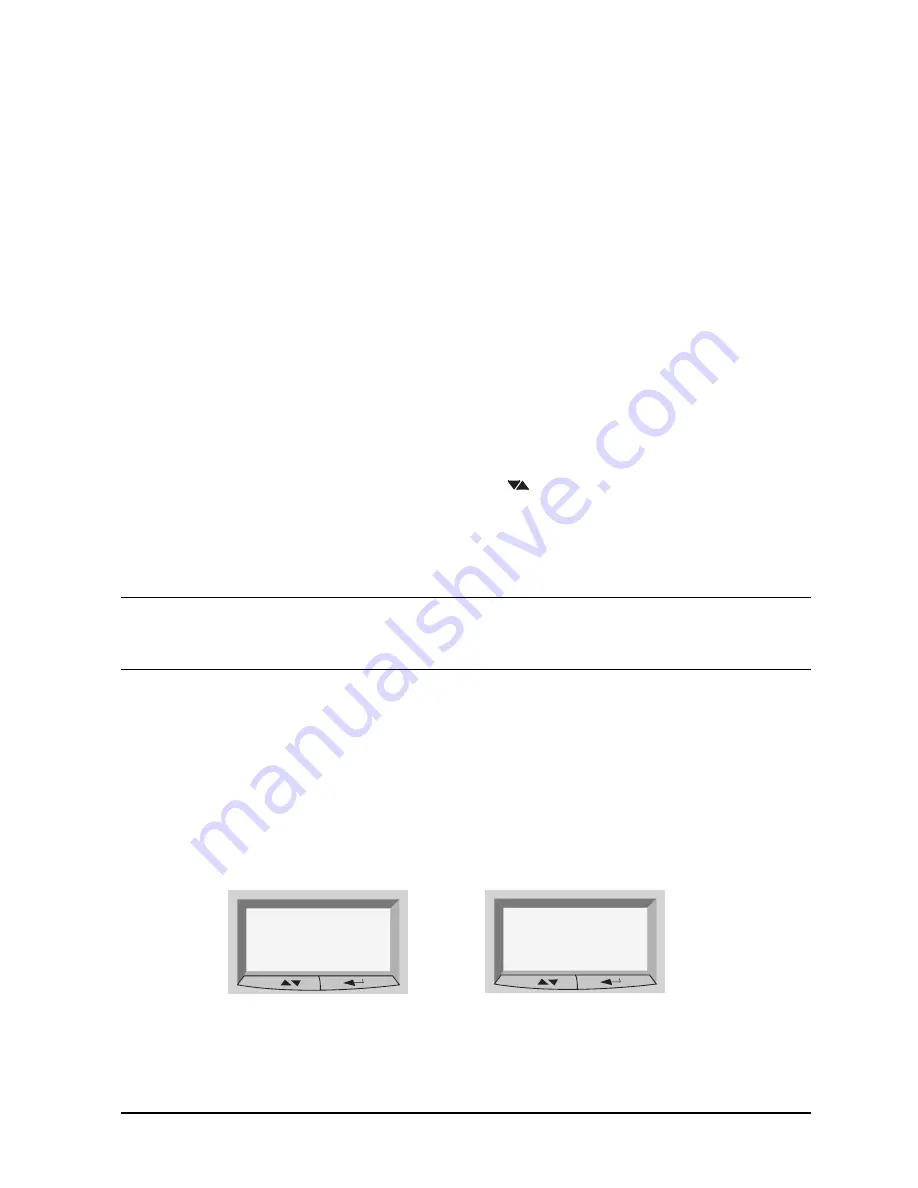
The system components are tested in sequence (press the Next button to move on to the
following test). When the diagnostics tests are complete, one of the following screens will
be displayed:
Diagnostics:
Done OK
Exit
Diagnostics:
Done FAIL
Exit
Summary of Contents for X Class 500/550MHz
Page 6: ...6 Contents ...
Page 8: ...8 Figures ...
Page 15: ...15 1 System Overview ...
Page 66: ...66 Chapter2 System Board Devices on the ISA Bus ...
Page 96: ...96 Chapter3 Interface Boards and Mass Storage Drivers Connectors and Sockets ...
Page 134: ...134 Chapter5 Tests and Error Messages Beep Codes ...
Page 135: ...135 A Regulatory Information and Warranty ...
Page 146: ...146 AppendixA Regulatory Information and Warranty HP Hardware Warranty ...


