Rev. 1.02
5
900.0679
22-June-2006
SECTION 2:
HD6 SCAN INSTALLATION
2.1 OVERVIEW
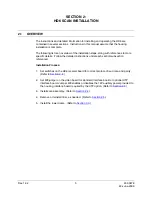
The instructions and detailed information for installing and operating the HD6 are
contained in several sections. Instructions in this manual assume that the housing
installation is complete.
The following list is an overview of the installation steps, along with references to more
specific details. Follow the detailed instructions under each section/subsection
referenced.
Installation Process:
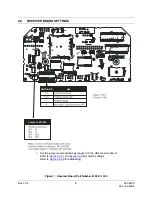
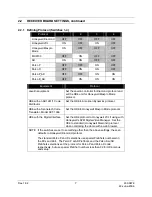
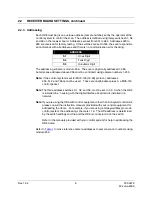
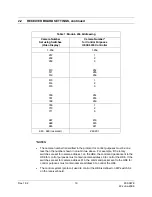
1. Set switches on the HD6 receiver board for correct protocol, baud rate, and parity.
(Refer to
Section 2.2
.)
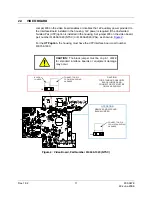
2. Set W8 jumper on the video board for standard interface board or optional UTP
interface board. Jumper W8 enables or disables the 12V auxiliary power provided to
the housing interface board required by the UTP option. (Refer to
Section 2.3
.)
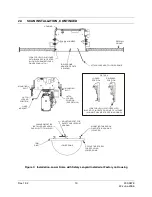
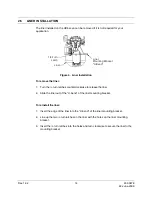
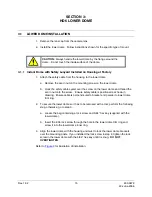
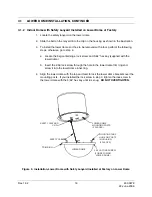
3. Install scan assembly. (Refer to
Section 2.4
.)
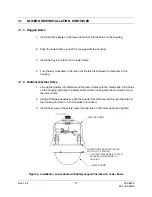
4. Remove or reinstall liner, as needed. (Refer to
Section 2.5
.)
5.
Install the lower dome. (Refer to
Section 3.0
.)
Summary of Contents for HD6 Series
Page 1: ...HD6 Series PTZ Camera in a Dome User Manual 900 0679 June 2006 Rev 1 02 ...
Page 4: ...Rev 1 02 iv 900 0679 22 June 2006 ...
Page 18: ...Rev 1 02 4 900 0679 22 June 2006 Notes ...
Page 32: ...Rev 1 02 18 900 0679 22 June 2006 Notes ...
Page 38: ...Rev 1 02 24 900 0679 22 June 2006 Notes ...
Page 96: ...Rev 1 02 82 900 0679 22 June 2006 Notes ...
Page 122: ...Rev 1 02 108 900 0679 22 June 2006 Notes ...
Page 130: ...Rev 1 02 116 900 0679 22 June 2006 Notes ...
Page 134: ...Rev 1 02 120 900 0679 22 June 2006 Notes ...
Page 143: ...14 9 HD6 SCAN CONTINUED Rev 1 02 129 900 0679 22 June 2006 ...
Page 148: ...Rev 1 02 134 900 0679 22 June 2006 Notes ...
Page 149: ...Rev 1 02 135 900 0679 22 June 2006 Notes ...
Page 150: ...Rev 1 02 136 900 0679 22 June 2006 Notes ...

