


CGW-MB Installation and Users’ Manual | P/N:LS10248-000HW-E | REV.G | JUL/31/2022
34
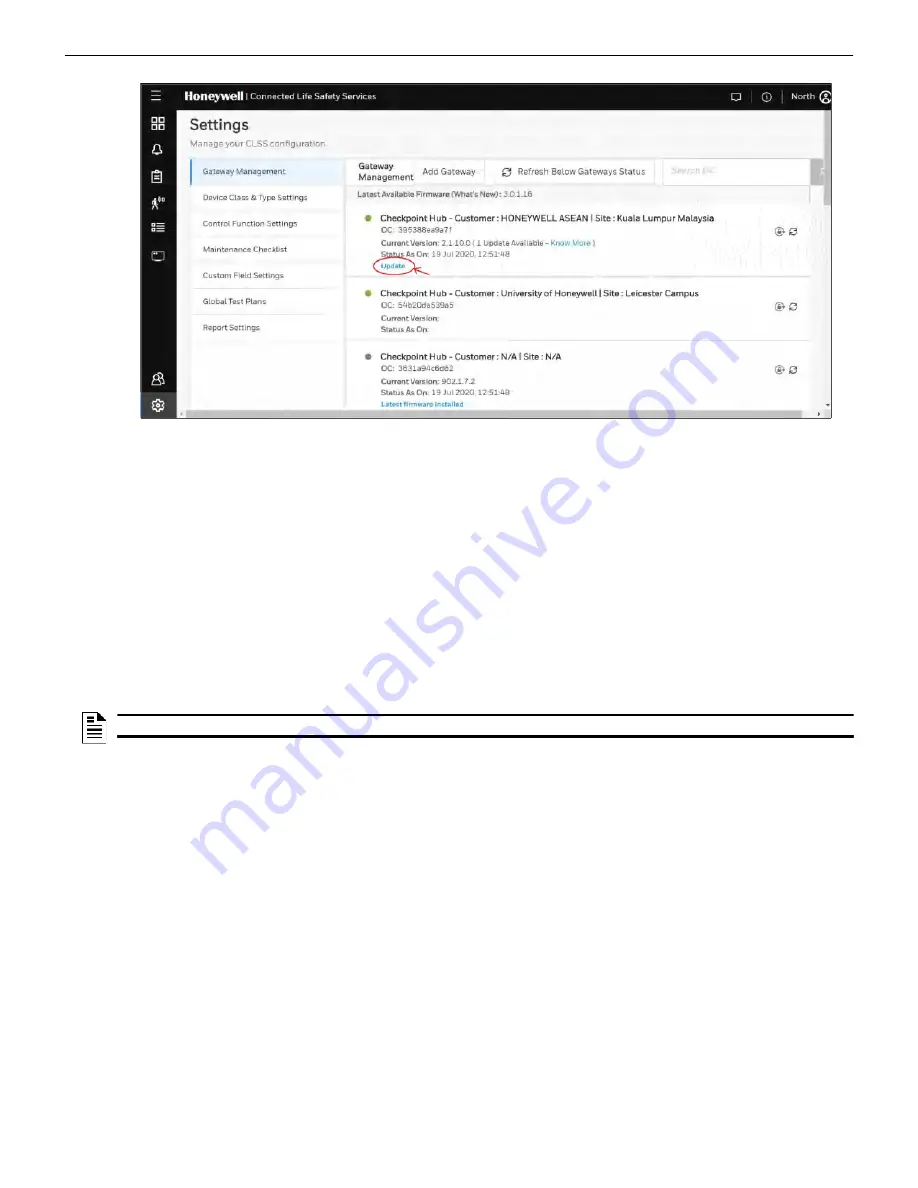
Upgrading the CLSS Gateway mainboard Firmware
Post-Installation Activities
Figure 6.1: Firmware Upgrade
6.1.3 To Locally Upgrade with a PC
1. On the CLSS Gateway mainboard side, connect an Ethernet cable to the Ethernet port
(J3). The port is labeled as 2 in
.
2. On the configuration computer side, connect the Ethernet cable to the configuration
computer’s Ethernet port.
3. On the CLSS Gateway mainboard board, find the S6 button.
4. To switch to the configuration mode, press and hold the S6 button for a minimum of 6
seconds, and then release it. The LED indicator DL3 turns ON and SOLID, indicating
that the configuration is enabled.
5. Open the Chrome browser and enter the following IP address for the configuration
tool:
https://192.168.10.190:9443/config/index.html
6. In the
Sign In
page, enter the password.
7. In the list of settings options, click
Diagnostic
.
8. In the
CLSS Gateway mainboard FIRMWARE UPGRADE
section, click
Choose File
.
9. Select the firmware image file and click
Choose
.
10.Once the chosen file is uploaded, click
Upgrade
.
6.1.4 To Verify the Upgrade
1. After the restart, log into the configuration tool.
2. Click
Diagnostic
.
3. Click
About
and verify that the new version of the CLSS Gateway mainboard firmware
is shown.
6.1.5 LED Indications During the Upgrade
While the CLSS Gateway mainboard is downloading the firmware, the Green-color LED
indicator DL4 will be ON.
If an LED is indicating differently, refer
to determine the operational status. If
necessary, refer to the
section to fix the problem or contact
Honeywell Technical Support.
NOTE:
The default password is: Welcome123