r3a-x2.0
33
Running a Multiple Remote Camera System:
1.
Mount and setup your cameras as you normally would for
recording.
2.
Setup cabling & power as described in the
r-THREE
Cabling
section. [This example assumes your camera1 is connected
to CAM1, camera2 is connected to CAM2, and camera3 is
connected to CAM3 on the
r-THREE
Interface Box.]
3.
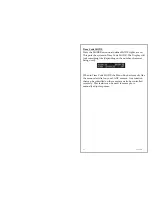
You should see a static time code on the
r-THREE
Control
Head Display for each of your remote cameras.
4.
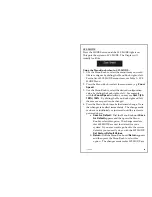
If the CAM1, CAM2 or CAM3 STATUS Light is not
blinking green, then press and hold (for at least 2 seconds)
the Red PWR Button to power on all your remote cameras.
The CAM1, CAM2 and CAM3 STATUS Lights should
now all be blinking green.
The Preview Monitor connected to the
r-THREE
Interface Box should now display the video signal for
one of your remote cameras (the camera displayed is
based upon which camera is the current Preview
camera).
5.
Next, press and hold (for at least 2 seconds) the green REC
Button to start recording on all your remote cameras.
The CAM1, CAM2 and CAM3 STATUS Light should
now be solid green.
The time codes for all your remote cameras should
start to run on the
r-THREE
Control Head Display.
6.
Select Preview Button [1,2,or 3] for the camera you wish to
control. Use the right joystick to Zoom in/out and Focus
and the left joystick to Pan/Tilt your remote camera [1,2,or
3].
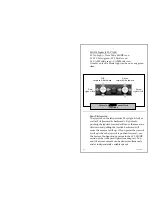
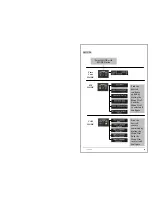
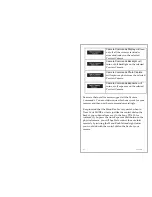
The above examples show that the selected
Preview
Button
on the
r-THREE
Control Head determines which
camera can be remotely controlled and viewed on the
Preview Monitor
.
In addition, the
Program Buttons
can be

