74
5.
Press ”do” to confirm
(9202) SEP TEMP. SENSOR CALIBRATED
6.
Press ”step forward”.
(9203) CALIBRATE DEV TEMP T ? XX°C
<do>
7.
Press ”CE” and enter the correct temperature
8.
Press ” do” to confirm
(9203) DEV TEMP SENSOR CALIBRATED
9.
Press ”SEP method file” or any other functional key to exit this
mode.
The maintenance required by the operator concerns the separation
compartment. The most frequent measure is cleaning the electrodes.
You may, eventually, have to replace the contact blocks and contact
pins for the electrode assembly and the separation bed cover This is
described below.
Important!
For safety, replace the separation compartment lid
immediately if damaged.
Cleaning the electrodes
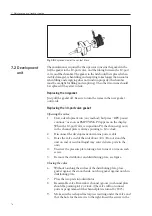
The sample applicator arm and the electrode assembly constitute a
unit, which is fastened by two contact pins. To clean the electrode
assembly or to replace the contact pieces you must remove the unit.
Carefully pull the unit straight towards you; be careful not to scratch
the separation bed cover.
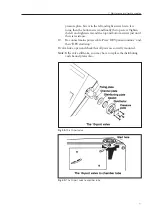
When you have pulled out the applicator arm and electrode assembly,
lay it down on a table and raise the applicator arm. It will be easier to
reassemble the unit if you don’t dismantle it completely: Pull out the
contact blocks somewhat to free the electrode assembly. Rinse the
assembly in running water and let it dry.
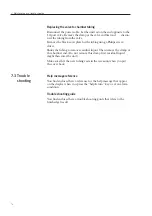
Note: Before you reinsert the electrode assembly, check that all the
electrodes lie on the same plane as the frame, and check that they are
straight. Hold the assembly up to eye level to check this.
When you carry out an electrophoresis run again, confirm that there
is good and even contact between the electrodes and the buffer strips.
6. Evaluation and presentation of data
7.1 Separation and
control unit

