Chapter 7 Setup
7.4 Monitoring Setup
ETERNUS DX60/DX80/DX90 Disk storage system User Guide
179
Copyright 2011 FUJITSU LIMITED
P3AM-3042-08ENZ0
5-3
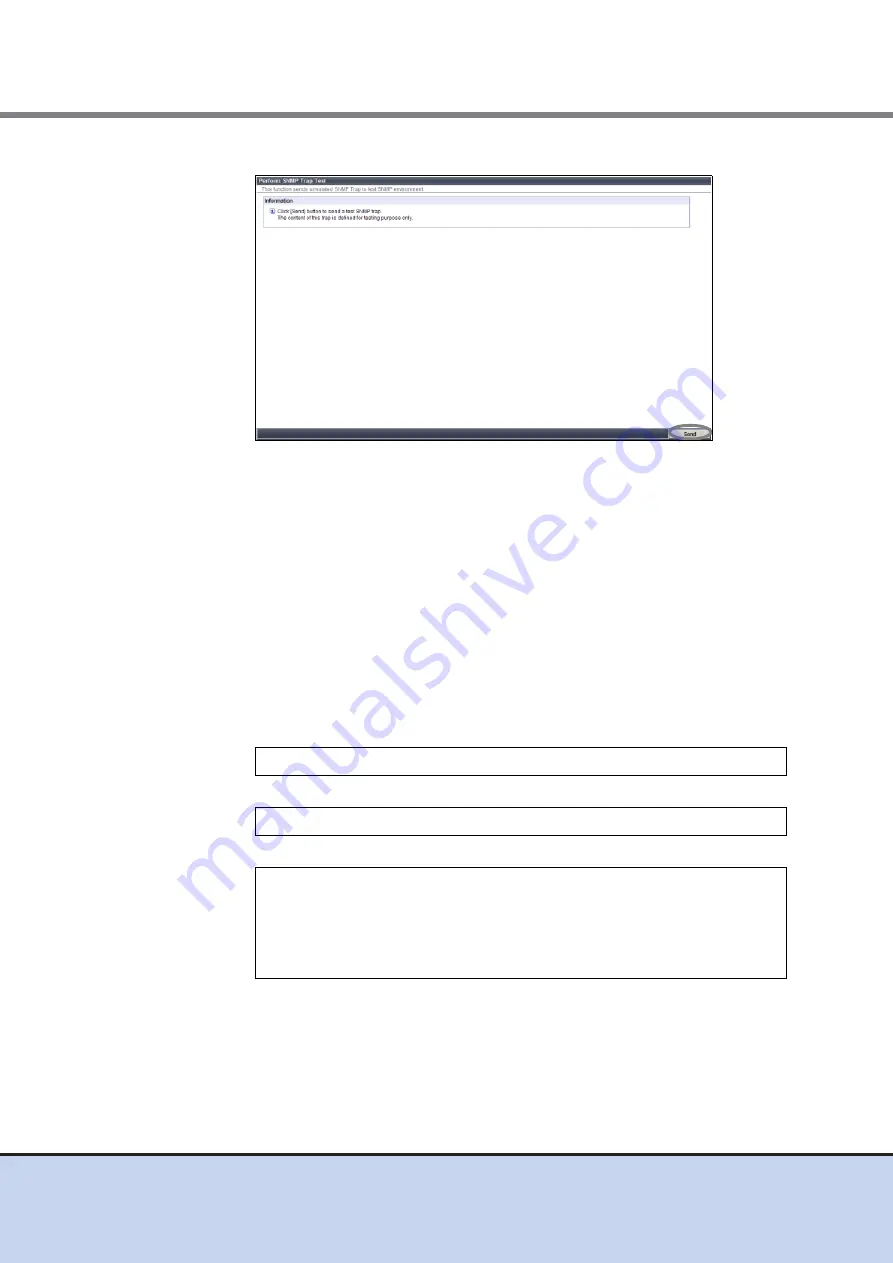
Click the [Send] button.
Figure 7.40 [Perform SNMP Trap Test] screen
A confirmation screen appears.
5-4
Click the [OK] button.
The SNMP Trap Test is performed.
5-5
Confirm that the SNMP notification (Item fault) is displayed.
The Item fault message (hardware failure report) displayed by this sending test does not
show actual failure.
If a message is not displayed, check that the network has no trouble, and the settings for
the ETERNUS DX60/DX80/DX90 is correct.
•
Is the LAN between ServerView management device and ETERNUS DX60/DX80/
DX90 connected correctly?
Execute the "ping" command from MS-DOS prompt of the ServerView management
device, confirm reply from ETERNUS DX60/DX80/DX90.
(Example)
If the following messages are output, the LAN is connected correctly.
If the above messages are not displayed, check LAN related items such as LAN cable
(for operation management), network environment settings of ETERNUS DX60/DX80/
DX90, and LAN card setup of ServerView management device.
•
Is ServerView set correctly to monitor the ETERNUS DX60/DX80/DX90?
•
Is the notification receiver of ETERNUS DX60/DX80/DX90's SNMP Trap set correctly?
> ping
IP address of ETERNUS DX60/DX80/DX90
> ping 192.168.1.180
Pinging 192.168.1.180 with 32 bytes of data:
Reply from 192.168.1.180: bytes=32 time<10ms TTL=252
Reply from 192.168.1.180: bytes=32 time<10ms TTL=252
Reply from 192.168.1.180: bytes=32 time<10ms TTL=252
Reply from 192.168.1.180: bytes=32 time<10ms TTL=252


