233
Scanning
Scanning Using the WIA Driver
Your printer also supports the Windows Image Acquisition (WIA) driver for scanning images. WIA is
one of the standard components provided by Windows XP and later operating systems and works with
digital cameras and scanners. Unlike the TWAIN driver, the WIA driver allows you to scan an image
and easily manipulate those images without using additional software.
The following procedure uses Windows 7 as an example.
NOTE:
•
Ensure that the printer is connected to the computer using the USB cable.
1
For the DocuPrint M215 fw, load the document(s) face up with top edge in first into the ADF or
place a single document face down on the document glass, and close the document cover.
For the DocuPrint M215 b, place a single document face down on the document glass, and close
the document cover.
See also:
• "Making Copies From the ADF (DocuPrint M215 fw Only)" on page 208
• "Making Copies From the Document Glass" on page 206
2
Start the drawing software, such as Paint for Windows.
NOTE:
•
When you use Windows Vista, use Windows Photo Gallery instead of Paint.
3
Click the
Paint
button
→
From Scanner or Camera
.
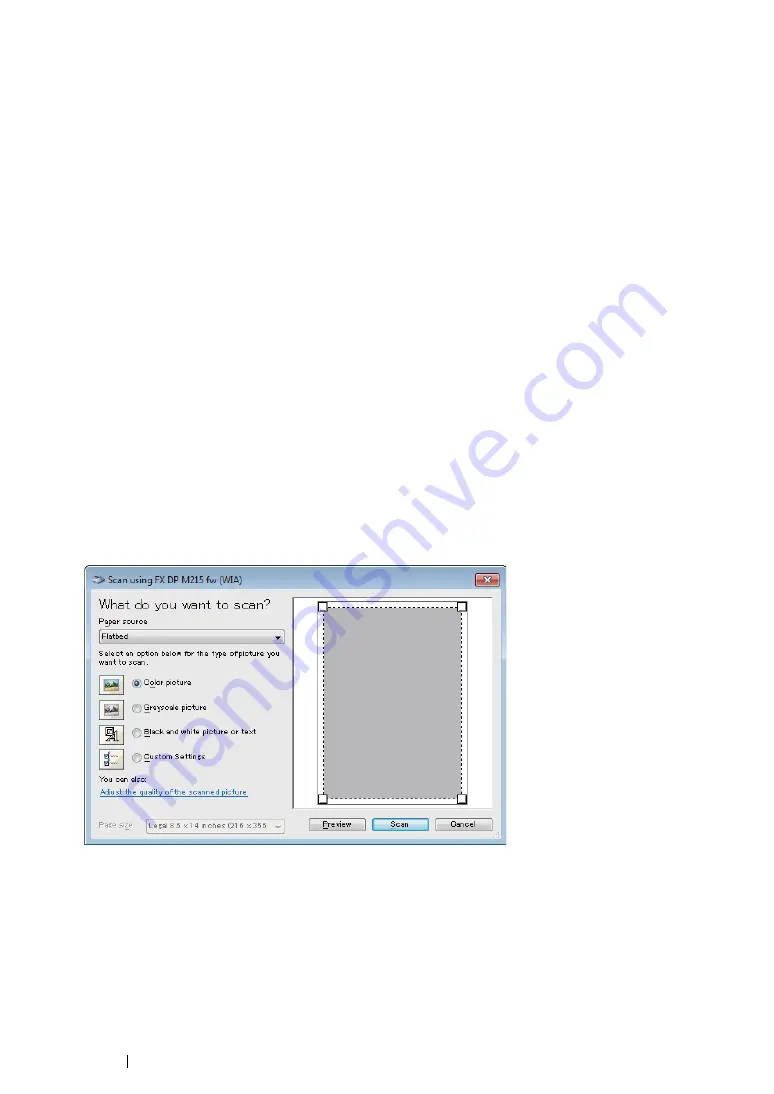
The WIA window appears.
4
Select your scanning preferences and click
Adjust the quality of the scanned picture
to
display the
Advanced Properties
dialog box.
5
Select the desired properties including brightness and contrast, and then click
OK
.
6
Click
Scan
to start scanning.
7
Click
Save As
from the
File
menu.
8
Enter a picture name, and select a file format and destination to save the picture.
Summary of Contents for DocuPrint M215 fw
Page 1: ...User Guide DocuPrint M215 b M215 fw...
Page 9: ...Contents 8...
Page 31: ...Product Features 30...
Page 41: ...Specifications 40...
Page 57: ...Basic Operation 56...
Page 69: ...Printer Management Software 68...
Page 147: ...Printer Connection and Software Installation 146...
Page 203: ...Printing Basics 202...
Page 258: ...257 Scanning 5 Select any unused number and click Add...
Page 273: ...Scanning 272...
Page 383: ...Using the Operator Panel Menus and Keypad 382...
Page 441: ...Troubleshooting 440...
Page 445: ...Maintenance 444 5 Close the document cover...
Page 450: ...449 Maintenance 6 Place the toner cartridge slowly on the sheets of paper spread in step 3...
Page 467: ...Maintenance 466...
Page 471: ...Contacting Fuji Xerox 470...


