Copying Procedure
53
4. Start the Copy Job
1.
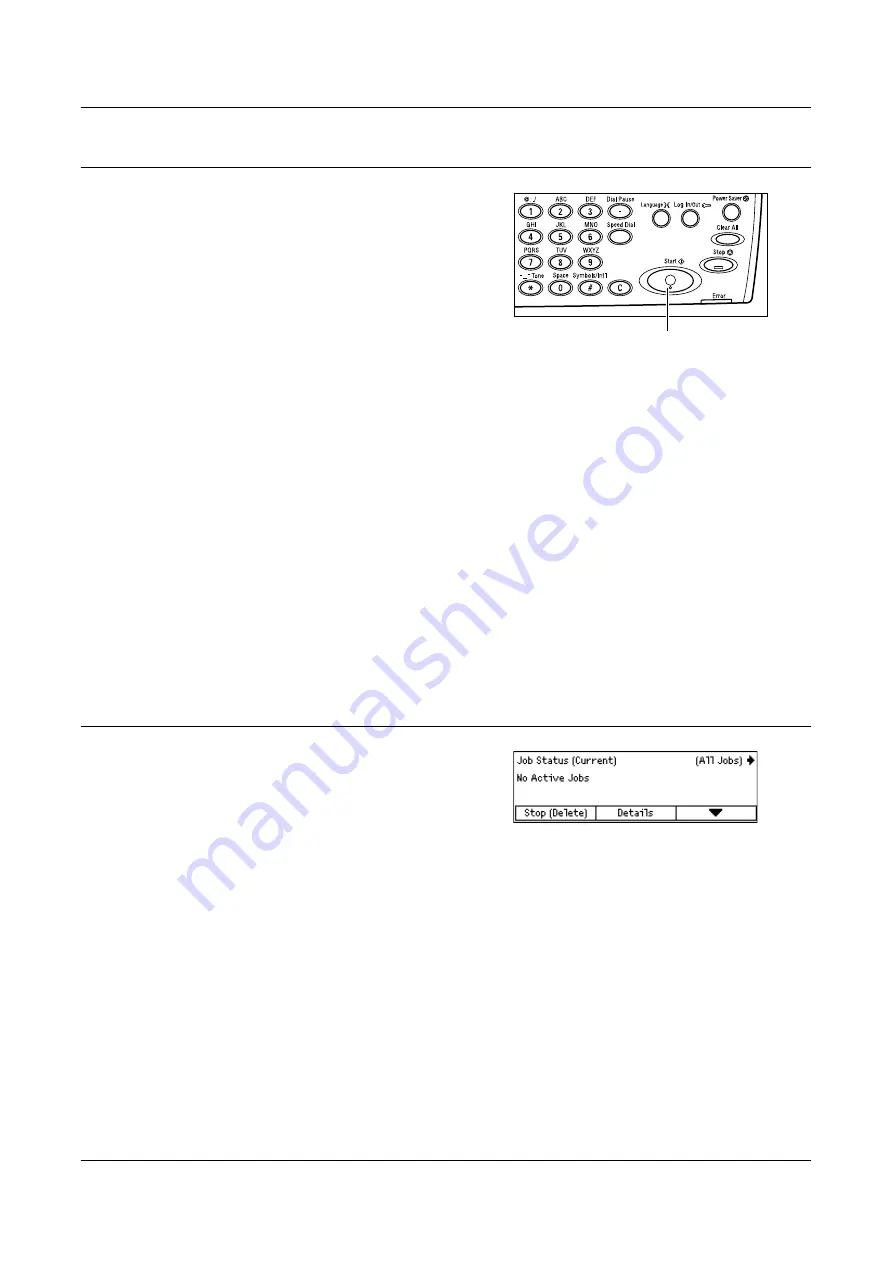
Press the <Start> button. Each
document is scanned only once. The
number of copies remaining is displayed
in the upper right-hand corner of the
screen.
NOTE:
When documents are set in the document feeder, the document sizes are
detected after all documents have been scanned. Therefore, messages such as
Paper out, Non-standard document size or Cannot detect document size, cannot be
displayed before all documents are scanned. Document data that has been scanned
is deleted when an error occurs, so all documents must be reset in the feeder.
NOTE:
If the trouble, such as document jam or memory full, is occurred while
scanning multiple documents, the job is canceled and the scanned data are deleted.
When a memory full error occurs, delete all unnecessary data stored in the machine.
To resume the same operation, load all the documents again and press the <Start>
button.
NOTE:
When there is a paper jam while using DADF for copying, the number of pages
copied may not match the number of pages in the document. Compare the number of
document pages and the number of copied pages, to check whether any pages are
missing.
5. Confirm the Copy Job in the Job Status
1.
Press the <Job Status> button on the
control panel to display the Job Status
screen.
The queued copy job will be displayed. If there is no copy job in progress, the following
message displayed: “No Active Jobs”.
<Start> button
Summary of Contents for DocuCentre 1055
Page 1: ...DocuCentre 1085 1055 User Guide...
Page 10: ...10...
Page 28: ...1 Before Using the Machine 28...
Page 48: ...2 Product Overview 48...
Page 62: ...3 Copy 62...
Page 86: ...4 Fax 86...
Page 122: ...7 CentreWare Internet Services 122...
Page 130: ...8 Paper and Other Media 130...
Page 172: ...9 Setups 172...
Page 182: ...10 Maintenance 182...
Page 208: ...11 Problem Solving 208...
Page 238: ...13 Glossary 238...
Page 244: ...14 Index 244...


