WALL PANELS
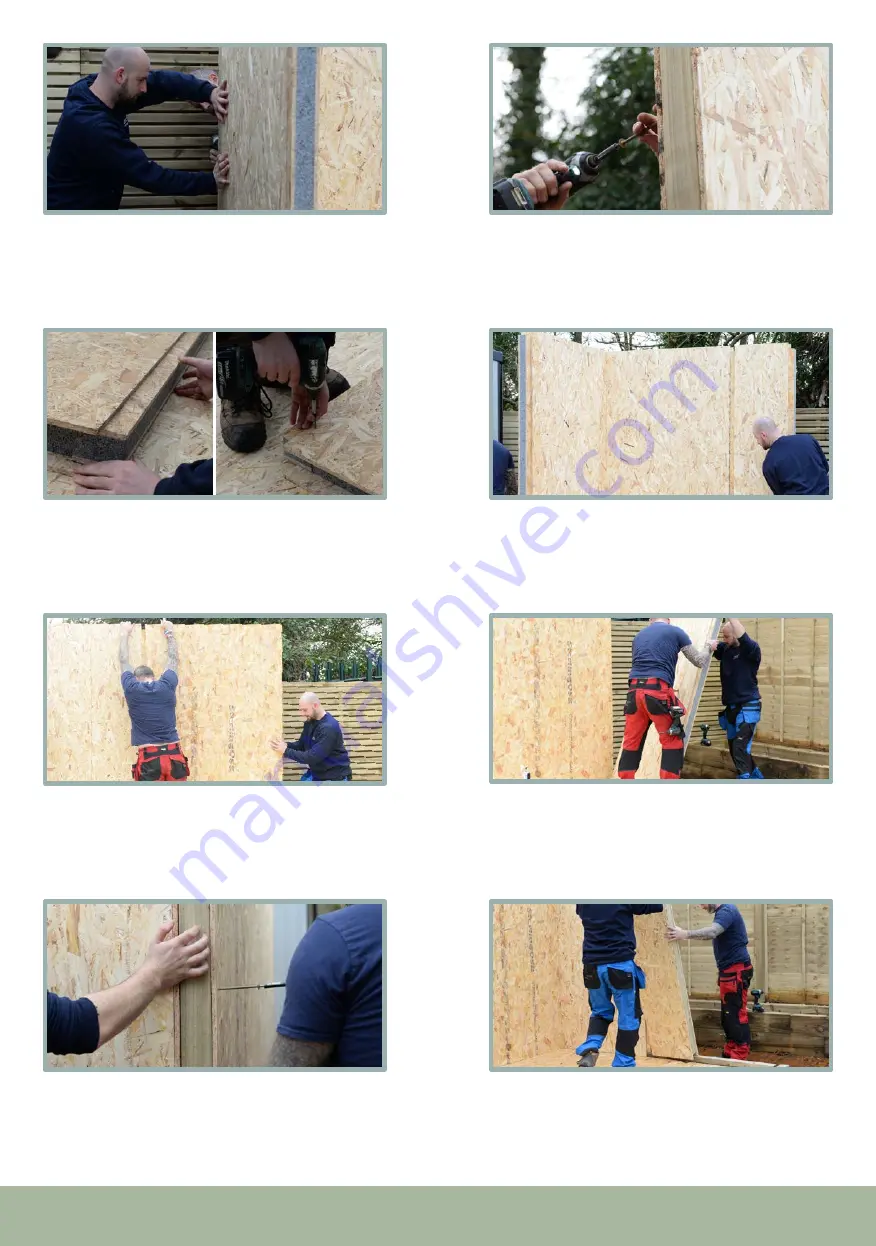
Add the expanding foam into the side groove of
the Side Panel 4 (M) in the left back corner and
butt it up against the first wall panel. Have one
person holding onto the wall panel to prevent
movement.
37
37
There will be smaller Spline panels (Q) that will
be in between the grooves of some panels. Add
expanding foam into each groove of the spline
panel and apply them accordingly to the wall panel
layout. Secure with 5 x 35mm screws.
39
39
Pre-drill and screw through the back panel (L) into
the side wall panel (M) using 3 x 150mm screws
(top, middle and bottom). Continue on each side
with side panel 2 (k).
43
43
Repeat the same process on the last back panel (L)
and knock into place.
41
41
Pre-drill and using the star drill bit provided in your
fixing box, screw through the back into the side
wall panel using 3 x 150mm screws (top, middle
and bottom).
38
38
Add expanding foam into the inner side groove
and into the bottom groove of the second back
panel (K). Slide on the floor plate and knock into
place. Repeat the process for the third back panel
(K).
40
40
Apply to the right hand side panels as shown
above (N), adding the expanding foam into the
bottom grooves. Place and knock into the other
side panel (K).
44
44
Repeat the same process for the right hand corner
(M). Add foam and knock into place. Ensure the
panel is flush to all edges as mentioned and shown
above.
42
42
11


