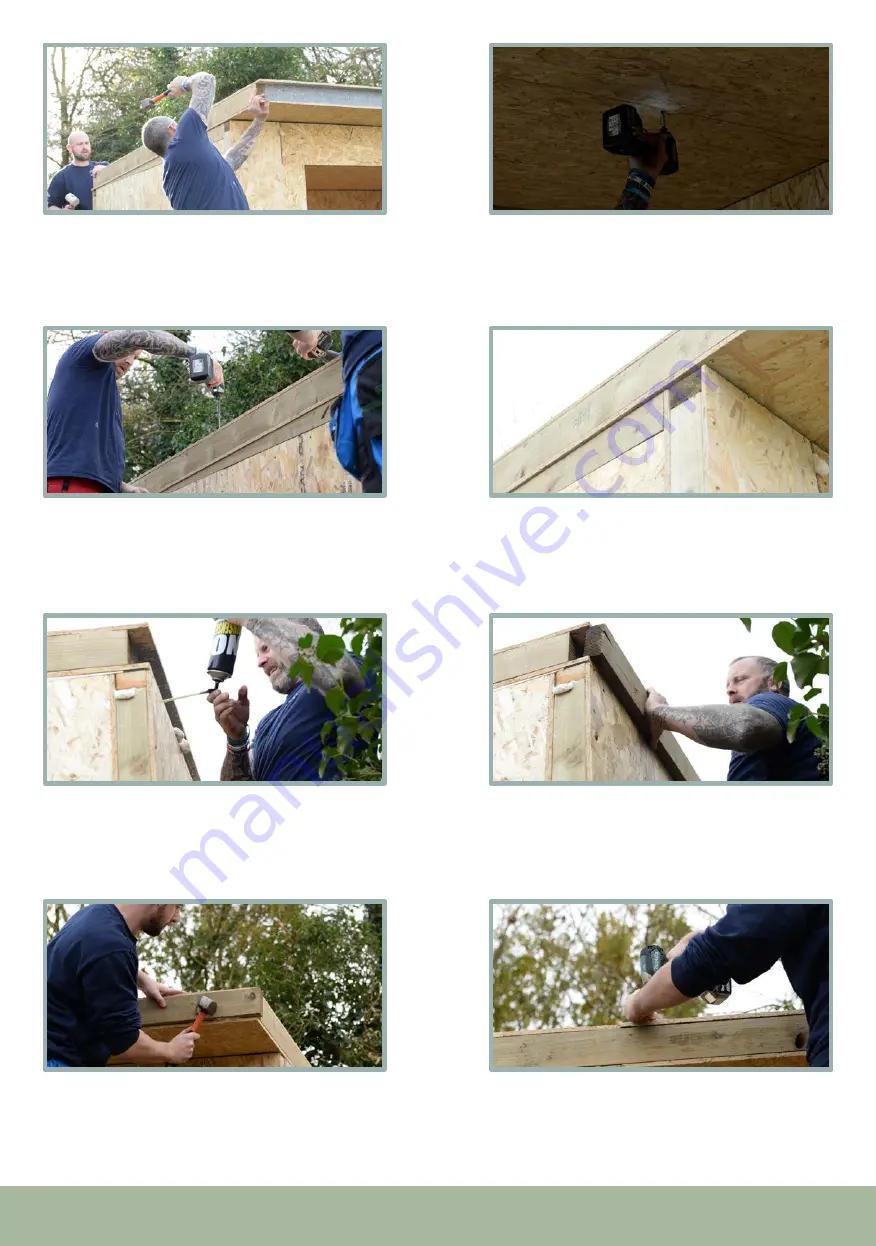
ROOF PANELS & ROOF PANEL CAPS
Knock further into place to allow the roof panel to
be as flush as possible to the wall face.
75
75
Use expanding foam in the roof panels groove
across all 3 panels.
79
79
Use expanding foam and knock the roof panel cap
(AS) into place. Repeat the same process. Ensure
they are flush to all edges.
81
81
If there is a 2-5mm overhang, don’t worry this
won’t affect the rest of the build.
78
78
Pre-drill and screw 5 x 35mm screws, where the
adjoining panels intersect.
76
76
Repeat the same process as the first roof panel
using 4 x 150mm screws along the edge to fully
secure the roof. Then secure the third roof panels
opposite corners with 2 x 150mm screws.
77
77
Use 4 x 80mm screws into the panel cap. Use 3
x 35mm screws, in between the 80mm screws to
fully secure.
82
82
Insert the roof panel cap (AS). Use 4 x 125mm
screws through the panel cap and into the wall
panel. Use 3 x 35mm screws, in between the
125mm screws to fully secure.
80
80
16


