


Network Assistant
Before You Begin
15
Using the Stylus
The stylus, which is used for navigating the user interface,
is stored in the right side panel near the green On/Off
button.
In the same way that you use a mouse to click elements
on your computer screen, you use the stylus to “tap”
elements on the instrument’s touch-sensitive screen.
To select elements and execute commands, simply tap the
item with the point of the stylus. In addition, use the
stylus to drag a slider or move the scroll box on the scroll
bar.
Note
Always use the point of the stylus to tap the
screen. We do not recommend that you use a
pen or pencil or any other sharp object that
might scratch the finish.
Selecting the LAN or WLAN Interface
If your instrument has the capability to test both a wired
LAN (RJ-45 or SFP fiber interfaces) and a wireless LAN, you
need to specify which technology you are testing.
1.
On the front page, do the following:
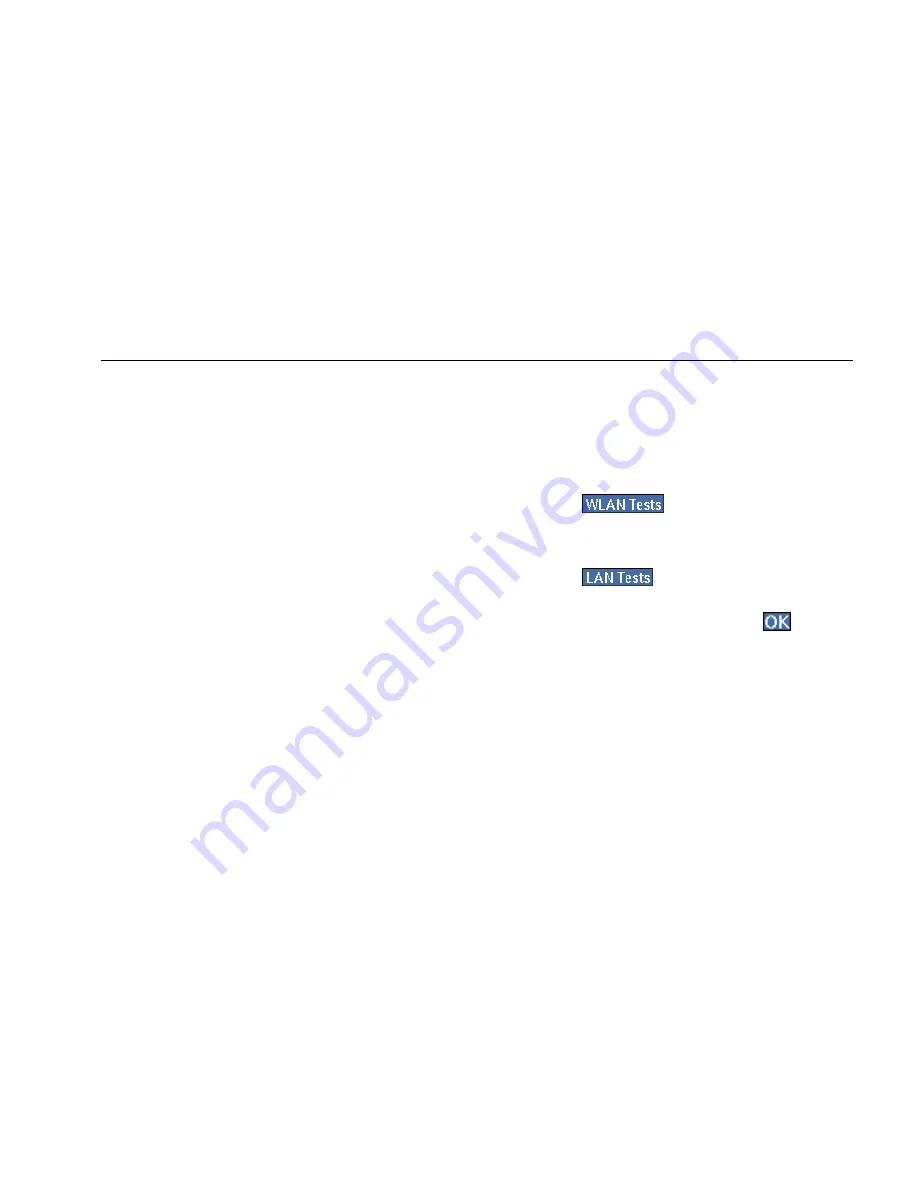
•
Tap
(see Figure 6) to test wireless
interfaces.
OR
•
Tap
(see Figure 24) to test the RJ-45
or SFP fiber interfaces.
2.
On the Change Active Port screen, tap
to
change the interface.
The instrument resets itself and runs autotest on the
selected interface.
Note
The interface type you select remains the same
even after you power off the instrument.


