IL3 User’s Guide
page 32
11S-3002B
•
Use Autosave for any unattended event where there is a possibility of a spurious trigger where
the camera might trigger prematurely. If Autosave is used, there is a good chance that the camera
will have returned back to Record mode in time to capture the planned event.
To set up
Autosave
:
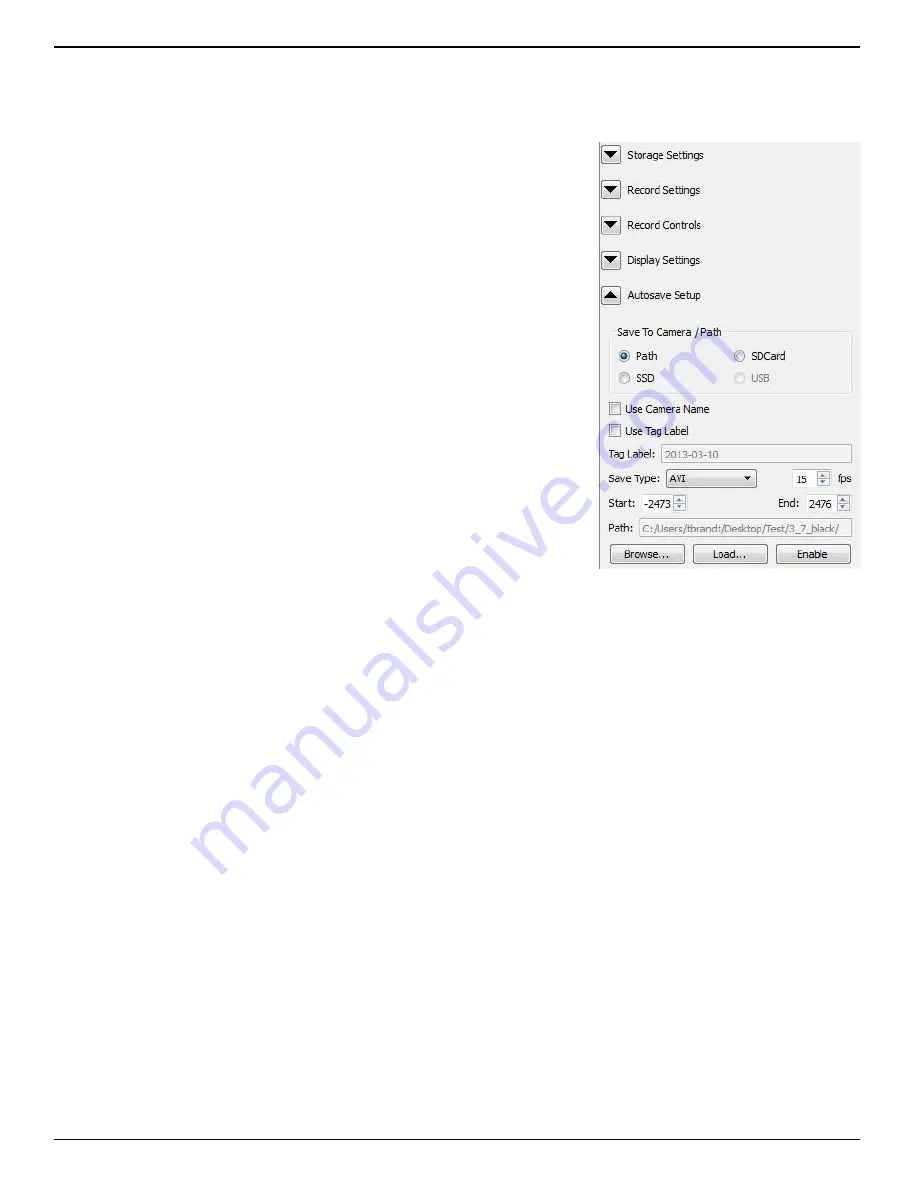
The Autosave Setup tab is always available in Live mode.
1. Select a target drive using the “Save to Camera / Path radio buttons.
If you select “Path” the target drive and folder will be a folder on a
drive accessible by the PC. The Path to that folder is shown at the
bottom of the dialog. If you would like to change the path, click on
the “Browse...” button and navigate to and/or create the folder you
wish to save to.
2. Select a file type from the “Save Type:” pull-down list. File type
choices may change depending on the target drive. If you wish to
save CAP files, you must save to the SSD. If you wish to save AVI files,
you must save to a location other than SSD. See “Application Note 6:
Choosing an Image File Format” on page 76.
3. Set start and end points for your saved clips (only if you wish to save
less than the full session).
4. Click on “Enable” to enable Autosave. If there are images presently
in the buffer you will get a message asking if you would like to save
that image data and re-arm the camera. If there are no images in the
buffer you will just go back to Live mode until the camera is Armed.
5. Arm and trigger the camera. Autosave will continue re-arming itself,
capturing images and downloading them until the target drive runs out of space. At this time it
will progress to Review mode so the user download manually to a different drive or clear space.
Note: There is a “Load” button on the Autosave dialog box. This button is a shortcut to the SSD
Partition Capture folder that allows you to select a CAP file to load into the camera.
4-9 Fas
F
ire
The IL3 is capable of recording images to one memory partition while saving images from another
partition to non-volatile media such as an SSD, SD card, or USB device. Depending on the amount of
high-speed DRAM memory (4GB or 8GB) on your camera and the Session Length (partition size) you
set (see “3-9 Storage Setup” on page 21), the Fas
F
ire feature lets you capture up to 16 clips in quick
succession without ever waiting for the camera to finish saving the last.
You will usually find that the camera has saved one or more partition before you get to the last one.
Depending on the session size, the speed of the media, and the interval between events, you will
often find that you will be able to keep recording clips at will until the space in the save media is
exhausted.
Entering Fas
F
ire via Fas
M
otion
The camera will operate in Fas
F
ire mode whenever there are at least two Fas
F
ire partitions, the
camera is set to AutoSave, and the target drive is on the camera (the SSD, SD card, or USB device--not
a drive on or connected to the PC). (Refer to “4-8 Autosave” on page 31.) With Autosave active, as
soon as the camera receives an Arm signal, Fas
F
ire will commence.
Note: there is no live streaming video in Fas
M
otion while the camera is saving. If you need to see a
Live image, you may connect the camera to an HDMI display.
Figure 4-9: Autosave Setup Dialog


