IL3 User’s Guide
page 18
11S-3002B
Display Rate for live images:
The display rate for live images in Fas
M
otion may be adjusted using the spinner at the top of the
Image Window. (See Figure 3-15 on page 17.) This number will
automatically change according to the performance of the network and
the PC.
There is also a pause/play button on the top of the Image Window. This
may be used to temporarily start and stop the video stream.
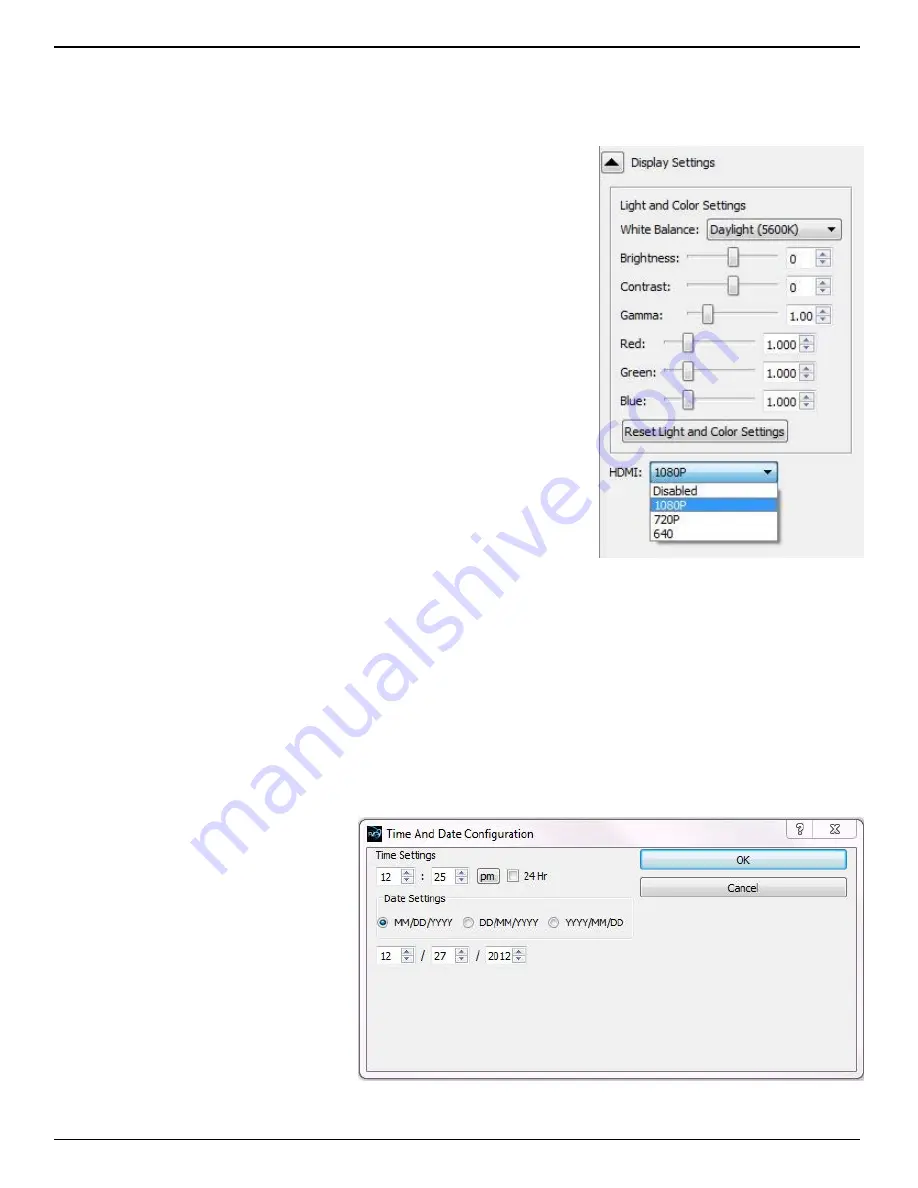
Setting up the HDMI display:
The IL3 has an HDMI output that can be used for displaying both live and
recorded images. The HDMI port is located on the side of the camera
between the Power and External I/O connectors. See “Figure 1-4: IL3
Side Views” on page 5.
To enable the HDMI output click on the HDMI button on the Display
Settings Tab and select the resolution you wish to use.
Note: The images from the camera will be scaled to fit the HDMI display
screen while maintaining aspect ratio. This means that there may be
black borders on the sides or top and bottom of images, depending on
aspect ratio and best fit.
3-6 Name the Camera
When the IL3 leaves the factory its default name is IL3-xx, “xx” being
the camera’s serial number. The camera name can be used both for
identification on a network and as part of the filename when saving
images.
It may be beneficial to rename the camera according to its function, locality, field of view, etc.
depending on how the camera is to be deployed.
To change the camera name simply edit the name as it appears in the box above the image window.
There are some limitations in the character set that may be used for the camera name as it must
be “legal” both as a filename and network device name. All numbers, and upper- and lower-case
numbers may be used. The only punctuation character that may be used is the “-” (not “_”).
3-7 Camera Time and Date
When your IL3 is shipped, the time
and date will need to be set to reflect
your local time.
Access the Time and Date
Configuration dialog from the
camera menu in Fas
M
otion.
Once this is set, a rechargeable
battery inside the IL3 will maintain
the correct time.
If your IL3 is not powered up for a
few weeks, the time and date may
need to be reset.
Figure 3-16:
HDMI Settings
Figure 3-17:
Time and Date Configuration


