DXP HD 4K PLUS Series • Operation
30
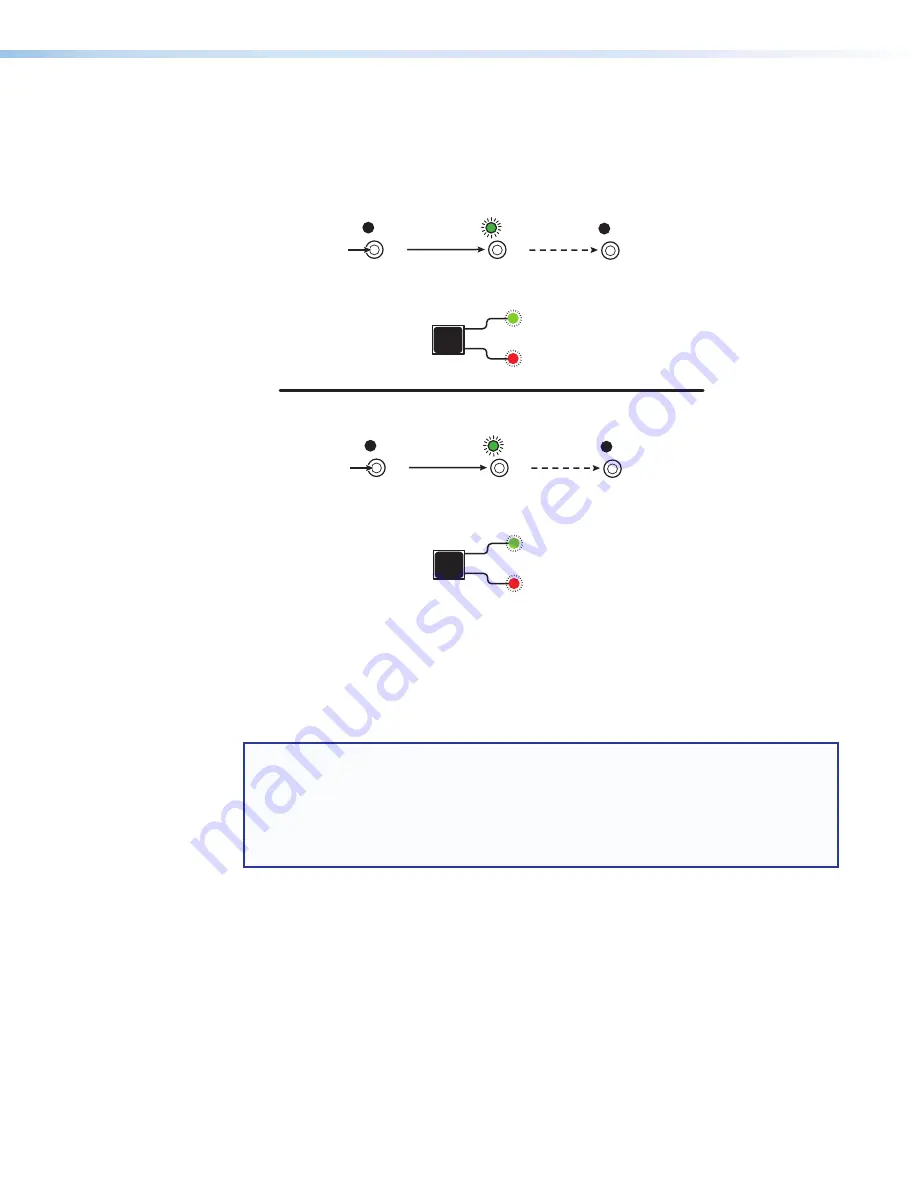
To perform a hardware reset of the switcher:
1.
Use a stylus or small Philips screwdriver to press and
hold
the rear panel
Reset
button
until the front panel
Video
and
Audio
buttons blink twice (for a system reset) or three
times (for an absolute reset).
RESET
RESET
RESET
RESE
T
RESE
T
RESE
T
Release, then
immediately
press and release again.
Release, then
immediately
press and release again.
IP Settings
Reset
(Mode 4)
6 seconds
Absolute Reset
(Mode 5)
9 seconds
Reset LED blinks
twice
.
Reset LED blinks
three times.
Front panel I/O button LEDs blink
twice
.
Front panel I/O button LEDs blink
three times.
I/O
VIDEO
AUDIO
I/O
VIDEO
AUDIO
Press and
hold
the
Reset
button.
Press and
hold
the
Reset
button.
Figure 27.
Soft Resets (Modes 4 and 5)
2.
Release the
Reset
button and then immediately press and release it again. Nothing
happens if the second momentary press does not occur within 1 second.
Selecting the Remote RS-232 Port Baud Rate
NOTES:
•
The serial port settings are protected when front panel lock mode 2 is selected. You
can view the settings in lock mode 2 but you cannot change them from the front
panel.
•
To enable changes to the baud rate settings, set the lock mode to
0
and ensure that
the unit is
not
To view and configure the serial communications settings for the switcher from the front
panel:
1.
Simultaneously press and
hold
all Control buttons:
Enter
,
Preset
, and
Esc
. Hold
these buttons until
all
of the following button LEDs light (approximately 2 seconds):
Enter
,
Preset
,
Esc
. The LED representing the current baud rate blinks.
2.
Release the Control buttons.
3.
Press the appropriate Control button to select the desired baud rate:
•
Enter
= 9600
•
Preset
= 19200
•
Esc
=
115200


