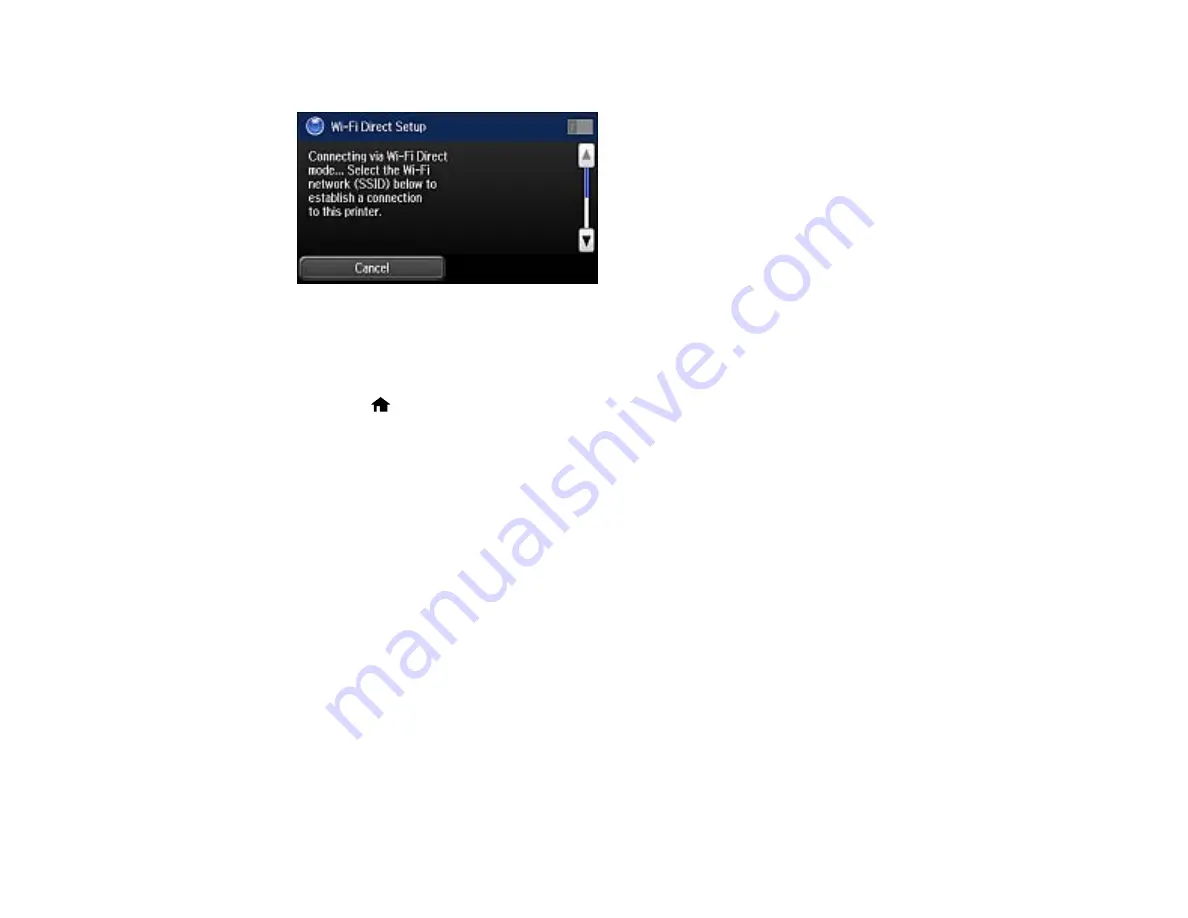
You see a screen like this:
9.
Scroll down to view the SSID (Wi-Fi network name) and password.
10. Use your computer or wireless device to select the Wi-Fi network name (SSID) displayed on the
LCD screen, then enter the password shown.
11. Press the
home button.
You see either an
AP
or
Direct
connection symbol on the LCD screen and should be able to print
directly to your product from your computer or device.
Note:
If the
AP
or
Direct
connection symbol is not displayed on the LCD screen, Wi-Fi Direct mode
is not enabled. Repeat these steps to try again.
Parent topic:
Related tasks
Entering Characters on the LCD Screen
Wi-Fi Protected Setup (WPS)
If your network uses a WPS-enabled wireless router or access point, you can quickly connect your
product to the network using Wi-Fi Protected Setup (WPS).
Note:
To check if your router is WPS-enabled, look for a button labeled
WPS
on your router or access
point. If there is no hardware button, there may be a virtual WPS button in the software for the device.
Check your network product documentation for details.
Using WPS to Connect to a Network
49
Summary of Contents for WF-R4640
Page 1: ...WF R4640 User s Guide ...
Page 2: ......
Page 14: ......
Page 62: ...2 Open the feeder guard and pull up the paper support 3 Slide out the edge guides 62 ...
Page 151: ...You see this window 151 ...
Page 174: ...4 Click OK Parent topic Scanning 174 ...
Page 207: ...You see this window 3 Select Fax Settings for Printer Select your product if prompted 207 ...
Page 208: ...You see this window 4 Select Speed Dial Group Dial List 208 ...


