5.
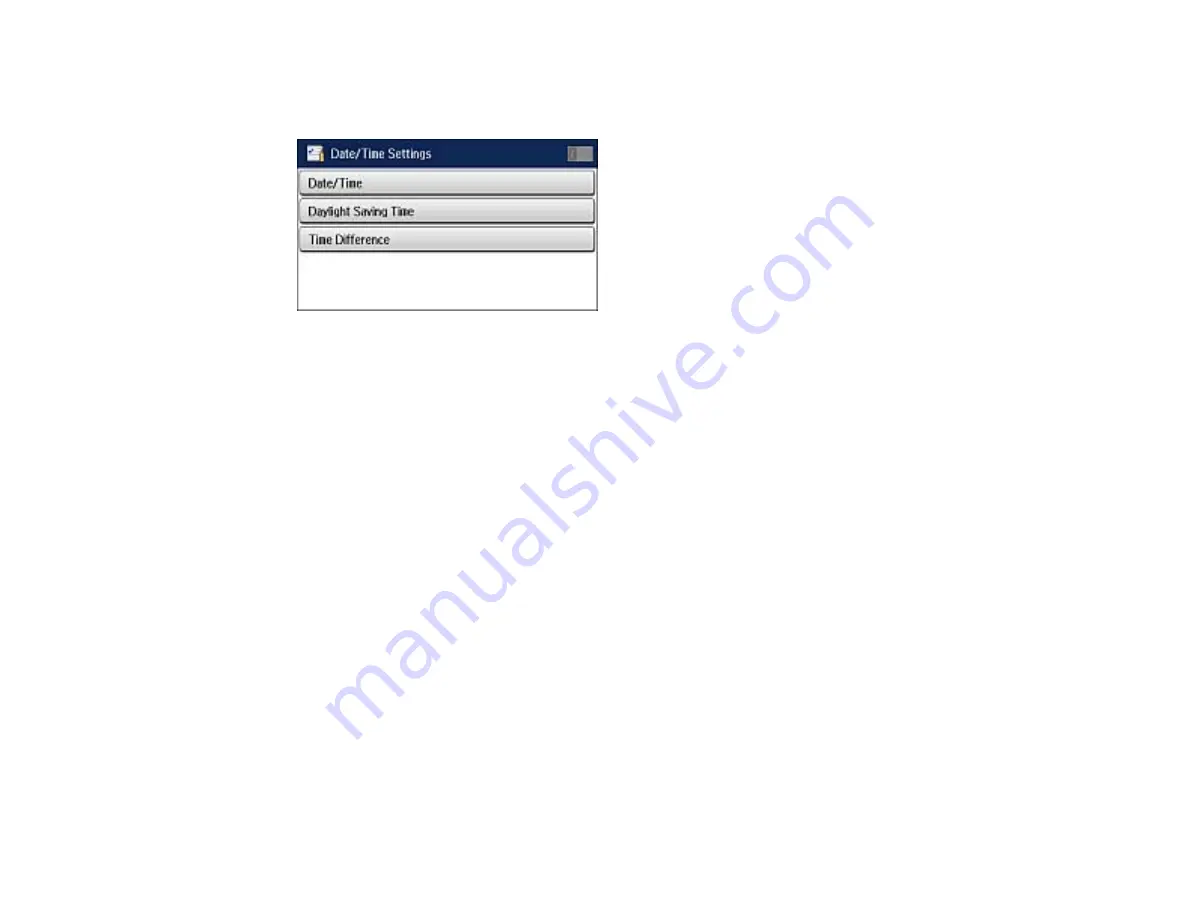
Select
Date/Time Settings
.
You see a screen like this:
6.
Select
Daylight Saving Time
.
7.
Select the setting that applies to your area:
•
Winter
: it is winter or your region does not use Daylight Saving Time (DST)
•
Summer
: it is spring or summer and your region uses Daylight Saving Time (DST)
Note:
If your region uses Daylight Saving Time (DST), you must change this setting to match the
season. When you change from
Winter
to
Summer
, your product automatically sets its clock ahead
one hour. When you change from
Summer
to
Winter
, it sets its clock back one hour.
8.
Select
Date/Time
.
9.
Select the date format you want to use.
10. Use the numeric keypad to enter the current date.
11. Select the time format you want to use.
12. Use the numeric keypad to enter the current time.
13. If necessary, select
Time Difference
and use the icons on the screen to set the difference between
UTC (Coordinated Universal Time) and your time zone.
Parent topic:
181
Summary of Contents for WF-R4640
Page 1: ...WF R4640 User s Guide ...
Page 2: ......
Page 14: ......
Page 62: ...2 Open the feeder guard and pull up the paper support 3 Slide out the edge guides 62 ...
Page 151: ...You see this window 151 ...
Page 174: ...4 Click OK Parent topic Scanning 174 ...
Page 207: ...You see this window 3 Select Fax Settings for Printer Select your product if prompted 207 ...
Page 208: ...You see this window 4 Select Speed Dial Group Dial List 208 ...


