


37
5.
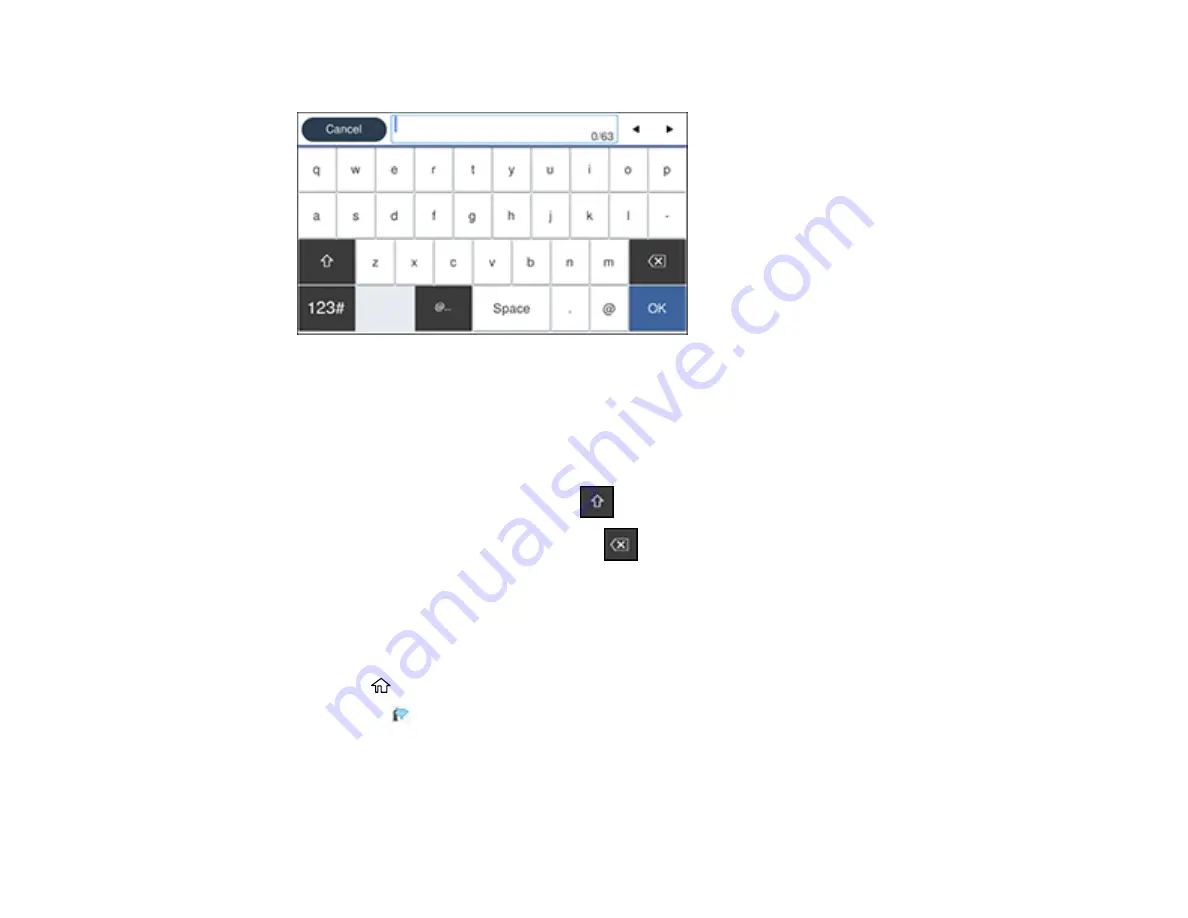
Select the
Enter Password
field and enter your wireless password using the on-screen keyboard.
Note:
The network name and password are case sensitive. Be sure to correctly enter uppercase and
lowercase letters, and numeric or special characters.
• To move the cursor, press the left or right arrows.
• To enter numbers or symbols, select
123#
.
• To change the case of letters, select
.
• To delete the previous character, select
.
• To enter a space, select
Space
.
6.
Select
OK
when you finish entering your password.
7.
Confirm the displayed network settings and select
Start Setup
to save them.
8.
If you want to print a network setup report, select
Print Check Report
. (Otherwise, select
OK
.)
9.
Press the
home button to exit.
You see the
icon on the LCD screen and should be able to connect to your product directly from
your computer or device, and then print. If you are printing from a computer, make sure you installed
the network software from the Epson website.
Summary of Contents for SureColor F571
Page 1: ...Epson SureColor F571 User s Guide ...
Page 2: ......
Page 22: ...22 Make sure you have all of these items for assembly ...
Page 33: ...33 Parent topic Introduction to Your Printer ...
Page 67: ...67 1 Slide out the edge guides and remove the paper from the auto sheet feeder ...
Page 82: ...82 You can also place the same print data multiple times as shown here ...
Page 165: ...165 2 Open the ink tank cover 3 Open all of the ink tank caps 4 Remove the transportation cap ...
Page 166: ...166 5 Flip the transportation cap so the round ends face down ...
Page 167: ...167 6 Insert the round ends of the transportation cap as shown ...
Page 172: ...172 6 Insert the square ends of the transportation cap as shown ...


