


154
6.
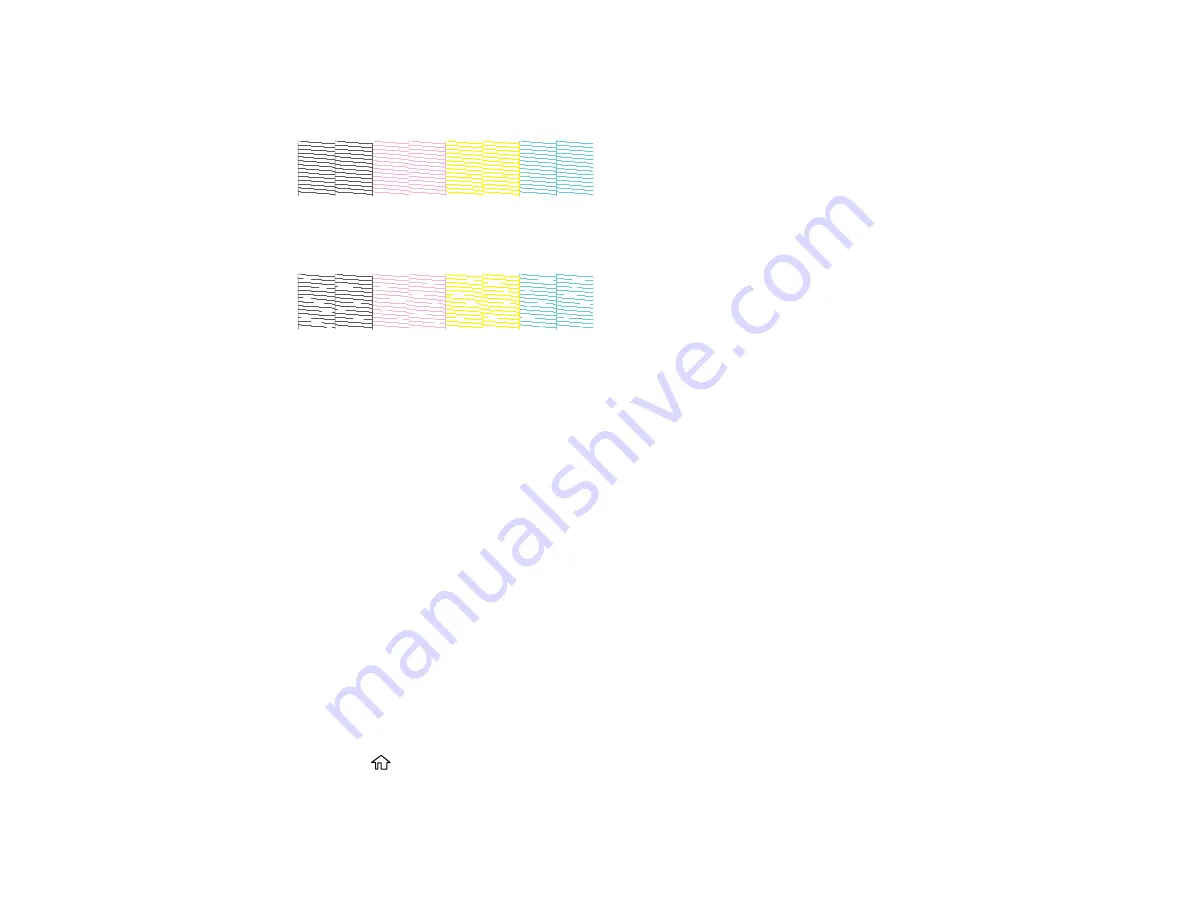
Check the printed pattern to see if there are gaps in the lines.
Print head is clean
Print head needs cleaning
If you don’t see any improvement after cleaning the print head three times, perform a Powerful Cleaning.
Parent topic:
Related tasks
Checking the Nozzles Using a Computer Utility
Cleaning the Print Head Using the Product Control Panel
Using the Powerful Cleaning Utility
Flushing the Ink Tubes
Related topics
Using the Powerful Cleaning Utility
If print head nozzles are still clogged after cleaning the print head three times, run the
Powerful
Cleaning
utility from the product control panel. This process consumes a lot of ink to clean the clogged
nozzles.
Note:
Make sure the ink tanks are at least a third full before running a Powerful Cleaning.
1.
Make sure roll paper or cut sheet paper is loaded in the printer.
2.
Press the
home button, if necessary.
3.
Select
Settings
>
Maintenance
>
Powerful Cleaning
.
Summary of Contents for SureColor F571
Page 1: ...Epson SureColor F571 User s Guide ...
Page 2: ......
Page 22: ...22 Make sure you have all of these items for assembly ...
Page 33: ...33 Parent topic Introduction to Your Printer ...
Page 67: ...67 1 Slide out the edge guides and remove the paper from the auto sheet feeder ...
Page 82: ...82 You can also place the same print data multiple times as shown here ...
Page 165: ...165 2 Open the ink tank cover 3 Open all of the ink tank caps 4 Remove the transportation cap ...
Page 166: ...166 5 Flip the transportation cap so the round ends face down ...
Page 167: ...167 6 Insert the round ends of the transportation cap as shown ...
Page 172: ...172 6 Insert the square ends of the transportation cap as shown ...


