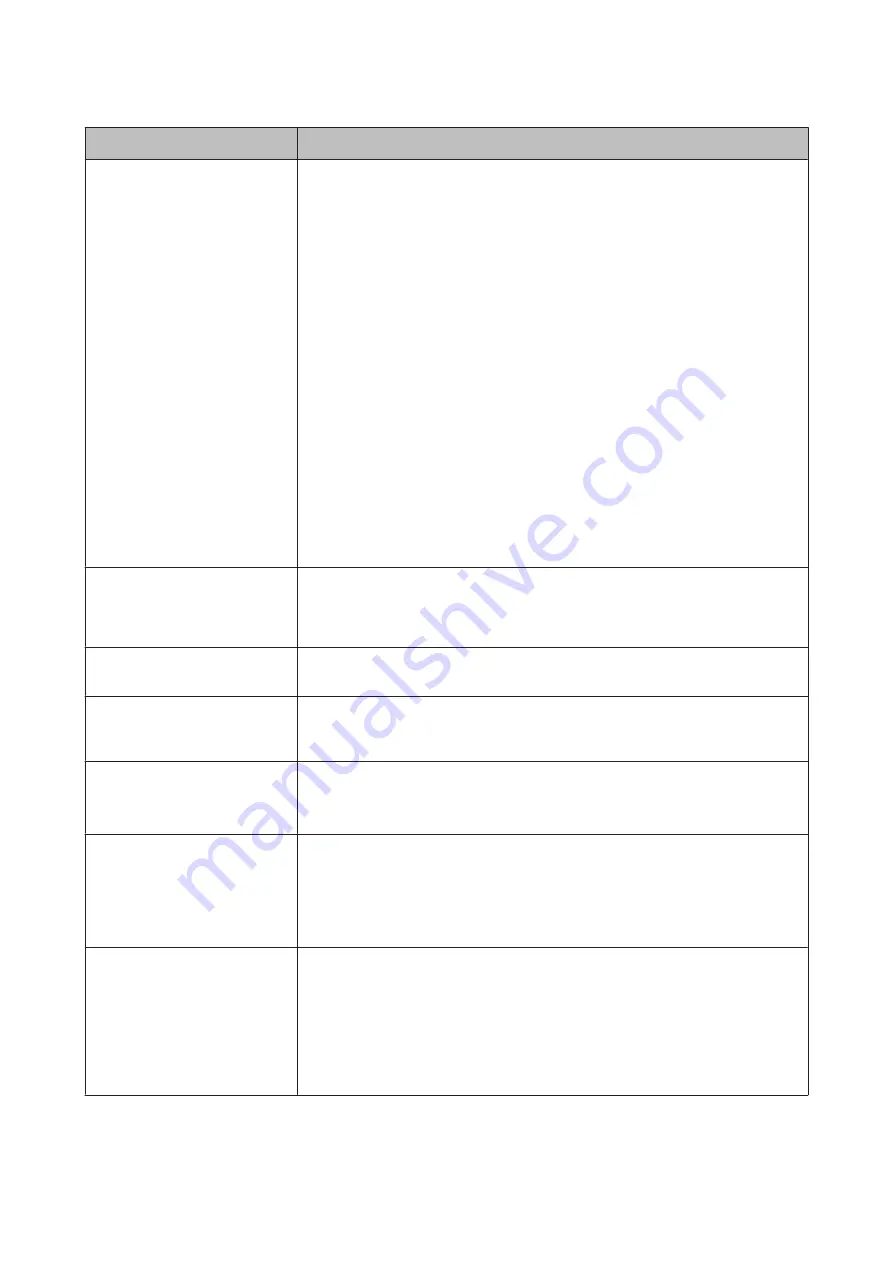
Messages
What to do
Paper Sensor Error
Loaded paper or printout has a
problem.
Refer to manual for details.
Press the
W
button to clear the error from the control panel.
If this error is displayed when performing automatic head alignment, check the
following items.
❏
Does the paper support auto head alignment?
Head alignment is not available with transparent or colored media, tracing paper,
paper not supported by the auto head alignment function, or paper that is 1.0
mm or more thick.
See the following for information on the types of paper that support auto head
alignment.
U
“Epson Special Media Table” on page 182
❏
Are outside light sources interfering with the process?
If the printer is exposed to direct sunlight or another light source that causes
optical interference, shade the printer from these sources.
❏
Are the default values selected for
Platen Gap
?
Restore the item to its default value.
❏
Are some print head nozzles clogged?
Perform head cleaning.
U
“Cleaning the print head” on page 143
If this error is displayed in circumstances other than those listed above, check that the
printer supports the current paper.
U
F/W Install Error
Firmware update failed.
Restart the printer.
Turn the printer off, wait for a few minutes, and then turn on the printer again.
Update the firmware again.
If this message appears on the LCD panel again, contact your dealer or Epson Support.
Command Error
Check driver settings.
Press the
W
button and select
Job Cancel
to stop printing. Confirm that the printer
driver you are using supports this printer.
Reel Unit Error
Check Auto Take-up Reel Unit
and restart printer.
Turn the printer off, wait for a few minutes, and then turn on the printer again.
If this message appears on the LCD panel again, contact your dealer or Epson Support.
Reel Unit Error
Connect Auto Take-up Reel Unit
cable and restart printer.
After reconnecting the cable connecting the auto take-up reel unit to the printer, turn
the printer off and then on again.
U
Setup Guide
Reel Unit Disconnected
Auto Take-up reel unit is
disconnected. Do you continue?
The auto take-up reel unit is not connected. After reconnecting the cable connecting
the auto take-up reel unit to the printer, select
No
to turn the printer off. Turn the
printer on again after a short pause.
U
Setup Guide
To continue printing without using the auto take-up reel unit, select
Yes
.
Take-Up Error
Check that sensor is properly
installed and clear of
obstructions. Then remove
sagging from paper.
To resume printing, check that the sensor for the auto take-up reel unit is set correctly
and that there are no obstacles obstructing it, as well as the checking that there is not
much slack in the paper, and then press the
Z
button.
If the paper is too slack, set the Auto switch to Off, and then hold the Manual switch in
the winding direction to wind the paper. After confirming that the paper is correctly
attached, return the Auto switch to its original position and press the
Z
button.
U
“Using the Auto Take-up Reel Unit” on page 46
SC-P20000 Series/SC-P10000 Series User's Guide
Problem Solver
161


