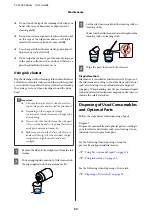
Cleaning Caps
When it is time to clean the suction cap, a message is
displayed on the control panel. If you continue to use the
printer without cleaning, the nozzles may clog and print
quality may decline. Even if the message is not
displayed, clean the caps if you notice they are soiled.
c
Important:
Do not move the print head or the platen manually.
A malfunction may occur.
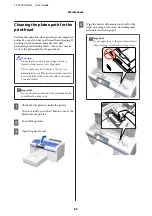
Buttons that are used in the following operations
A
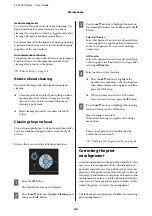
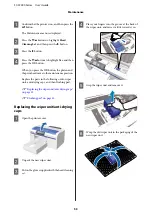
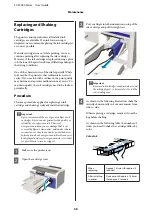
Confirm that the printer is on, and then press the
-
button.
The Maintenance menu is displayed.
B
Press the
d
/
u
buttons to select
Caps Cleaning
,
and then press the
r
button.
C
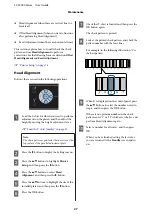
Press the
d
/
u
buttons to highlight
Yes
, and then
press the
Z
button.
When you press the
Z
button, the platen and
the print head move to the maintenance position.
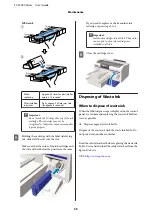
D
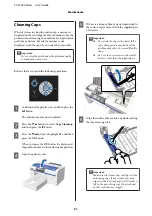
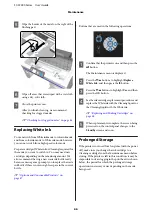
Open the printer cover.
E
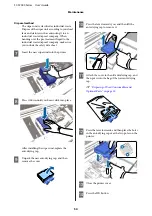
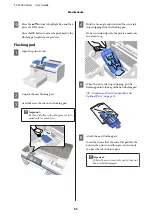
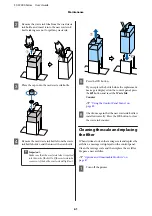
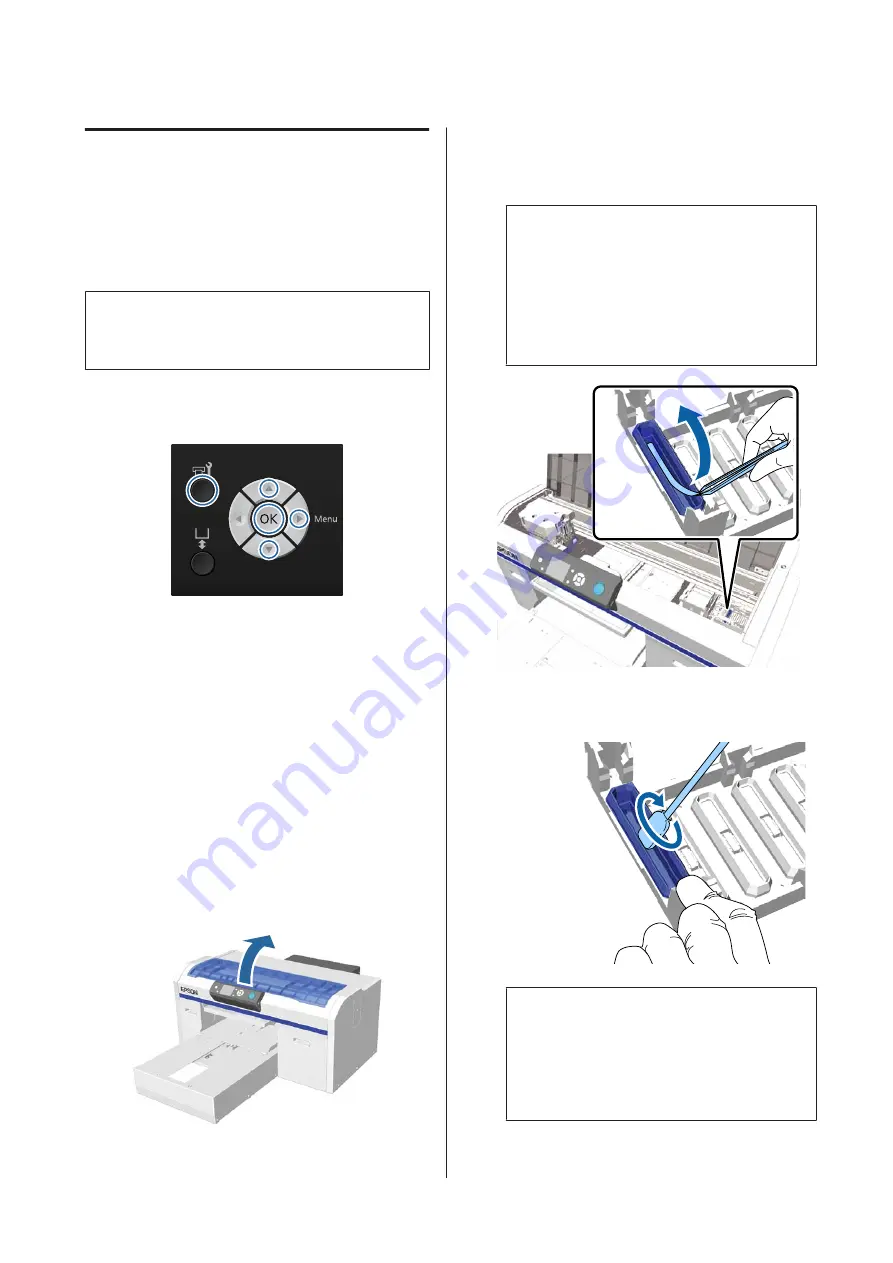
If there is a lump or film of waste liquid stuck to
the suction cap, remove it with the supplied pair
of tweezers.
c
Important:
❏
Do not rub the cap section hard. If the
cap is damaged, air may leak and the
print head may dry or become difficult to
clean.
❏
Do not use any tweezers such as metal
tweezers other than the supplied pair.
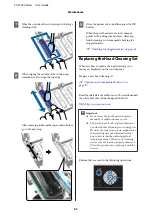
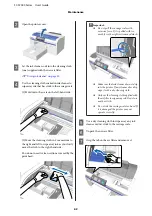
F
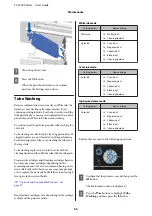
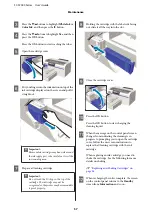
Wipe the inside of the suction cap while rotating
the thin cleaning stick.
c
Important:
Make sure ink cleaner does not drip onto the
anti-drying caps. If any cleaner does drip,
wipe it with a dry cleaning stick. If cleaner is
left on the anti-drying caps, the print head
nozzles could become clogged.
SC-F2000 Series User’s Guide
Maintenance
51

