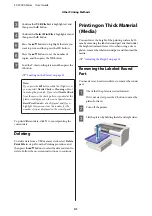
C
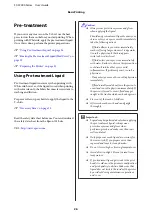
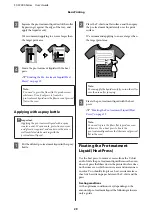
Squeeze the pre-treatment liquid out of the roller
by pressing it against the edge of the tray, and
apply the liquid evenly.
We recommend applying to an area larger than
the target print area.
D
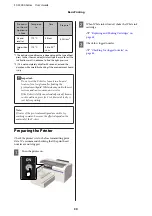
Fixate the pre-treatment liquid with the heat
press.
U
“Fixating the Pre-treatment Liquid (Heat
Note:
You need to press the fibers flat to produce even
whiteness. Use a heat press to fixate the
pre-treatment liquid since the fibers are not pressed
flat in the oven.
Applying with a spray bottle
c
Important:
Applying the pre-treatment liquid with a spray
creates a mist. Wear a mask, protective eye-wear,
and gloves as required, and make sure the area is
well ventilated while working with the
pre-treatment liquid.
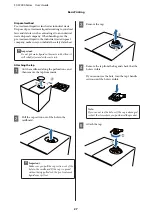
A
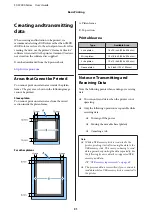
Put the diluted pre-treatment liquid in the spray
bottle.
B
Place the T-shirt on a flat surface, and then spray
the pre-treatment liquid evenly over the print
surface.
We recommend applying to an area larger than
the target print area.
Note:
You can apply the liquid evenly if you run the roller
over the area after spraying.
C
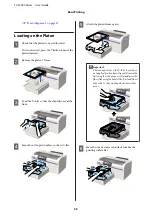
Fixate the pre-treatment liquid with the heat
press.
U
“Fixating the Pre-treatment Liquid (Heat
Note:
You need to press the fibers flat to produce even
whiteness. Use a heat press to fixate the
pre-treatment liquid since the fibers are not pressed
flat in the oven.
Fixating the Pre-treatment
Liquid (Heat Press)
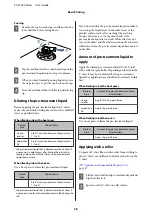
Use the heat press to remove creases from the T-shirt
and to fixate the pre-treatment liquid. Because the oven
does not press the fibers down, the printed surface does
not become even which causes creases and unevenness
in color. You should also place a heat-resistant release
sheet such as silicon paper between the T-shirt and the
press.
Fixating conditions
As the optimum conditions vary depending on the
amount of pre-treatment liquid, the following values are
only a guide.
SC-F2000 Series User’s Guide
Basic Printing
29

