Rev. B
2-19
Setup
TM-P60 with Peeler Technical Reference Guide
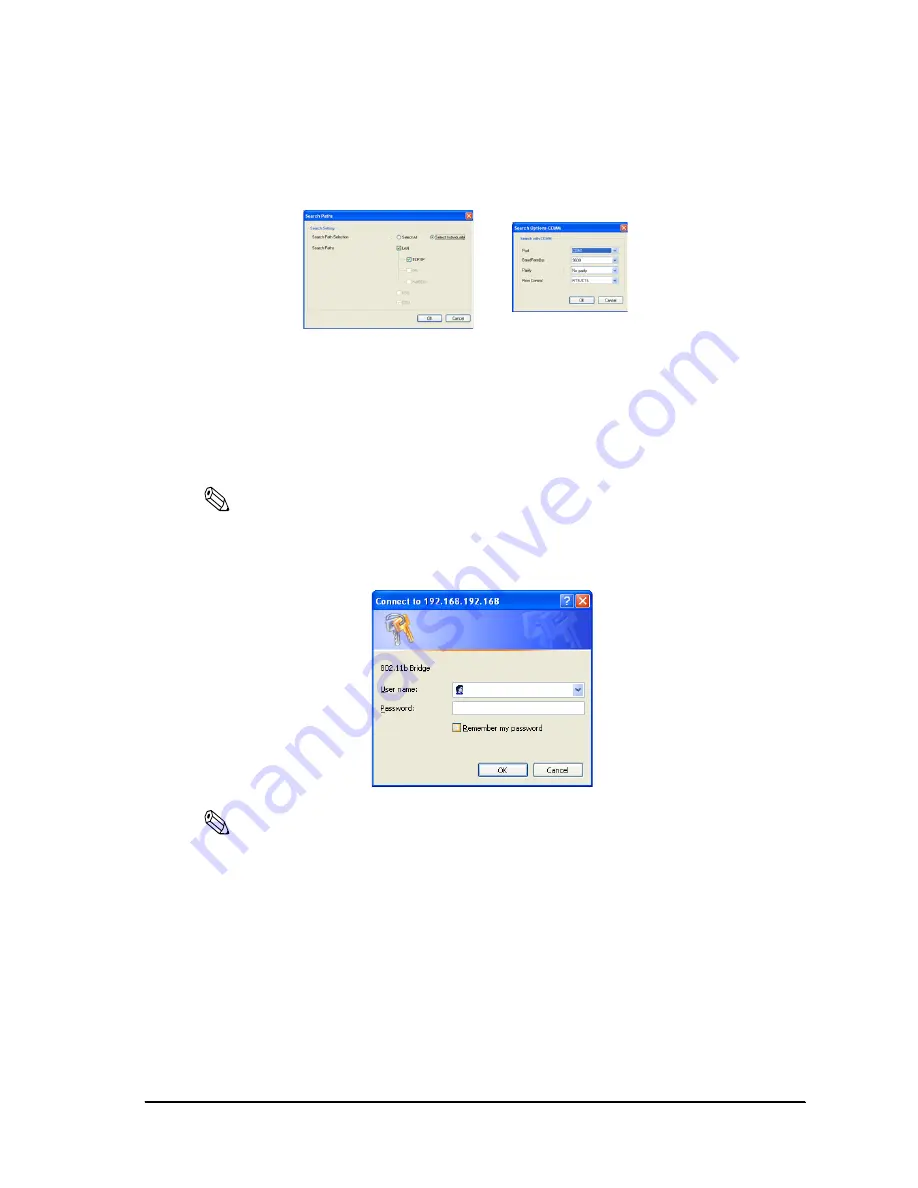
“Search Path“; Menu:Tool -> “Search Method.“ (You should check “Search Path
selection: select All“)
“Search Option COM“; Menu:Tool -> “Search Option” -> “COM.“
When you use a browser for setup
1. Start your Web browser (Ex. Internet Explorer)
2. Enter the IP address of the printer into the address bar, and press Enter key.
Note:
The IP address is printed at “Confirming the current LAN setting of the printer” on page 2- 15.
3. The browser displays a dialog box requesting a user name and password. Click OK without
entering any user name or password.
Note:
If the dialog box doesn’t appear, confirm the IP address (printer and host PC) and host PC’s subnet
mask.
This printer doesn’t have any password at shipped. When you registered a password into the printer,
you have to enter it on the dialog box. For setting password, see “Password” on page A- 40.
Search Method
Search Option COM
Summary of Contents for Mobilink TM-P60
Page 1: ...TM P60 with Peeler Technical Reference Guide EPSON English 410383801 Rev B ...
Page 2: ......
Page 10: ...viii ...
Page 26: ...1 6 General Information Rev B ...
Page 114: ...A 42 Wireless LAN Setup Detailed Information Rev B ...
Page 118: ...Wireless LAN Network Composition B 4 Rev B ...
Page 120: ...C 2 Character Code Tables Rev B C 2 Page 1 Katakana ...
Page 122: ...C 4 Character Code Tables Rev B C 4 Page 3 PC860 Portuguese ...
Page 124: ...C 6 Character Code Tables Rev B C 6 Page 5 PC865 Nordic ...
Page 126: ...C 8 Character Code Tables Rev B C 8 Page 17 PC866 Cyrillic 2 ...
Page 128: ...C 10 Character Code Tables Rev B C 10 Page 19 PC858 Euro ...
Page 136: ...D 6 System Planning Rev B ...
Page 147: ......
Page 148: ...EPSON SEIKO EPSON CORPORATION ...


