A-28
Wireless LAN Setup Detailed Information
Rev. B
A.3 Setting Using a Web Browser
The TM-P60 with Peeler has a function to change settings from a PC on which TMNetWinConfig
isn't installed by using a browser such as Internet Explorer.
Note:
Be sure to use Microsoft Internet Explorer 5.0 or later.
A.3.1 Operation
Note:
Set your Web browser so that it does not use a proxy server.
1. Start Windows Internet Explorer (or your Web browser).
2. Input the IP address of the TM-P60 with Peeler in the browser address bar and press
Enter
(Ex. http://192.168.192.168).
Note:
You can confirm the IP address by printing a status sheet. See “Status sheet printing” on page 3-4 for
details.
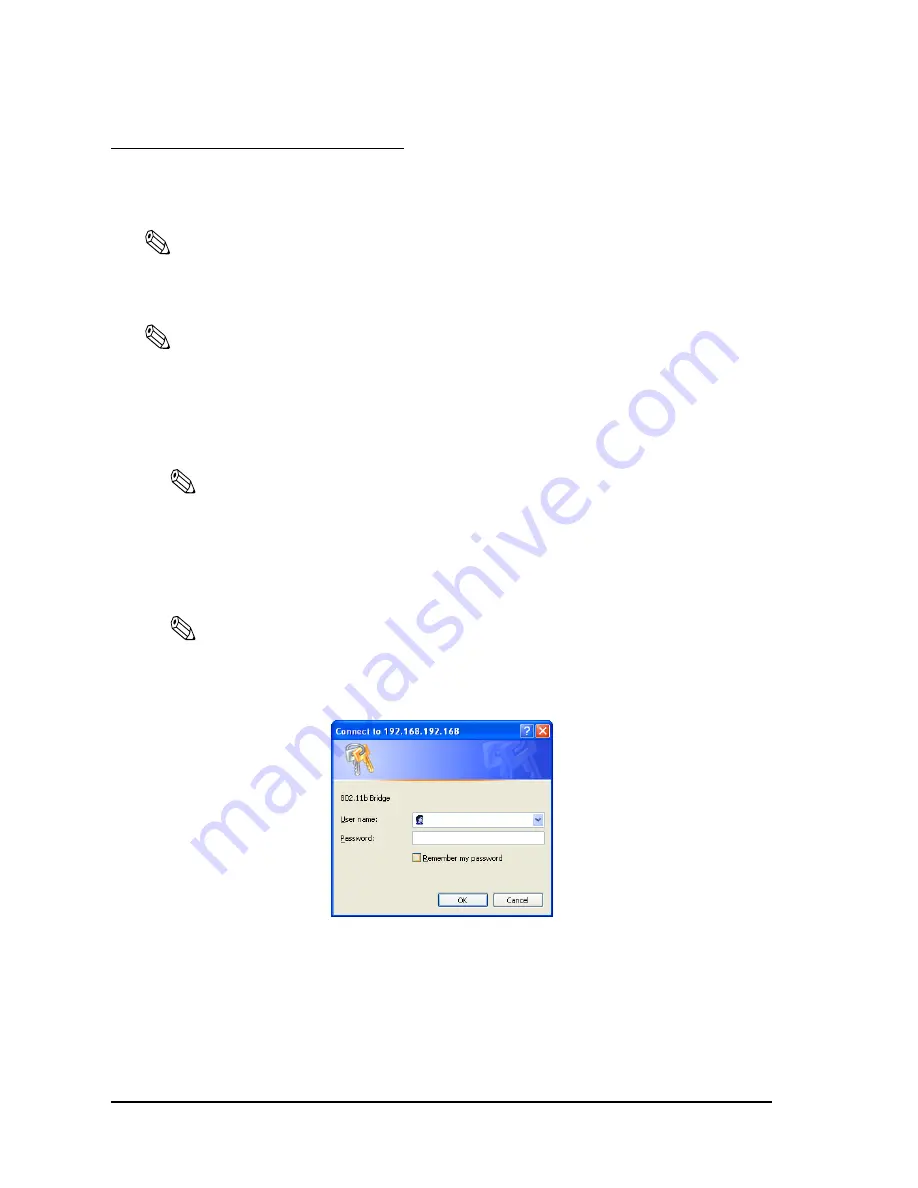
3. The browser displays a dialog box requesting a user name and password. Enter your
username and password.
Note:
If you are using the default settings of the TM-P60 with Peeler, click OK without entering a user
name or password. If a password is required, you have to contact the Administrator of your wireless
LAN. When you wish to reset the printer to the default setting, see “Resetting the printer” on page 3-
5.
Summary of Contents for Mobilink TM-P60
Page 1: ...TM P60 with Peeler Technical Reference Guide EPSON English 410383801 Rev B ...
Page 2: ......
Page 10: ...viii ...
Page 26: ...1 6 General Information Rev B ...
Page 114: ...A 42 Wireless LAN Setup Detailed Information Rev B ...
Page 118: ...Wireless LAN Network Composition B 4 Rev B ...
Page 120: ...C 2 Character Code Tables Rev B C 2 Page 1 Katakana ...
Page 122: ...C 4 Character Code Tables Rev B C 4 Page 3 PC860 Portuguese ...
Page 124: ...C 6 Character Code Tables Rev B C 6 Page 5 PC865 Nordic ...
Page 126: ...C 8 Character Code Tables Rev B C 8 Page 17 PC866 Cyrillic 2 ...
Page 128: ...C 10 Character Code Tables Rev B C 10 Page 19 PC858 Euro ...
Page 136: ...D 6 System Planning Rev B ...
Page 147: ......
Page 148: ...EPSON SEIKO EPSON CORPORATION ...


