Zero 88 FLX Lighting Console
–
User Manual
Page
41
of
64
Patch Wizard (adding fixtures)
To add fixtures, such as additional dimmers, LEDs, moving
lights, effect machines etc, you need to use the Patch
Wizard, which is the second option within the Setup
window. Press
Patch Wizard
on the left hand side of the
display and the Patch Wizard window will appear and
guide you through the process.
It may be useful to first collate all the information you need
into a spreadsheet (or more likely, scribbled onto the
lighting plan) before commencing the patch on ZerOS, as
incorrectly entered data can result in the rig being
unusable.
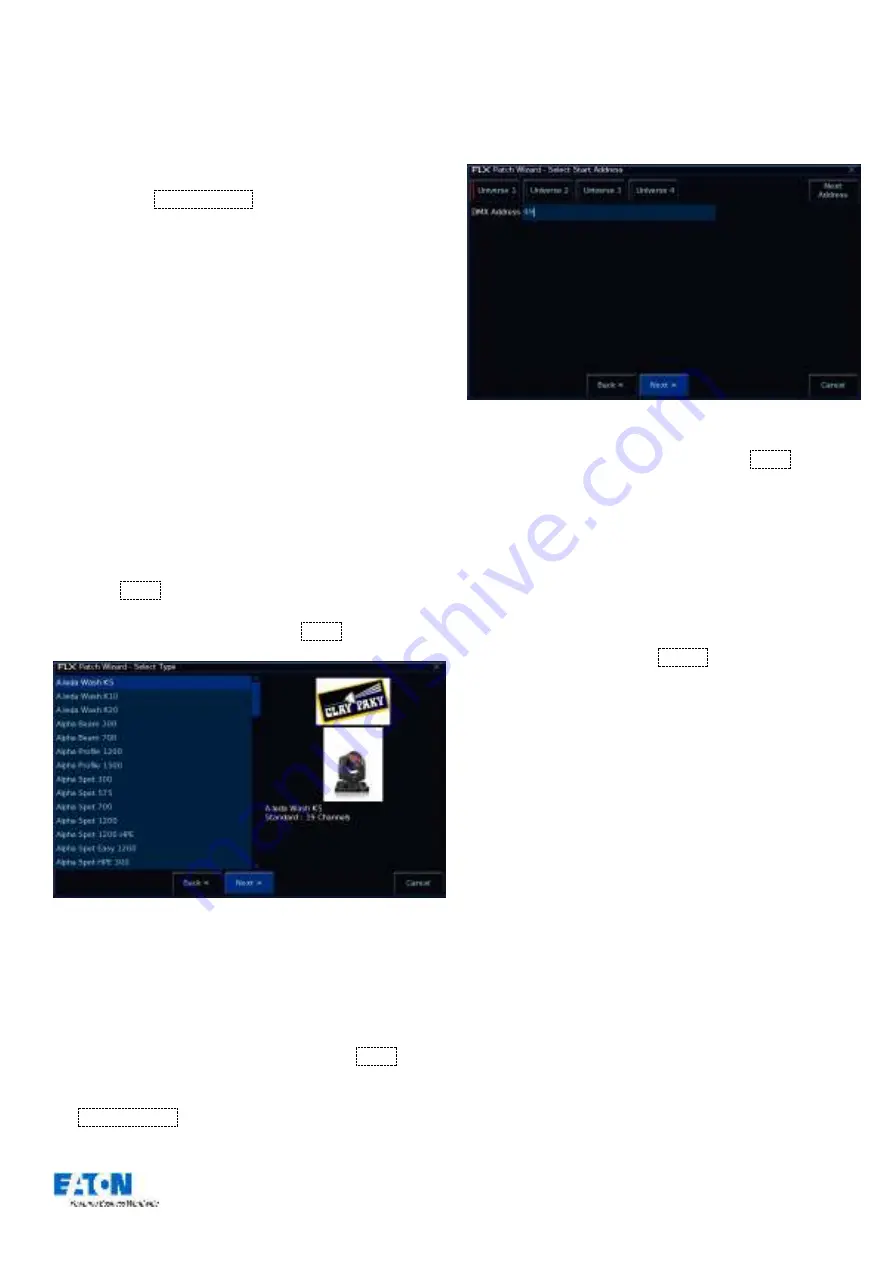
First, the wizard asks you to select the fixture’s
manufacturer. Scroll down (or use the curser keys) to
select the required manufacturer (eg Clay Paky). If you
have a keyboard connected, you can press the C key to
jump straight to manufacturers beginning with C.
The first option in the list of Manufactures is <Standard
Fixtures>. This contains generic profiles for fixtures such
as “RGB”, “RGBWA”, “Video 1ch” and “ Scroller”.
Press the
Next
button to be shown a list of fixtures from
your chosen manufacturer. Select the fixture type required
(eg “A.leda Wash K5”) and press the
Next
button.
Selecting a fixture to add
If the fixture has multiple “modes”, the next screen will
allow you to select the fixture’s mode. It
is important that
the mode set here matches the mode set on the fixture - if
in doubt, consult the fixture’s operating manual for details.
Once the mode has been selected, press the
Next
button
to move on and enter the DMX address for the fixture. If
you have not yet set this on the fixtures themselves, press
the
Next Address
button and the desk will calculate a
DMX address for you based on the existing patch. It is
important here to ensure that the correct DMX universe is
selected.
Setting the DMX address
Once the address is configured, press the
Next
button
and enter the quantity of the fixture required. The monitor
screen will tell you the number of fixtures and DMX
channels remaining to ensure you do not exceed these
limits.
The final step in the Patch Wizard is to assign a fixture
number to the fixtures. The fixture number is the number
you will refer to the fixture as within the desk software, and
defines where that fixture will be located on the faders.
Enter the number and press
Finish
.
The Patch Wizard is now complete and your fixtures have
been assigned. The fixtures should now have moved to
their “Home” positions
(s
ee “
43 for info).
You can repeat the Patch Wizard for every group of
fixtures you have.
Multi-part fixtures
For multi-part fixtures (eg Lamp + Scroller) there are two
separate DMX addresses required, one for the lamp and
one for the scroller. When setting the DMX address, an
additiona
l button will be shown called “Fixture Part”. Use
this to set a different address for each part of the fixture.


