Zero 88 FLX Lighting Console
–
User Manual
Page
30
of
64
Cue Settings
Cue Setting can be changed via the
“
Cue Setup
” window.
To open this, navigate to the settings column of the
Playback Window, select the cue required, then
press Enter (or double touch/click the field). The Cue
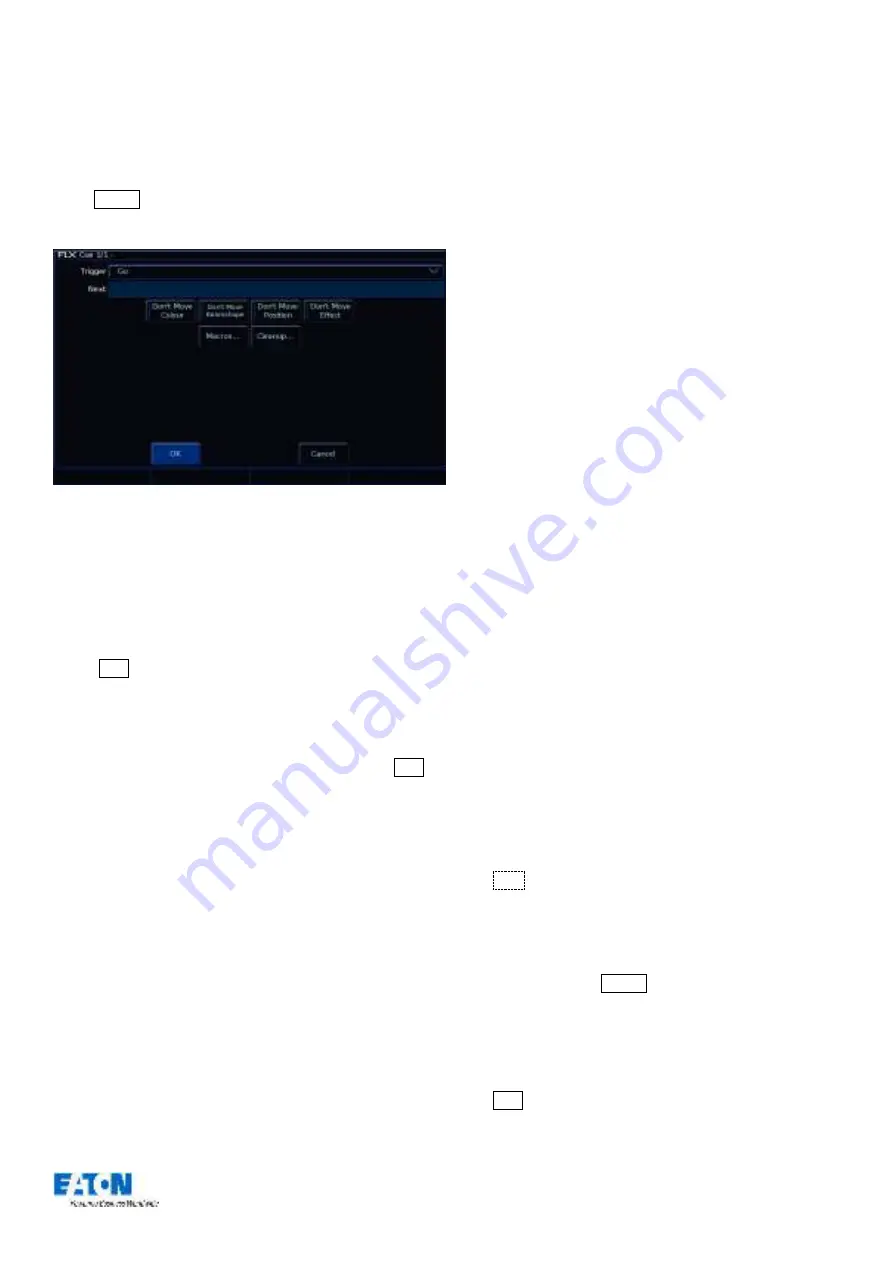
Setup window appears:
Cue Setup window
Trigger (Go, Auto, Timecode etc)
This option allows you to
change what’s going to trigger
each individual cue. By default, this is “Go”, but the
following options are available:
GO
This option will only trigger the selected cue when
the Go button is pressed. This is the standard way a
cue is triggered, and is chosen by default.
Auto (with previous cue)
This will trigger the selected cue at the same time as
the previous cue. For example, when you press Go on
the previous cue, this cue will also be triggered and run
at the same time. When this option is selected
, a “Wait
Time” field will appear just below the drop down. This
allows you to enter a wait time, for example 5 seconds.
This means the selected cue will be triggered 5
seconds after the previous cue is triggered, even if the
previous cue is still running
as it’s fade time is longer
than 5 seconds.
Auto (after previous cue)
This option is similar to above, but it will trigger the
selected cue only once the previous cue’s fade time has
been completed. Again, when this option is selected, a
“Wait Time” option
will appear under the drop down.
Real Time
This option allows you to trigger the cue at a specific
time in the day (a “real time”). For example, at 8am, or
7.30pm.
MIDI
This option allows you to trigger the cue at a specific
time during a MIDI Time Code (MTC) signal.
For more
information on MTC, please see “
Please note: to change the timecode displayed in the cue list window, just
tap the time displayed along the bottom of the window to cycle through
the available options (on FLX there’s “Real time” and “MIDI Time Code”).
Next cue
“Next cue”
is the cue number which automatically gets
selected after this cue is executed. This functionality is
very useful if a s
cene is “
cut
”
from the show
–
you can tell
the FLX to skip the cues in that scene and jump straight to
a different cue. If this field is empty, FLX will automatically
select cues sequentially.
Don’t Move on Dark settings
This option allows you to disable a specific attribute from
moving in dark during this specific cue. For example, you
may not want colour scrollers changing during a very quiet
scene, so during that scene “Don’t Move Colour” can be
selected.
F
or more information about this, see “
” on page
Macros
Macros allow you to automatically run user macros or
trigger (and release) other playbacks automatically during
this cue. For example, if you want a chase on cue 20, you
could create that chase on a separate playback, and then
trigger it from Cue 20 in your Master Playback.
To do this, press the “Add” button next to either of the
three options. This will open a new window which displays
all the Macros or Playbacks (depending which you
selected). Select the Macro / Playback you wish to trigger.
This will add it into the previous window. You can repeat
this to trigger multiple macros / playbacks at the same
time. To remove a macro / playback you’ve added, simply
select it in this window. Once finished, select
the
OK
button.
Playing back cues
Before playing back the programmed cues, it
’
s suggested
to remove any unrecorded commands from the command
line by pressing the Clear button twice.
Raising the playback’s fad
er to full will automatically trigger
the first cue within the playback.
To output the next memory in the playback, simply press
the Go button. Each time you press it, the console will
continue down the list one cue at a time.


