Vigor2910 Series User’s Guide
167
I
I
n
n
s
s
t
t
a
a
l
l
l
l
a
a
V
V
i
i
r
r
t
t
u
u
a
a
l
l
T
T
A
A
C
C
l
l
i
i
e
e
n
n
t
t
1.
Insert the CD-ROM bundled with your Vigor router. Find
VTA Client
tool in the
Utility menu and click on the Install button.
2.
Follow the on-screen instructions of the installer. The last step will ask you to restart
your computer. Click
OK
to restart your computer.
3.
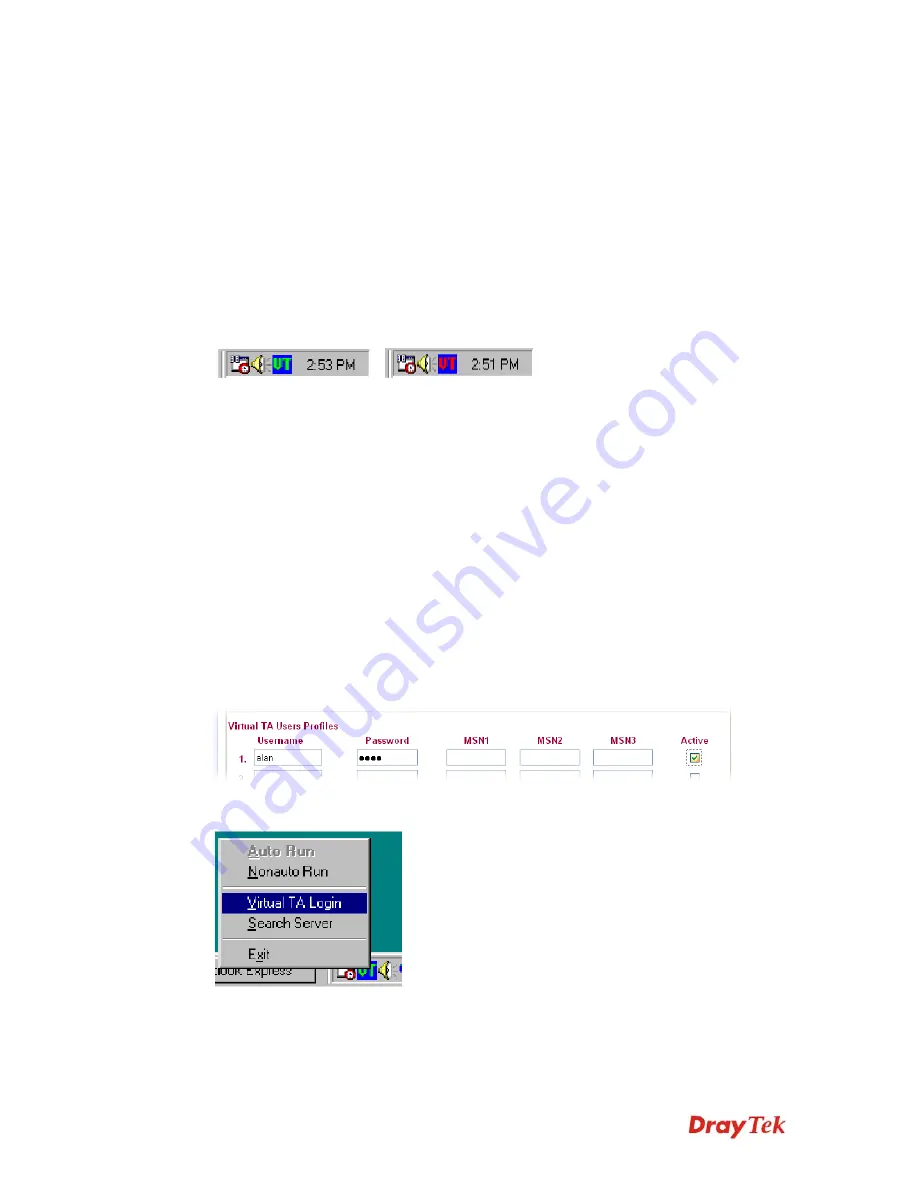
After the computer restarts, you will see a VT icon in the taskbar (usually in the
bottom-right of the screen, near the clock) as shown below.
When the icon text is GREEN, the Virtual TA client is connected to the Virtual TA server and
you can launch your CAPI-based software to use the client to access the router. If the icon
text is RED, it means the client has lost the connection to the server. This time, please check
the physical Ethernet connection.
C
C
o
o
n
n
f
f
i
i
g
g
u
u
r
r
e
e
a
a
V
V
i
i
r
r
t
t
u
u
a
a
l
l
T
T
A
A
C
C
l
l
i
i
e
e
n
n
t
t
/
/
S
S
e
e
r
r
v
v
e
e
r
r
Since the Virtual TA application is a client/server network model, you must configure it on
both ends to run properly your Virtual TA application.
By default, the Virtual TA server is enabled and the Username/Password fields are left blank.
Any Virtual TA client may login to the server. Once a single Username/Password field has
been filled in, the Virtual TA server will only allow clients with a valid Username/Password
to login. The screen of Virtual TA configuration is presented below.
U
U
s
s
e
e
r
r
P
P
r
r
o
o
f
f
i
i
l
l
e
e
Note that creating a single user access account will limit the access to the Virtual TA server
to only the specified account holders.
Assume you did not acquire any MSN service from your ISDN network provider.
On the server
- Click
Virtual TA (Remote CAPI) Setup
link, and fill in the Username and
Password fields. Check the
Active
box to enable the account.
On the client
- Right-click the mouse on the VT icon. The following pop-up menu will be
shown.
Summary of Contents for Vigor2910 Series
Page 1: ......
Page 2: ...Vigor2910 Series User s Guide ii ...
Page 6: ...Vigor2910 Series User s Guide vi ...
Page 24: ...Vigor2910 Series User s Guide 14 This page is left blank ...
Page 265: ...Vigor2910 Series User s Guide 255 ...


