


Chapter 6: Channel Strip Controls
69
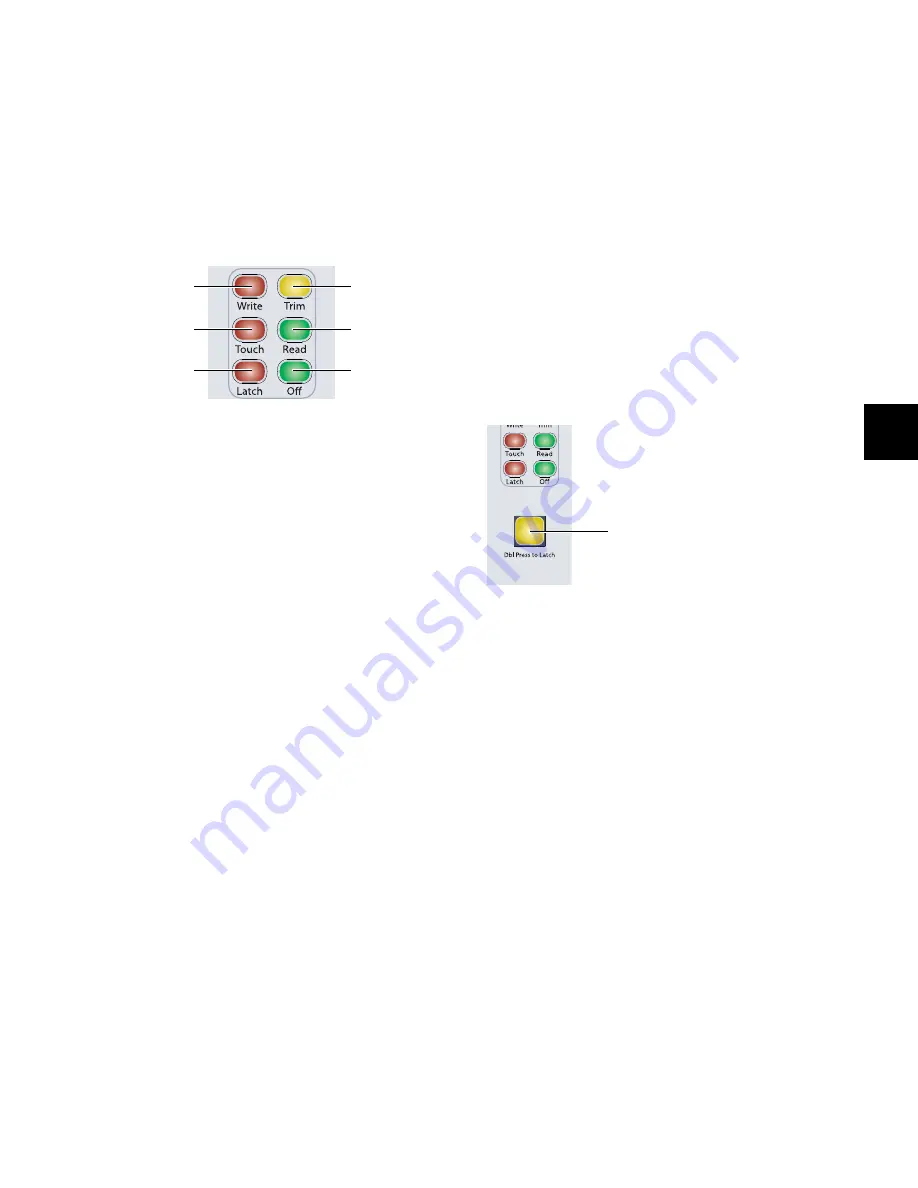
Automation Mode Controls
The Automation Mode controls are used to display and set au-
tomation modes. These switches light to indicate that at least
one channel is in that automation mode. If multiple channels
are selected and set to different automation modes, all appli-
cable mode switches are lit.
These Automation Mode controls mirror the function of the
on-screen Automation Mode selector for each track, and let
you change automation modes during playback.
To set the automation mode of one or more channels:
1
Hold an Automation Mode switch (Write, Touch, Latch,
Trim, Read, or Off).
2
Press the Select switches on the channels whose automation
mode you want to set.
To set the automation mode of one or more selected channels:
1
Press the Do To Selected switch.
2
Press the Select switches on the channels whose automation
mode you want to set.
3
Press an Automation Mode switch (Write, Touch, Latch,
Trim, Read, or Off).
To set the automation mode of all channels:
1
Press the Do To All switch.
2
Press an Automation Mode switch (Write, Touch, Latch,
Trim, Read, or Off).
Write Switch
The Write switch indicates or sets the automation mode for
the selected tracks to Write mode.
Touch Switch
The Touch switch indicates or sets the automation mode for
the selected tracks to Touch mode.
Latch Switch
The Latch switch indicates or sets the automation mode for
the selected tracks to Latch mode.
Trim Switch
The Trim switch indicates or sets the automation mode for the
selected tracks to Trim mode.
Read Switch
The Read switch indicates or sets the automation mode for the
selected tracks to Read mode.
Off Switch
The Off switch indicates or sets the automation mode for the
selected tracks to Off.
Talkback Switch
Two Talkback switches, located at the bottom of each Chan-
nel Strip Master section on the Main Unit, provide mirrored
control of the D-Control Talkback function.
The Talkback switches can follow momentary or latched be-
havior. If held, the switch is active only when pressed down.
If rapidly double-pressed, the switch latches on and flashes to
indicate that talkback is active. Press the switch again to turn
off talkback.
Talkback can be activated automatically. See “Auto Talkback
Switch” on page 123 for more information.
Talkback level is set with the Talkback controls in the Monitor
section. See “Talkback/Listen System” on page 122 for more
information.
Automation Mode controls
Automation Trim
Automation Read
Automation Off
Mode switch
Mode switch
switch
Mode switch
Automation Write
Mode switch
Automation Touch
Mode switch
Automation Latch
Mode switch
Talkback switch
Talkback switch
Summary of Contents for D-Control
Page 1: ...D Control Version 8 0 ...
Page 4: ......
Page 8: ...D Control Guide viii ...
Page 9: ...Part I Introduction ...
Page 10: ......
Page 14: ...D Control Guide 6 ...
Page 21: ...Part II Installation ...
Page 22: ......
Page 40: ...D Control Guide 32 ...
Page 54: ...D Control Guide 46 ...
Page 55: ...Part III Reference ...
Page 56: ......
Page 78: ...D Control Guide 70 ...
Page 134: ...D Control Guide 126 ...
Page 146: ...D Control Guide 138 ...
Page 156: ...D Control Guide 148 ...
Page 172: ...D Control Guide 164 ...
Page 176: ...D Control Guide 168 ...
Page 183: ......


