


Chapter 3: Setting Up D-Control
31
Moving the Keyboard and Trackball
(Optional)
You can move the trackball on the D-Control Main Unit to the
left of the computer keyboard.
To move the keyboard and trackball:
1
Using a 5/64-inch hex wrench, remove the screws in the
computer keyboard panel and the trackball panel on the
D-Control Main Unit.
2
Exchange the position of the trackball and keyboard panels,
and carefully rearrange their cables underneath the panels.
3
Reattach the computer keyboard and trackball panels to the
Main Unit.
Replacing the Trackball with an
External Trackball or Mouse (Optional)
If you prefer to work with your own trackball or mouse, you
can remove the D-Control trackball from the D-Control Main
Unit and replace it with the provided blank plate, and place
your USB-compatible trackball or mouse on top of the blank
plate.
To remove the trackball:
1
Using a 5/64-inch hex wrench, remove the trackball plate
on the D-Control Main Unit.
2
Disconnect the Molex plug from the P1 connector on the
printed circuit board on the bottom of the trackball plate.
3
Disconnect the Molex plug that comes from under the
D-Control keyboard from the trackball assembly.
4
Remove the screws holding the printed circuit board to the
trackball plate. Set the D-Control trackball plate aside.
5
Locate the blank plate and install the printed circuit board
on the underside of the blank plate.
6
Locate the USB connector on the printed circuit board, and
connect your trackball or mouse to it.
7
Connect the Molex plug you disconnected in Step 3 to the
P2 connector on the printed circuit board. Make sure you fit
the connector and plug together correctly (so that the plug
snaps into place) to maintain polarity of this connection.
8
Route the cable of your trackball or mouse through the slot
in the blank plate.
9
Attach the blank plate to the Main Unit.
Reinstalling the Trackball
If you need to reinstall the factory trackball on a D-Control
Main Unit, carry out the following procedure.
To replace the trackball:
1
Using a 5/64-inch hex wrench, remove the blank plate from
the Main Unit.
2
Disconnect the Molex plug from the P2 connector on the
printed circuit board.
3
Disconnect the external trackball or mouse from the USB
connector on the printed circuit board.
4
Remove the screws holding the printed circuit board to the
bottom of the blank plate. Set the blank plate aside.
5
Locate the D-Control trackball plate and install the printed
circuit board on the underside of the trackball plate.
6
Connect the Molex plug that runs from the D-Control track-
ball assembly to the P1 connector on the printed circuit board.
Make sure you fit the connector and plug together correctly
(so that the plug snaps into place) to maintain polarity of this
connection.
7
Connect the Molex cable that comes from under the D-Con-
trol keyboard to the connector on the D-Control trackball as-
sembly.
8
Reattach the trackball plate to the Main Unit.
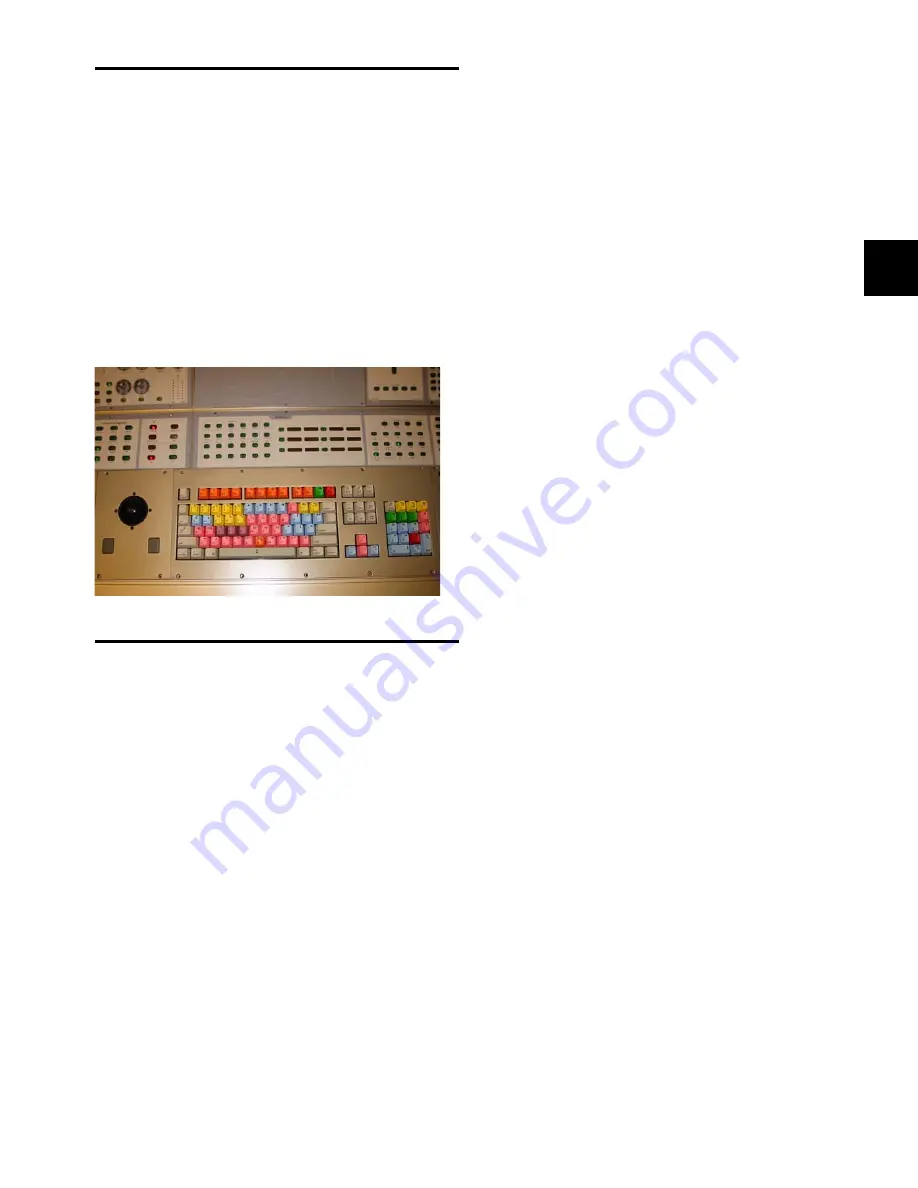
Figure 47. Trackball located on left side of keyboard on the Main Unit
Summary of Contents for D-Control
Page 1: ...D Control Version 8 0 ...
Page 4: ......
Page 8: ...D Control Guide viii ...
Page 9: ...Part I Introduction ...
Page 10: ......
Page 14: ...D Control Guide 6 ...
Page 21: ...Part II Installation ...
Page 22: ......
Page 40: ...D Control Guide 32 ...
Page 54: ...D Control Guide 46 ...
Page 55: ...Part III Reference ...
Page 56: ......
Page 78: ...D Control Guide 70 ...
Page 134: ...D Control Guide 126 ...
Page 146: ...D Control Guide 138 ...
Page 156: ...D Control Guide 148 ...
Page 172: ...D Control Guide 164 ...
Page 176: ...D Control Guide 168 ...
Page 183: ......


