Part
Part Number
Description
or
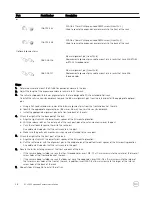
106-002-452
M5-0.8 x 10 mm Phillips pan-head SEMS screw (Quantity: 2)
Used to secure the expansion enclosure rails to the front of the rack
106-002-453
M5-0.8 x 16 mm Phillips pan-head SEMS screw (Quantity: 2)
Used to secure the expansion enclosure rails to the back of the rack
Optional alignment pins
036-028-016
3.8 mm alignment pin (Quantity: 8)
Replacement alignment pin used to mount rails in racks that have M5, #10-32,
or #12-24 threaded holes
036-028-017
4.8 mm alignment pin (Quantity: 8)
Replacement alignment pin used to mount rails in racks that have M6
threaded holes
Steps
1.
Determine where to mount the SCv360 expansion enclosure in the rack.
2.
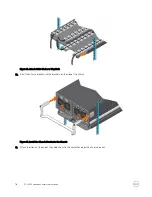
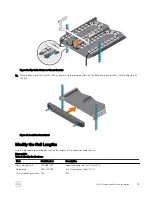
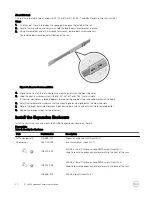
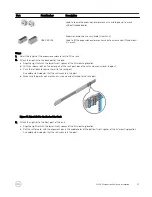
Adjust the length of the expansion enclosure rack rails to fit the rack.
3.
The rails are shipped with 6.8 mm alignment pins that are designed to fit into a standard Dell rack.
To install the rails in a nonstandard rack, remove the 6.8 mm alignment pins from the rails and install the appropriate optional
pins.
a. Using a flat-head screwdriver, remove the 6.8 mm alignment pins from the front and back of the rails.
b. Identify the appropriate alignment pins (3.8 mm or 4.8 mm) to use in the nonstandard rack.
c. Install the appropriate alignment pins onto front and back of the rails.
4.
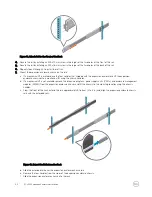
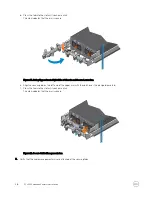
Attach the right rail to the back post of the rack.
a. Align the right rail with the lower two U spaces of the 4U mounting location.
b. With the release latch on the outer part of the rack post, place the catch mechanism over the post.
c. Push the rail back to secure the rail to the rack post.
An audible click indicates that the rail is secure in the post.
d. Make sure the post/catch mechanism is secure and attached to the rack post.
5.
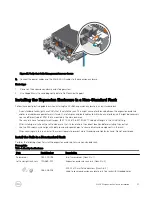
Attach the right rail to the front post of the rack.
a. Align the right rail with the lower two U spaces of the 4U mounting location.
b. Pull the rail forward, with the alignment pins in the middle holes of the bottom two U spaces of the 4U mounting location.
An audible click indicates that the rail is secure in the post.
6.
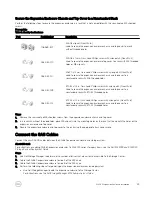
Secure the rail by installing screws at the front and back of the rack.
•
If the rails are being installed in a rack that has threaded holes, insert M4-0.7 x 10 mm screws into the smaller of the two rail
screw holes at the front and back of the rack.
•
If the rails are being installed in a rack that does not have threaded holes, insert M5-0.8 x 10 mm screws into the larger of
the two rail screw holes at the front of the rack. In addition, insert M5-0.8 x 16 mm screws into the larger of the two rail
screw holes at the back of the rack.
7.
Repeat steps 4 through 6 to install the left rail.
28
SCv360 Expansion Enclosure Installation

