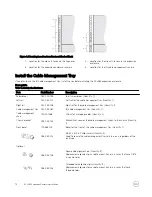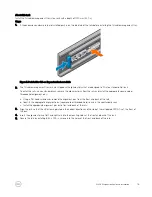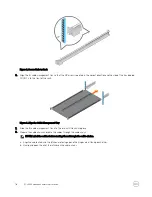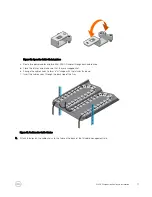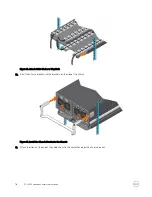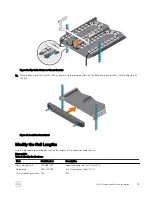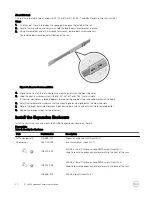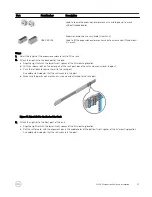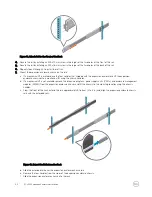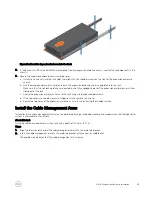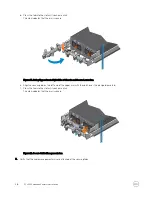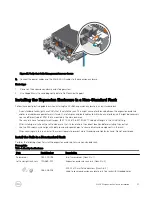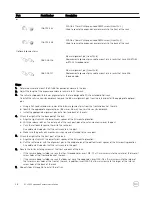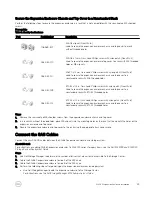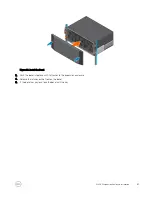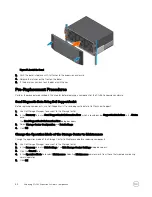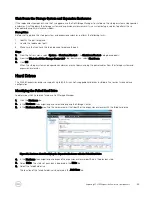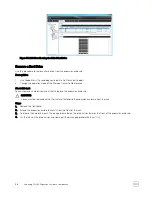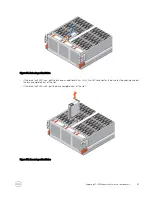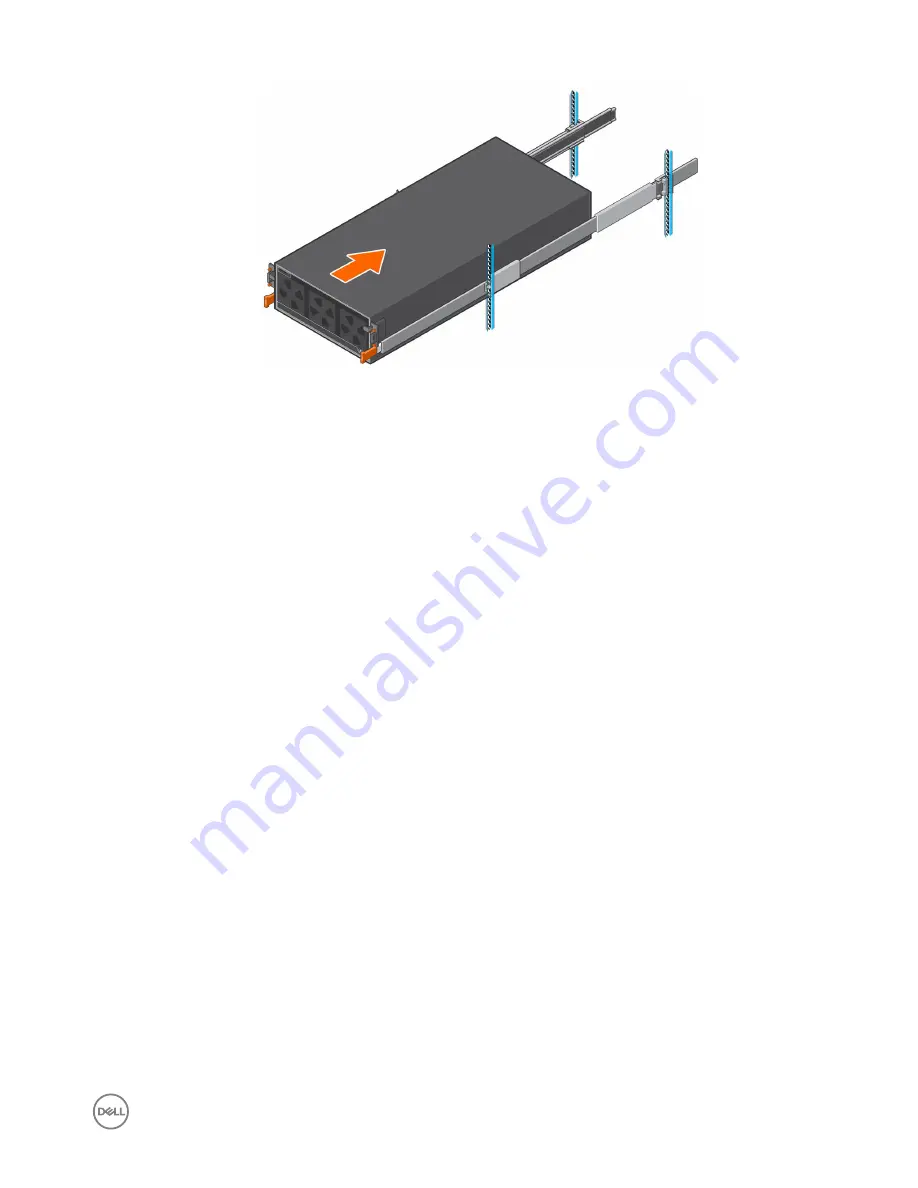
Figure 20. Mount the Expansion Enclosure into the Rack
8.
If the drives, fans, PSUs, and EMMs were removed from the expansion enclosure chassis, reinstall these components in the
chassis.
9.
Secure the expansion enclosure chassis and top cover.
a. Install the six clip nuts into the rack holes that align with the shoulder screws on the front of the expansion enclosure
chassis.
b. Use the orange enclosure latch handles to push the expansion enclosure chassis completely into the rack.
Make sure that the self-locking latches are pushed in and fully engaged to prevent the expansion enclosure chassis from
sliding out of the rack.
c. Secure the expansion enclosure chassis to the rack using the orange shoulder screws.
d. If the top cover is secured by two small shipping screws, remove the screws.
e. Secure the top cover of the expansion enclosure chassis to the rack using the shoulder screws.
Install the Cable Management Arms
Installation of the cable management arms must be performed during a scheduled maintenance window when the Storage Center
system is unavailable to the network.
About this task
Install the cable management arms into a rack with a depth of 1200 mm (47.2 in.).
Steps
1.
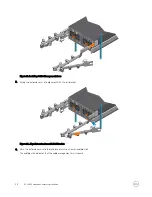
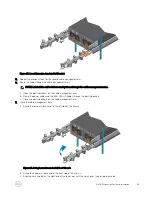
Align the retention latch end of the cable management arm with the enclosure bracket.
2.
Insert the cable management arm into the enclosure bracket until you hear an audible click.
The audible click indicates that the cable management arm is secure.
SCv360 Expansion Enclosure Installation
23

