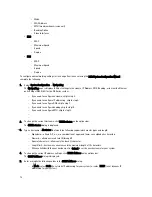
NOTE: To select the DHCP mode of IP addressing, select DHCP, and click Submit. The remaining
substeps in this step only need to be completed if you selected the Static mode of IP addressing for
the DR Series system.
– In New IP Address, type an IP address that represents the new IP address for your system.
– In Netmask, type an netmask address value that represents your system (the system IP address and
netmask identify the network to which your system belongs).
– In Gateway, type an IP address for the gateway associated with your system.
6.
Click Submit to have the DR Series system accept the new values (or click Cancel to display the Networking page).
The Updated IP Address dialog is displayed when the selection is successful (if you change the static IP address
manually, you need to use this IP address in the browser when you log back into the DR Series system).
7.
To configure DNS settings for your system, click Edit DNS on the options bar.
The Edit DNS dialog is displayed.
8.
Configure the following values in the Edit DNS page:
– In Domain Suffix, type a domain suffix to use (for example, acme.local); this is a required field.
– In Primary DNS, type an IP address that represents the primary DNS server for your system; this is a
required field.
– For Secondary DNS, type an IP address that represents the secondary DNS server for your system; this is
an optional field.
9.
Click Submit to have the DR Series system accept the new values (or click Cancel to display the Networking page).
The Updated DNS dialog is displayed when the selection is successful.
10. To configure Bonding settings for your system, click Edit Bonding on the options bar.
The Edit Bonding dialog is displayed.
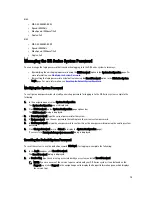
11. Select the Bonding configuration for the system by choosing one of the following options from the Bonding config
list:
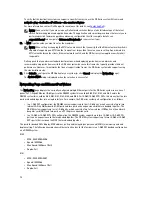
– ALB—configures adaptive load balancing (ALB), which is the default setting.
NOTE: ALB load balancing does not balance the load properly when your backup servers are on a
remote subnet. This is because ALB uses the address resolution protocol (ARP) and ARP updates are
subnet-specific. Because this is the case, ARP broadcasts and updates are not sent across the
router. Instead, all traffic is sent to the first interface in the bond. To resolve this ARP-specific issue,
make sure that your data source systems reside on the same subnet as the DR Series system.
– 802.3ad—configures dynamic link aggregation using the IEEE 802.ad standard.
CAUTION: If you change the existing bonding setting, the connection to the DR Series system may be
lost unless you are sure that the system can accept this bonding type.
12. Click Submit to have the DR Series system accept the new values (or click Cancel to display the Networking page).
The Updated Bonding dialog is displayed when the selection is successful.
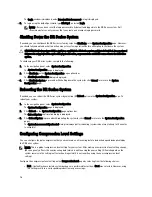
13. To configure a maximum transmission unit (MTU) setting for your system, click Edit MTU on the options bar.
The Edit MTU dialog is displayed.
NOTE: In computer networking, jumbo frames are Ethernet frames with more than 1500 bytes of payload (but
in some cases, jumbo frames can carry up to 9000 bytes of payload). Many Gigabit Ethernet switches and
Gigabit Ethernet network interface cards support jumbo frames. Some Fast Ethernet switches and Fast
Ethernet network interface cards also support jumbo frames.
Some computer manufacturers use 9000 bytes as the conventional limit for jumbo frame sizes. To support jumbo
frames used in an Internet Protocol subnetwork, both the host DR Series system (initiator or source) and the target
DR Series system have to be configured for 9000 MTU.
Consequently, interfaces using a standard frame size and those using the jumbo frame size should not be in the
same subnet. To reduce the chance of interoperability issues, network interface cards capable of supporting jumbo
frames require specific configurations to use jumbo frames.
73
Summary of Contents for PowerVault DX6112
Page 1: ...Dell DR Series System Administrator Guide ...
Page 32: ...32 ...
Page 70: ...70 ...
Page 86: ...86 ...
Page 100: ...For more information on Replication schedules see Creating a Replication Schedule 100 ...
Page 114: ...114 ...

