150
Adding and Replacing Parts
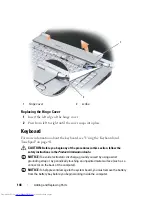
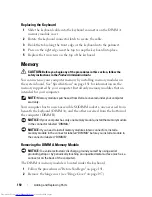
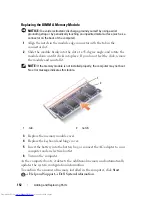
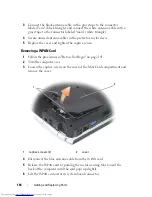
Replacing the Keyboard
1
Slide the keyboard cable into the keyboard connector on the DIMM A
memory module cover.
2
Rotate the keyboard connector latch to secure the cable.
3
Hook the tabs along the front edge of the keyboard into the palmrest.
4
Press on the right edge near the top to snap the keyboard into place.
5
Replace the two screws on the top of the keyboard.
Memory
CAUTION:
Before you begin any of the procedures in this section, follow the
safety instructions in the
Product Information Guide
.
You can increase your computer memory by installing memory modules on
the system board. See "Specifications" on page 181 for information on the
memory supported by your computer. Install only memory modules that are
intended for your computer.
NOTE:
Memory modules purchased from Dell are covered under your computer
warranty.
Your computer has two user-accessible SODIMM sockets, one accessed from
beneath the keyboard (DIMM A), and the other accessed from the bottom of
the computer (DIMM B).
NOTICE:
If your computer has only one memory module, install the memory module
in the connector labeled “DIMMA.”
NOTICE:
If you need to install memory modules in two connectors, install a
memory module in the connector labeled “DIMMA” before you install a module in
the connector labeled “DIMMB.”
Removing the DIMM A Memory Module
NOTICE:
To avoid electrostatic discharge, ground yourself by using a wrist
grounding strap or by periodically touching an unpainted metal surface (such as a
connector on the back of the computer).
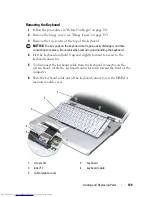
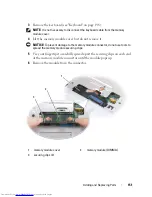
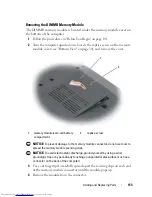
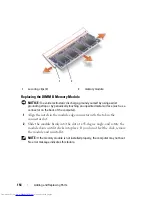
The DIMM A memory module is located under the keyboard.
1
Follow the procedures in "Before You Begin" on page 141.
2
Remove the hinge cover (see "Hinge Cover" on page 147).
Summary of Contents for Inspiron 1521
Page 1: ...w w w d e l l c o m s u p p o r t d e l l c o m Dell Inspiron 1521 Owner s Manual Model PP22L ...
Page 18: ...18 Finding Information ...
Page 32: ...32 About Your Computer ...
Page 46: ...46 Using the Keyboard and Touchpad ...
Page 54: ...54 Using a Battery ...
Page 82: ...82 Using ExpressCards ...
Page 86: ...86 Using the Memory Card Reader ...
Page 100: ...100 Securing Your Computer ...
Page 161: ...Adding and Replacing Parts 161 1 captive screws 2 2 cover 1 2 ...
Page 168: ...168 Adding and Replacing Parts ...
Page 170: ...170 Dell QuickSet Features ...
Page 180: ...180 Getting Help ...
Page 214: ...214 Glossary ...
Page 222: ...222 Index ...

