LS10 Installation and Operating Guide
Page 74
LS10 Installation & Operating Guide
Document # 9301H66300 Ver. 1.01
3.20.1 Add Macro
To add a Macro, select the
Add Macro
button. The virtual keyboard screen will appear where you enter
a Macro name.
Note
: This application accepts only Latin alphanumeric characters.
Enter a name that is meaningful. A name of up to 15 characters will be displayed. The new Macro name
will appear on the list and its
Actions
list will be blank.
Select the screen panel under
Actions for
<macro name>. Actions may now be added. Select
Add
After
to enter the first action. This will bring up the
Automation Edit Action
screen (for a description of
options available, see Figure 57 and text following it, on page 76).
Continue to define the Macro script by adding Actions before or after existing Actions (highlight existing
actions using the up/down keys or mouse scroll wheel). Existing Actions may also be highlighted and
edited (select the
Edit
button) or removed (select the
Delete
button).
3.20.2 Delete Macro
To delete a macro, highlight it on the list and select the
Delete Macro
button. A Delete/Cancel prompt
will appear.
Caution:
A macro may be deleted even if it is associated with an Event.
3.20.3 Copy Macro
This feature is useful to create a Macro similar to an existing Macro without reentering all the actions.
After the Macro is copied, just change or edit actions as needed.
To copy a Macro, first highlight the source macro, then press the
Copy Macro
button. A keyboard will
appear to enter the name of the new Macro. After entering the new Macro name, press OK to return to
the Macro list, where the new Macro will be added.
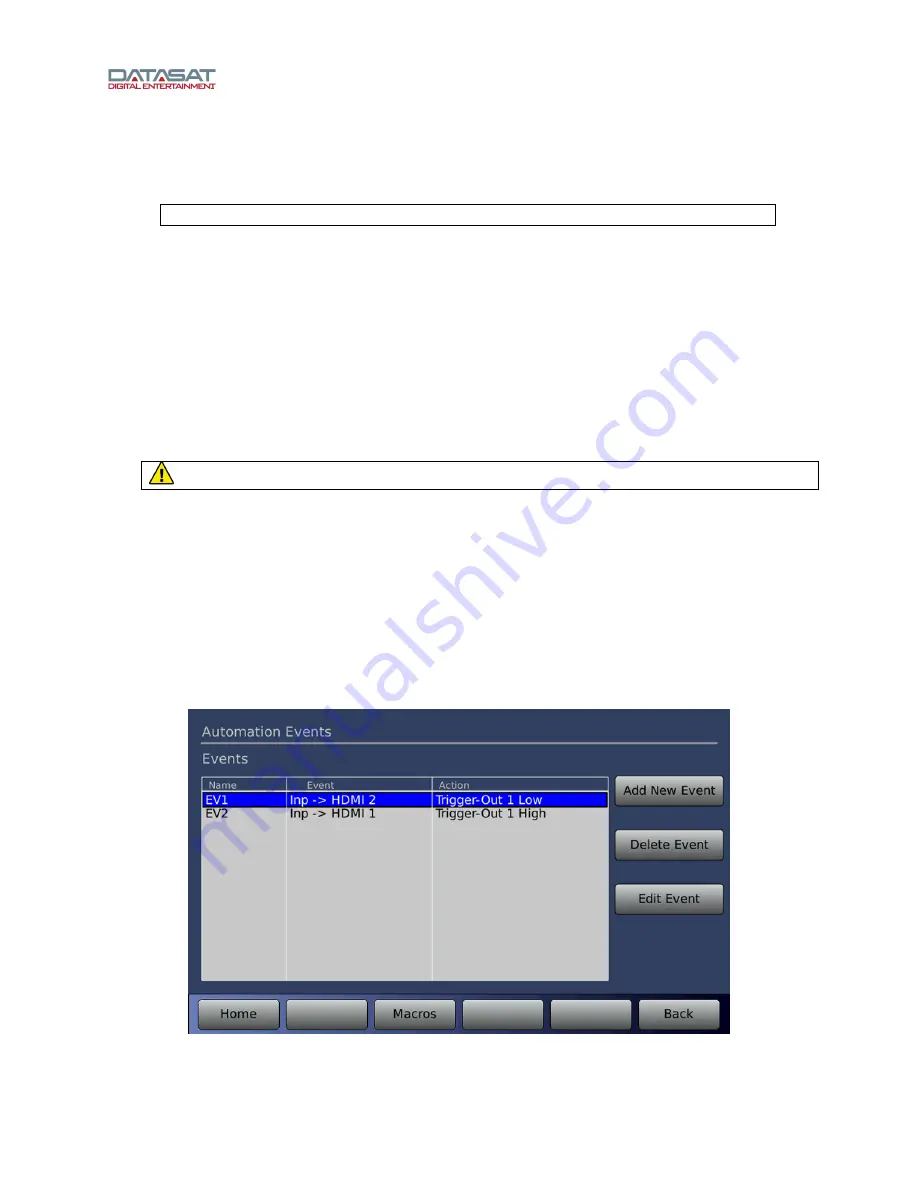
3.21 Automation Events
The
Events
button on the
Automation Macros
screen opens the
Automation Events
screen, where
Events are configured.
Figure 55. Automation Events


