Using the printer
2-7
User’s Guide for Select™ Platinum Series™ Printers
6
Make sure print ribbon unwinds over the top of the print ribbon cartridge, not from
the bottom.
♦
Replace the print ribbon cartridge
1
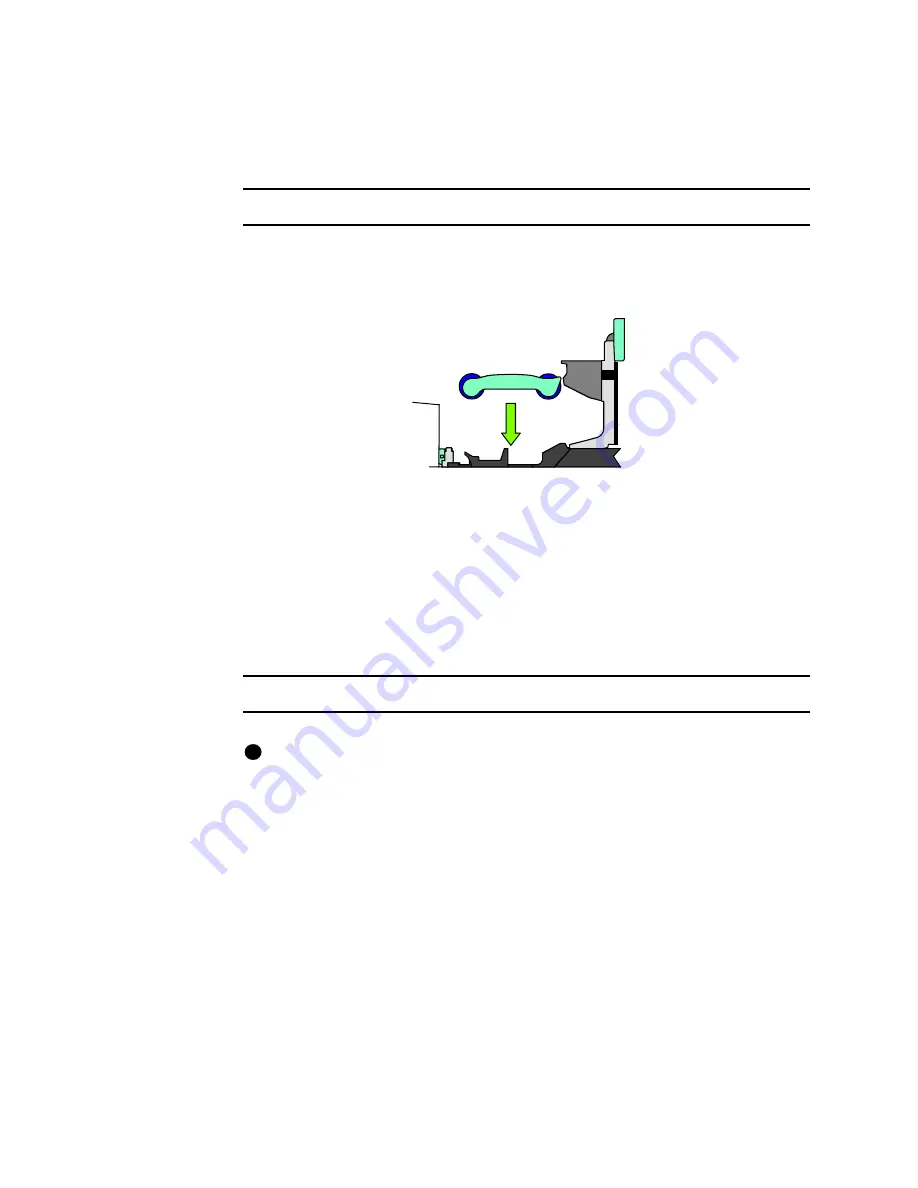
Place the ribbon cartridge onto the ribbon cartridge supports (see Figure 2-9).
Make sure the cartridge is securely seated. Avoid touching the printhead cartridge
and ribbon tracker.
Figure 2-9: Replace the print ribbon cartridge
2
Close the swing arm, pressing it down until the push latch clicks into place.
3
Close the cover.
♦
Powering on the printer and PC
Use the following procedure to power on the printer and attached PC.
Power on the printer and PC
If the printer is connected over a network using a print server, make sure the
driver is installed and configured on the PC before using it.
1
Make sure cards and all other supplies are loaded. See other sections of this
chapter for more information.
2
Remove any printed or rejected cards from the output stacker. See “Removing
cards” on page 2-12 for more information.
3
Make sure the power cord and data cable are connected. If needed, see
“Connecting cables” on page 7-3 for more information.
4
Press the printer Power switch to turn on power. Observe the printer status light
which lights with a sequence of colors and then becomes steady green. See
“Status light” on page 2-9 for more information. The printer initializes components
and makes audible sounds.
i
Summary of Contents for select series
Page 6: ...vi User s Guide for Select Platinum Series Printers...
Page 16: ...1 10 Overview User s Guide for Select Platinum Series Printers...
Page 32: ...2 16 Using the printer User s Guide for Select Platinum Series Printers...
Page 62: ...4 16 Maintaining the printer User s Guide for Select Platinum Series Printers...
Page 86: ...6 6 Before you install User s Guide for Select Platinum Series Printers...
Page 112: ...A 4 User s Guide for Select Platinum Series Printers...
Page 128: ...B 16 User s Guide for Select Platinum Series Printers...


