44
SP Series Style Guide
•
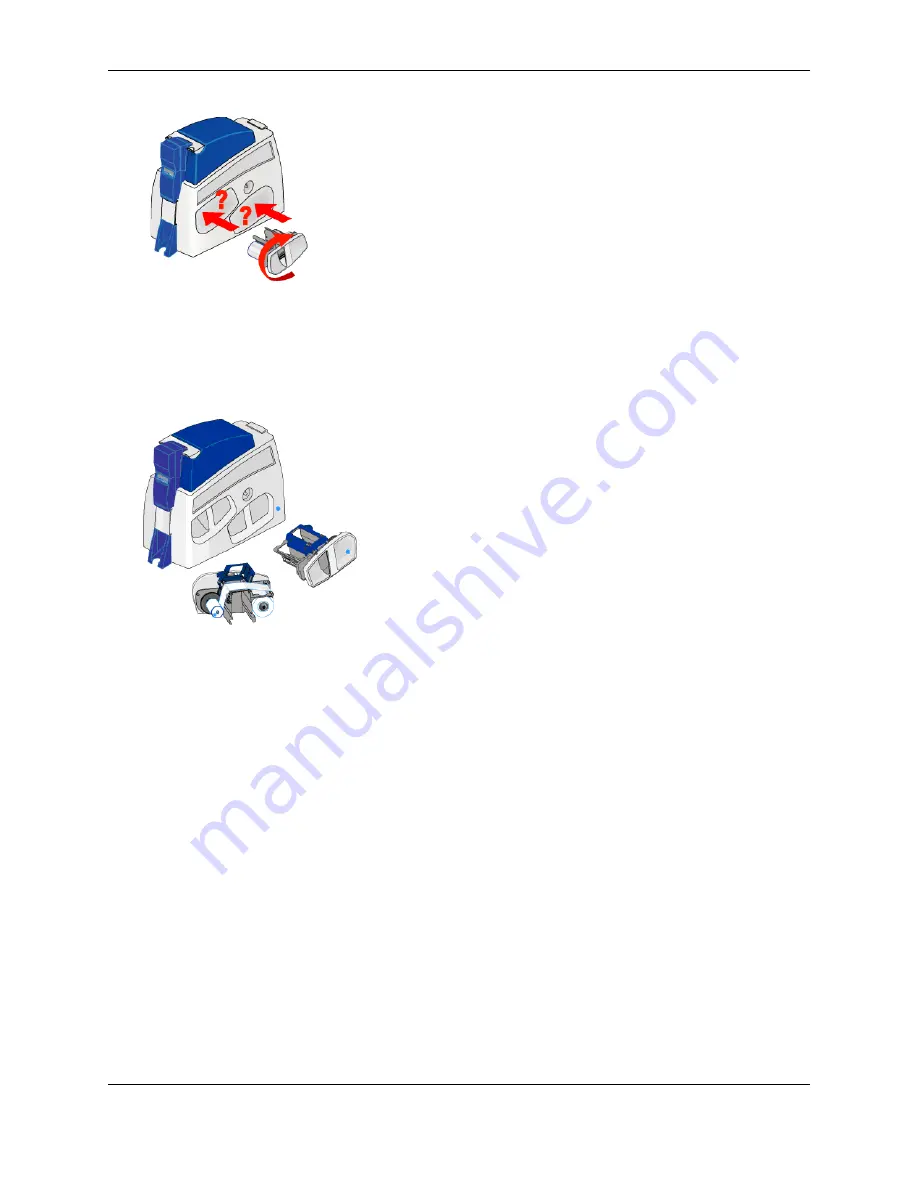
Printers with two laminators are shipped with colored dots, which you can use to mark the laminator location,
the cartridge, and supplies. (The dots shipped with your printer might have a different appearance than those
shown in the illustration.)
•
For best results, also sure to record the laminator location–L1 or L2–for each type of material and driver
settings.
Verify setup
When setting up the printer, print several test cards to determine how well the laminator applies material to your
card. You might need to print several cards before the laminator material is positioned correctly. The printer default
settings should provide very good results. However, several factors including your cards, the design, and your
environment can influence the appearance of cards.
•
Consider the following:
— The patch is completely on the card
— The material adheres well to the edges of the card
— The patch does not come off when the card is bent or twisted
If any of these conditions are present, you might need to change settings to provide the best possible results.
Ask your Datacard®-authorized service provider for guidance and then see
"Change laminator settings (SP75
for the steps to follow.
It can be helpful to establish card quality guidelines. One way to do this is to make sample cards and write the
quality standards directly on the cards.
Summary of Contents for Datacard SP35
Page 3: ...2 SP Series Install e Guide ...
Page 7: ...6 SP Series Install e Guide ...
Page 11: ...10 SP Series Install e Guide ...
Page 17: ...16 SP Series Install e Guide ...
Page 21: ...20 SP Series Install e Guide ...
Page 23: ...22 SP Series Install e Guide ...
Page 43: ...42 SP Series Install e Guide ...
Page 49: ...48 SP Series Install e Guide ...
Page 55: ...54 SP Series Install e Guide ...
Page 119: ...2 SP Series Production e Guide ...
Page 121: ...2 SP Series Production e Guide ...
Page 125: ...6 SP Series Production e Guide ...
Page 137: ...18 SP Series Production e Guide ...


