


168
Figure 4-160
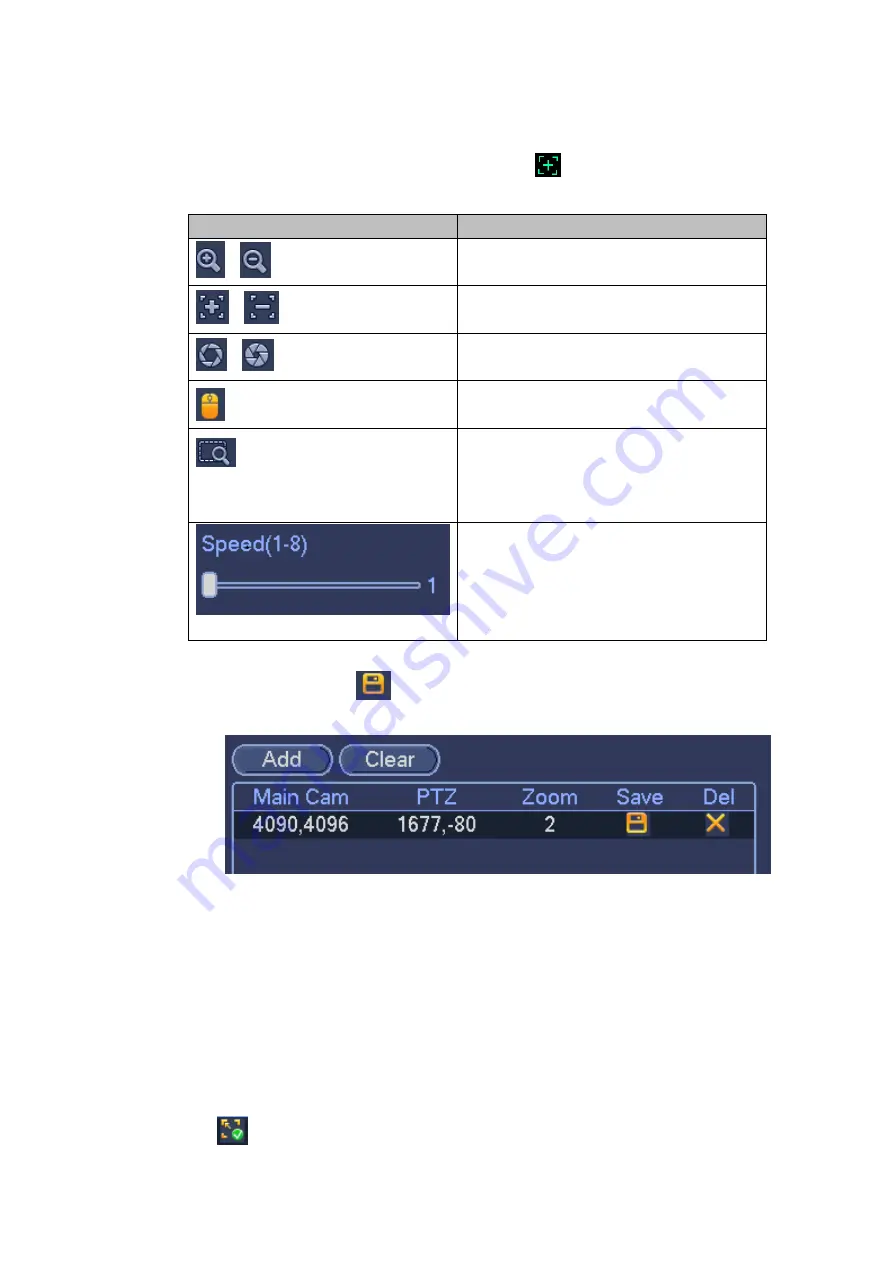
On the fish eye displayed zone, left click mouse or move
to confirm the position.
On the PTZ camera displayed zone, use the following buttons to adjust the PTZ camera position.
Button
Function
、
Zoom
、
Focus
、
Iris
Electronic mouse, move it on the interface
to control the PTZ direction.
Fast positioning button. Click it first and
then click any position in the video. Left
click mouse, you can view the video from
the specified position.
It is to control PTZ movement speed. The
higher the value is, the faster the speed
is.
For example, the step 8 speed is faster
than step 1.
Click add button and then click
to save.
Now you complete one group position, you can view at the list. See Figure 4-161.
Figure 4-161
Repeat the above steps to set at least three group positions.
Note
For one PTZ camera, there must be three calibration groups. System max supports 8 group
positions. Please make sure the calibration position is accurate.
For the first calibration group position, please select the reference objects at the far distance to
enhance the trigger accuracy.
Click OK button to complete the calibration setup, you can go back to the smart track interface, the status
is shown as
.
Summary of Contents for HCVR82**A-S3 Series
Page 1: ...Dahua HDCVI Standalone DVR User s Manual Dahua HDCVI Standalone DVR User s Manual V1 1 0 ...
Page 84: ...72 Figure 4 44 Figure 4 45 ...
Page 102: ...90 Figure 4 73 Figure 4 74 ...
Page 104: ...92 Figure 4 76 Figure 4 77 ...
Page 120: ...108 Figure 4 93 Check a file name double click file or click to play ...
Page 158: ...146 Figure 4 135 Figure 4 136 ...
Page 167: ...155 Figure 4 145 Click Draw button to draw the tripwire See Figure 4 146 Figure 4 146 ...
Page 183: ...171 Figure 4 162 Figure 4 163 ...
Page 190: ...178 Figure 4 171 Figure 4 172 ...
Page 191: ...179 Figure 4 173 Figure 4 174 ...
Page 199: ...187 4 186 and Figure 4 187 Figure 4 186 Figure 4 187 ...
Page 275: ...263 Figure 5 60 Figure 5 61 ...
Page 289: ...277 Figure 5 77 Click to draw the rule See Figure 5 78 Figure 5 78 ...
Page 349: ...337 ...
Page 358: ...346 the sound ventilation Please check and maintain the device regularly ...
Page 360: ...348 896K 393M 1024K 450M 1280K 562M 1536K 675M 1792K 787M 2048K 900M ...
Page 376: ...364 ...


