User's Manual
287
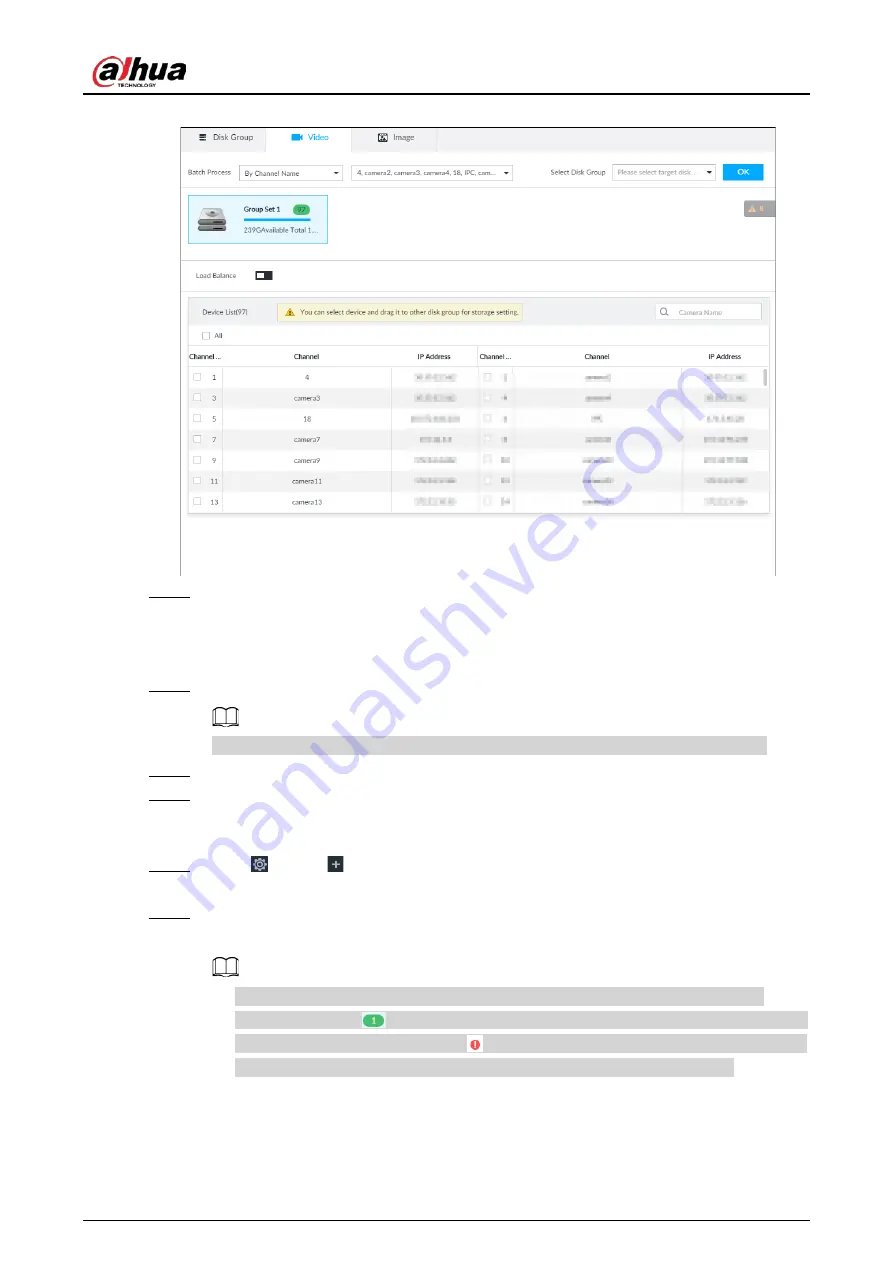
Figure 8-82 Video
Step 2
Select filtering way from the Batch Process drop-down list.
●
By Channel Name: Select channel according to the channel name.
●
By Logical Channel No.: Select channel that is connected to the Device. In this case,
Start Channel No. and End Channel No. need to be configured.
Step 3
In the Select Disk Group drop-down list, select target disk group.
In the drop-down list, only disk group with available HDD or RAID group is displayed.
Step 4
Click OK.
Step 5
Disk grouping takes effect immediately.
Method 2: Dragging Channel
Step 1
Click
, or click
on the configuration page, and then select VIDEO RECORDING >
Storage Mode > Video.
Step 2
Click a disk group.
The linked channels of the disk group are displayed in Device List.
●
Only disk group with available HDD or RAID group or linked channel is displayed.
●
The value (such as
) next to the group name refers to the number of HDD and RAID
group in the disk group. If instead,
is displayed, it means no available HDD or RAID
group in the disk group, but there is video or image stored in the disk group.


