Chapter 4. Web Interface Configuration
9
Web Management Interface
The DSA-3600 provides a web management interface for configuration. After completing the hardware installation,
the administrator can configure the DSA-3600 via web browsers with JavaScript enabled such as Internet Explorer
version 6.0 or above.
After the basic installation has been completed according to the instructions of the previous chapter, the DSA-3600
can further be configured with the following steps:
1.
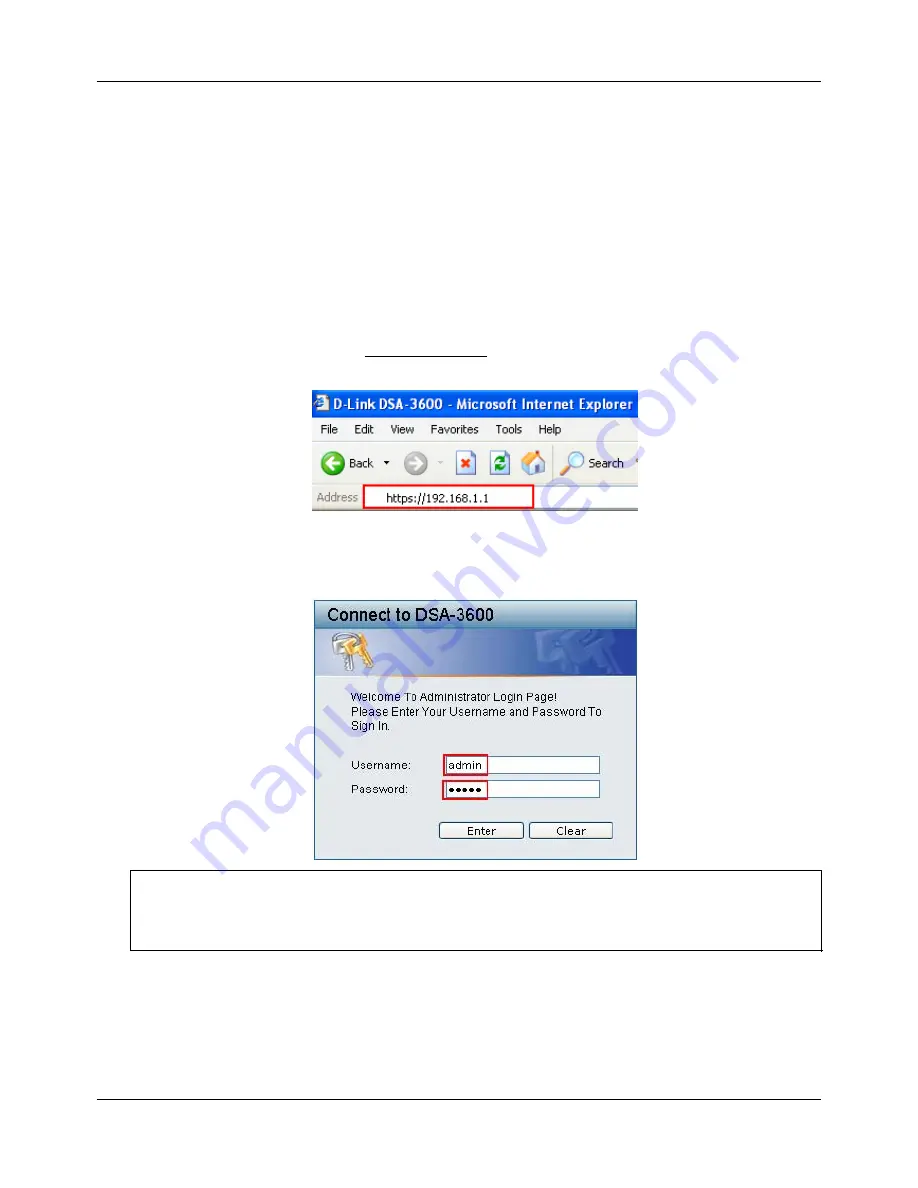
First, set a PC as DHCP in the network with TCP/IP setting to get an IP address from the DHCP server
automatically. Next, connect the PC to the DSA-3600 via any LAN port. An IP address will be assigned to the PC
automatically via the DSA-3600 built-in DHCP server. Launch a web browser to access the web management
interface of DSA-3600 by entering
“https://192.168.1.1”
in the URL. (Note:
https
is used for a secured
connection.)
Once the DSA-3600 has been connected, the Administrator Login Page will appear. Enter “
admin
” for both the
default username and password in the Username and Password fields. Select the
Enter
button to log in.
Caution: If you are unable to get to the login screen, please check the IP address used. The IP address should
be in the same subnet of the default gateway. For using static IP in TCP/IP setting, set a static IP address such
as 192.168.1.x for your network interface and then open a new browser again.
Summary of Contents for DSA-3600
Page 1: ...DSA 3600 User Guide Version DSA 3600 3 00 December 2007 ...
Page 6: ......
Page 22: ...Chapter 4 Web Interface Configuration 16 ...
Page 24: ...Chapter 4 Web Interface Configuration 18 ...
Page 39: ...Chapter 4 1 System 33 An example of Template Login Page ...
Page 121: ...Chapter 4 4 Network 115 ...
Page 143: ...Chapter 4 6 Tools 137 Figure 4 6 1a An example using Tag Based service zones ...


