The Quality setting determines the quality of your
recordings as well as the maximum amount of video you
can record on a disc. Not surprisingly, the higher the
quality, the less video can be recorded.
HQ
(High Quality)
Highest
1 HR
SP
(Standard Play)
Excellent
2 HRs
LP
(Long Play)
Very Good
3 HRs
EP
(Extended Play)
Better than VHS
4 HRs
EP+
(Ex)
Equal to VHS
6 HRs
SLP
(Super-Long Play) Lower than VHS
8 HRs
There are several recording options and other settings
that should be understood and checked before you
begin recording.
Mode
Quality
Max Time
1
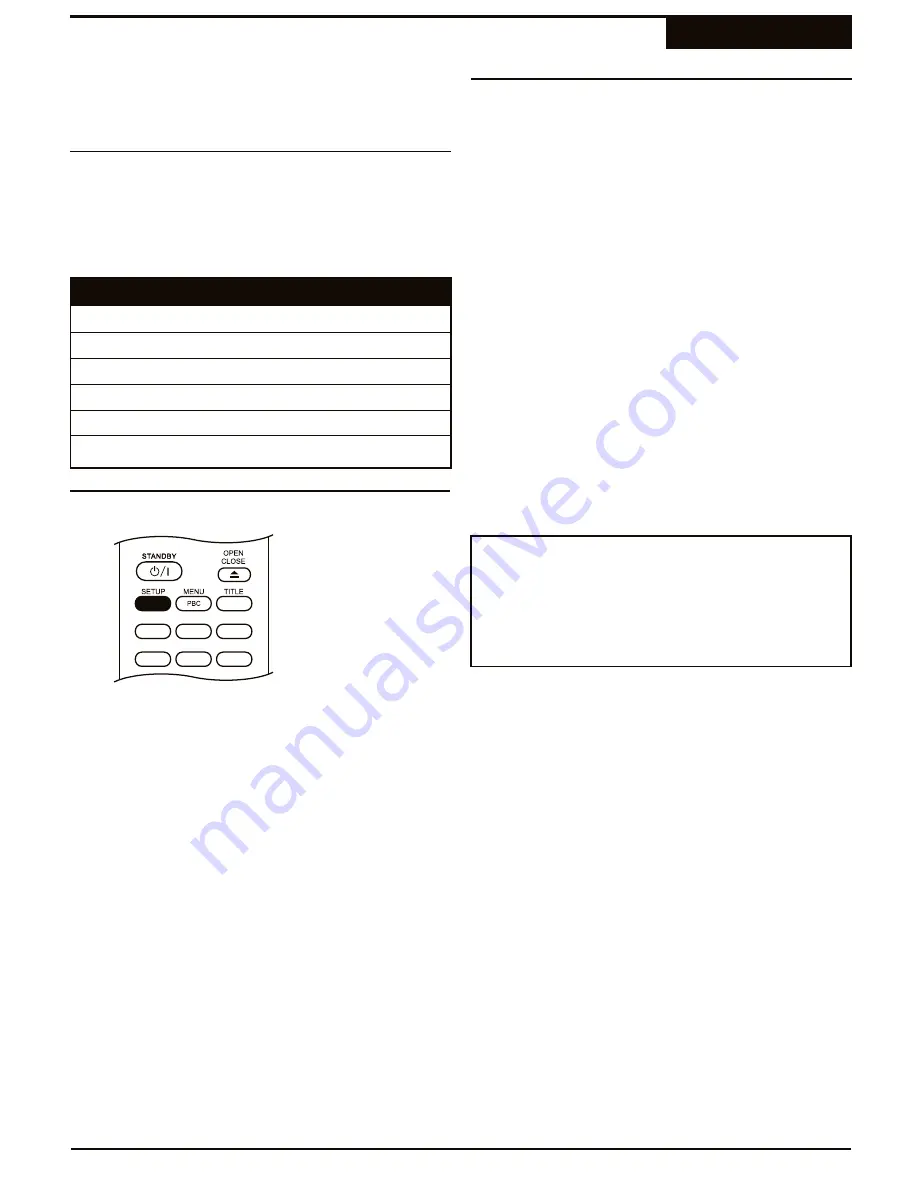
Press
SETUP
to enter the SETUP MENU.
ANGLE
GOTO
SUBTITLE
MUTE
AUDIO
DISPLAY
2
Select the RECORDING menu with the
5
/
6
keys
and press
ENTER
.
3
The RECORDING menu appears. Use the
3
/
4
keys to select the Quality setting you wish to use.
4
Press
SETUP
to exit.
You can set the recorder to automatically add a "Chapter
Marker" every 5 minutes during your recordings. This
allows you to divide your recordings into sections, or
Chapters, that provide the user-friendly navigation made
popular on motion picture DVDs. During playback, this
will allow you to skip backward or forward in 5 minute
intervals by using the
9
/
:
keys on the remote. These
chapter markers are compatible with most standard DVD
Players as well.
1
Press
SETUP
to enter the SETUP MENU.
2
Select the RECORDING menu with the
5
/
6
keys
and press
ENTER
.
3
The RECORDING menu appears. Use the
5
/
6
keys to select the AUTO CHAPTER MARK option.
4
Use the
3
/
4
keys to select an Auto Chapter
Interval of 5, 10 or 15 minutes, or turn this feature
OFF.
5
Press
SETUP
to exit.
¤
You can also add chapter markers manually with the
CHAP MARK
button on the remote. Simply press
CHAP MARK
during while a recording is in progress
to add a chapter marker.
Notes on Auto Chapter
Setting Recording Options
Recording
Recording Quality Setting
Changing the Quality Setting
Adding Chapter Markers
34


