You can record your own DVDs from the following
sources:
!
TV Tuner
- This unit features a built-in TV Tuner that
can be connected to a Cable TV hookup or standard
Antenna to record your favorite TV shows. You can
auto-scan for available channels and add or delete
channels from the channel list.
!
AV Inputs
(Composite/S-Video) - Use the
Audio/Video Inputs to record from consumer
electronics devices such as your Camcorder or Video
Camera. You can also connect external TV Tuners,
DVD Players, etc. to the A/V inputs - basically any
video device that has a S-Video or Composite Video
Output.
!
DV IN
- Use the front panel's DV Input to connect
camcorders supporting the DV interface.
Each Recording you make, whether Live or Scheduled,
creates a new TITLE on the disc. Each Title is further
divided into CHAPTERS, which are section markers that
can be created in two ways:
!
When you press the
CHAP MARK
button during a
live recording.
!
Automatically when the option AUTO CHAPTER
MARK is set to 5, 10 or 15 minutes in the DVD
Recorder's SETUP MENU. By default, this setting
creates a Chapter Marker every 5 minutes during a
recording.
Chapters allow you to navigate the disc with the
9
and
:
keys on the remote control, skipping backward or
forward in time increments determined by how the
chapter markers were created.
¤
You cannot record from a video source that is
encoded with Macrovision copy-protection, such as
most DVDs produced by major studios.
As an example, if you have a DVD player connected
to an AV input and attempt to record a DVD, an error
message will occur, letting you know that the disc is
copy-protected. DVDs not encoded with Macrovision
can be used as a recording source.
Notes on Copy Protection
Recording Sources and Types
Recording
What You Can Record From
About Titles and Chapters
There are two recording methods you can use:
!
LIVE RECORDING
- You start a live recording by
simply pressing the
REC
button while viewing video
from an input source, such as the TV Tuner or AV
Inputs. You control the length of a live recording by
pressing REC multiple times for 30 minute intervals or
by pressing STOP to end the recording. A live
recording will end automatically if the disc is full.
!
TIMER RECORDING
- You can also schedule a
recording to automatically begin at a particular Date
and Time using the DVD Recorder's built-in TIMER
function. Recordings can be scheduled to re-occur
once a week or daily.
Types of Recordings
33
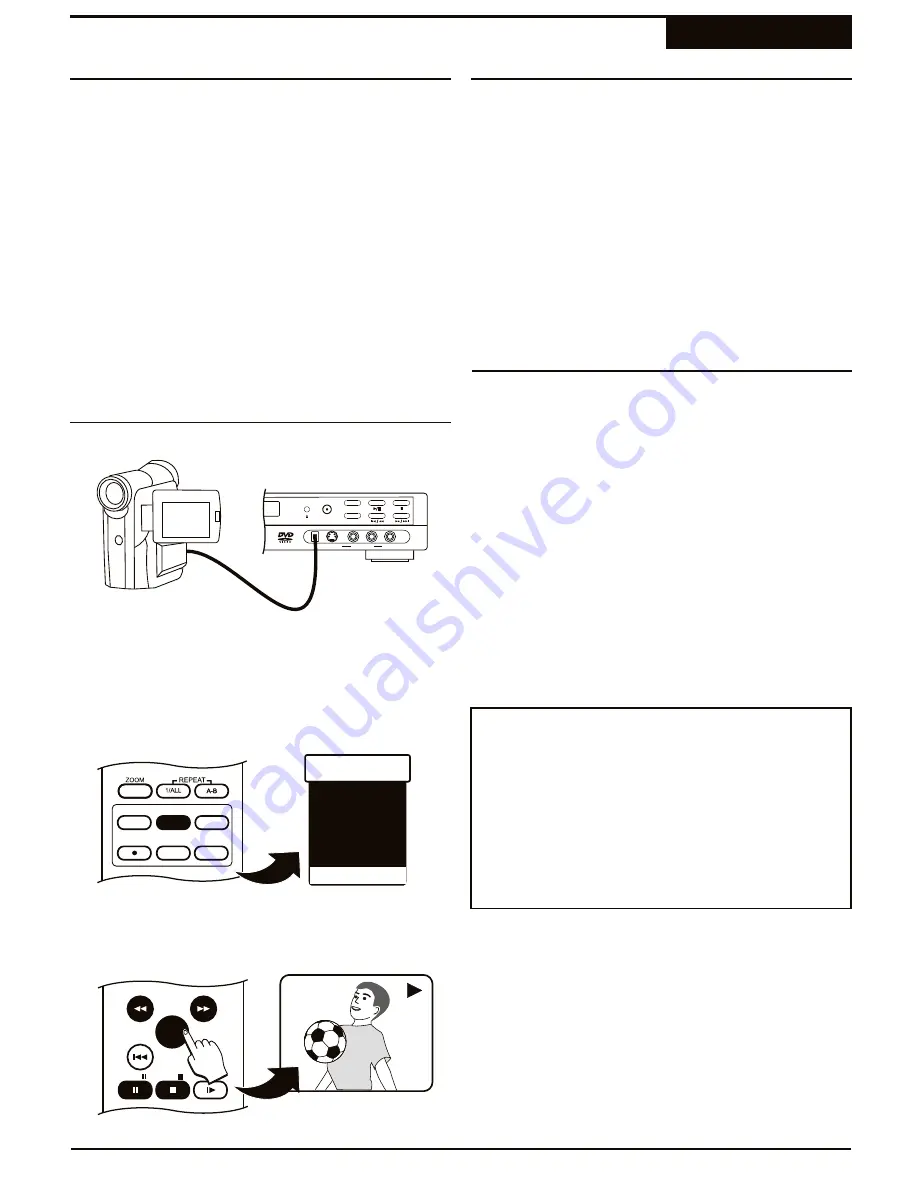
Controlling a DV Camcorder
TM
S-VIDEO IN 2
VIDEO IN 2
L
R
AUDIO
DVD / TV LIVE
SOURCE
RECORD
DV IN
DVD/TV LIVE SOURCE REC MODE
REC
CHAP MARK
TIMER
TV
Line In
VIDEO IN 1
S-VIDEO IN 1
VIDEO IN 2
S-VIDEO IN 2
DV IN
1
Connect the camcorder to the DV INPUT using a
Digital Video (also called 1394 or Firewire) Cable.
You can use this unit's remote to control most
camcorders that support the DV interface.
2
Press
SOURCE
and use the
5
/
6
keys to select
DV IN. Press
ENTER
.
3
You can now control the DV camcorder with this
unit's remote. Available functions are:
PLAY
,
STOP
,
FF/FR
and
PAUSE
.
PLAY
REC
REC


