Configuring Phone Lines and Calling Routing Behavior
Managing Inbound Calls with Shared Line Appearances
SPA9000 Voice System Administration Guide
100
4
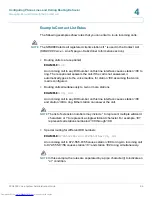
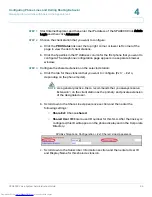
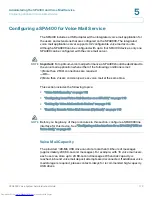
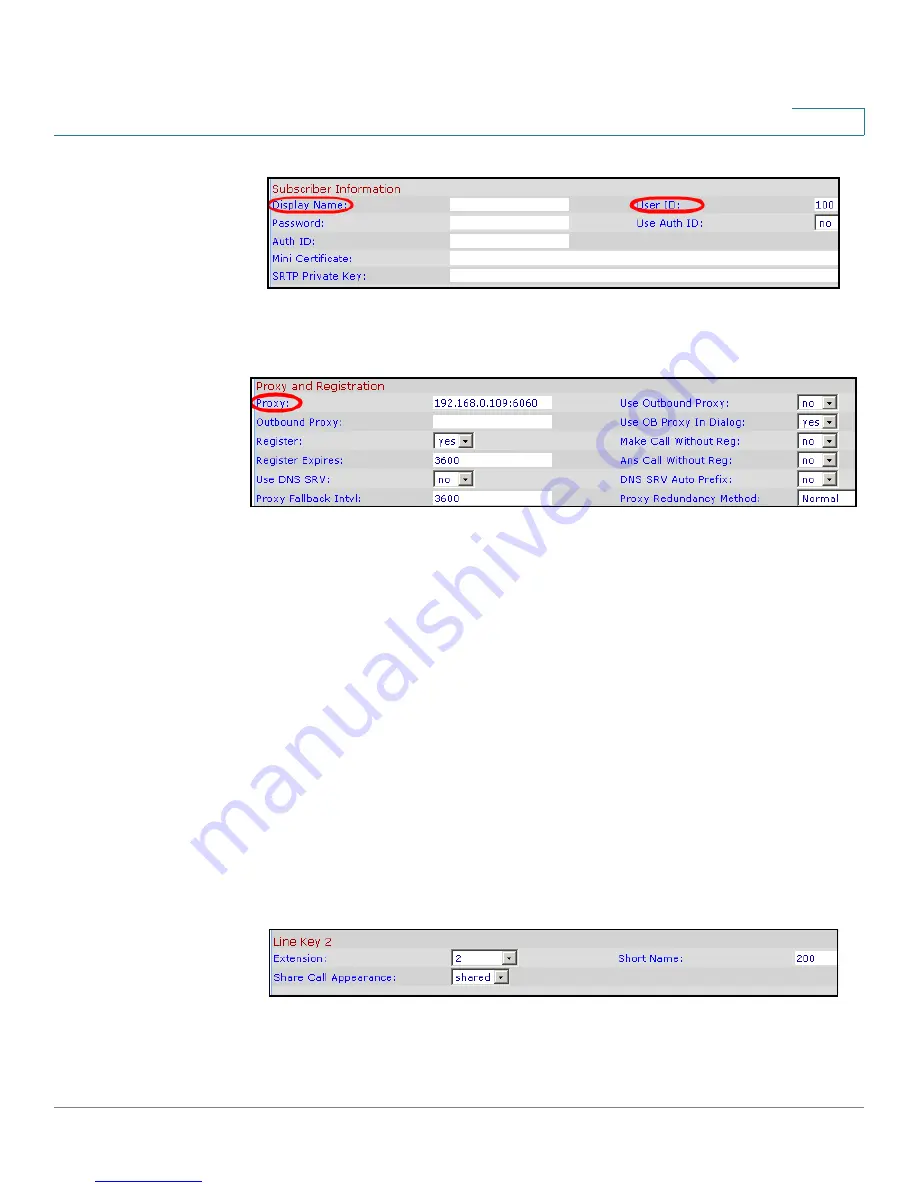
SPA9xx Telephone Configuration > Ext: Subscriber Information
d. Scroll down the
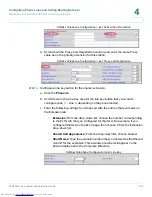
Proxy and Registration
section, and enter the same
Proxy
value as on the primary extension for this station.
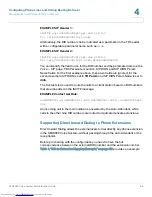
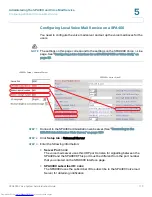
SPA9xx Telephone Configuration > Ext: Proxy and Registration
STEP 4
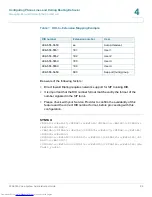
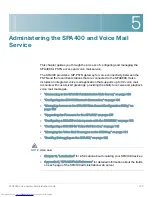
Configure a line key button for the shared extension:
a. Click the
Phone
tab.
b. Scroll down to the
Line Key
area for the line key button that you want to
configure (
Line 1
...
Line n
, depending on the phone model).
c. Enter the following settings to correspond with the entries that you made on
the Extension tab:
-
Extension:
From the drop-down list, choose the number corresponding
to the
Ext N
tab that you configured for this SLA. For example, if you
configured the SLA on the
Ext 2
page, then choose 2 from the
Extension
drop-down list.
-
Shared Call Appearance:
From the drop-down list, choose shared.
-
Short Name:
Type the extension number that you entered as the
Shared
User ID
for the extension. This extension number will appear on the
phone display and in the Corporate Directory.
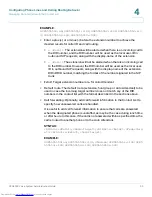
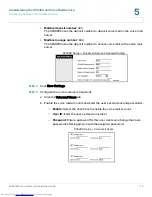
SPA9xx Telephone Configuration: Ext: Line Key
Downloaded from
www.Manualslib.com
manuals search engine

