


Chapter 6
Applying Formats for Data Editing
2. Read the “
” barcode on page 263 for the desired field length.
3. Read the “Validate” barcode on the same page to complete this setting.
Additional Fields
Up to five additional fields can be created for each editing format; each of them is numbered from AF1
to AF5 accordingly.
If “BT HID”, “USB HID” or “Keyboard Wedge” is configured for interface, Key Type and Key Status
will then become applicable. You may decide whether or not to apply Key Status when “Normal
Key” is selected for Key Type.
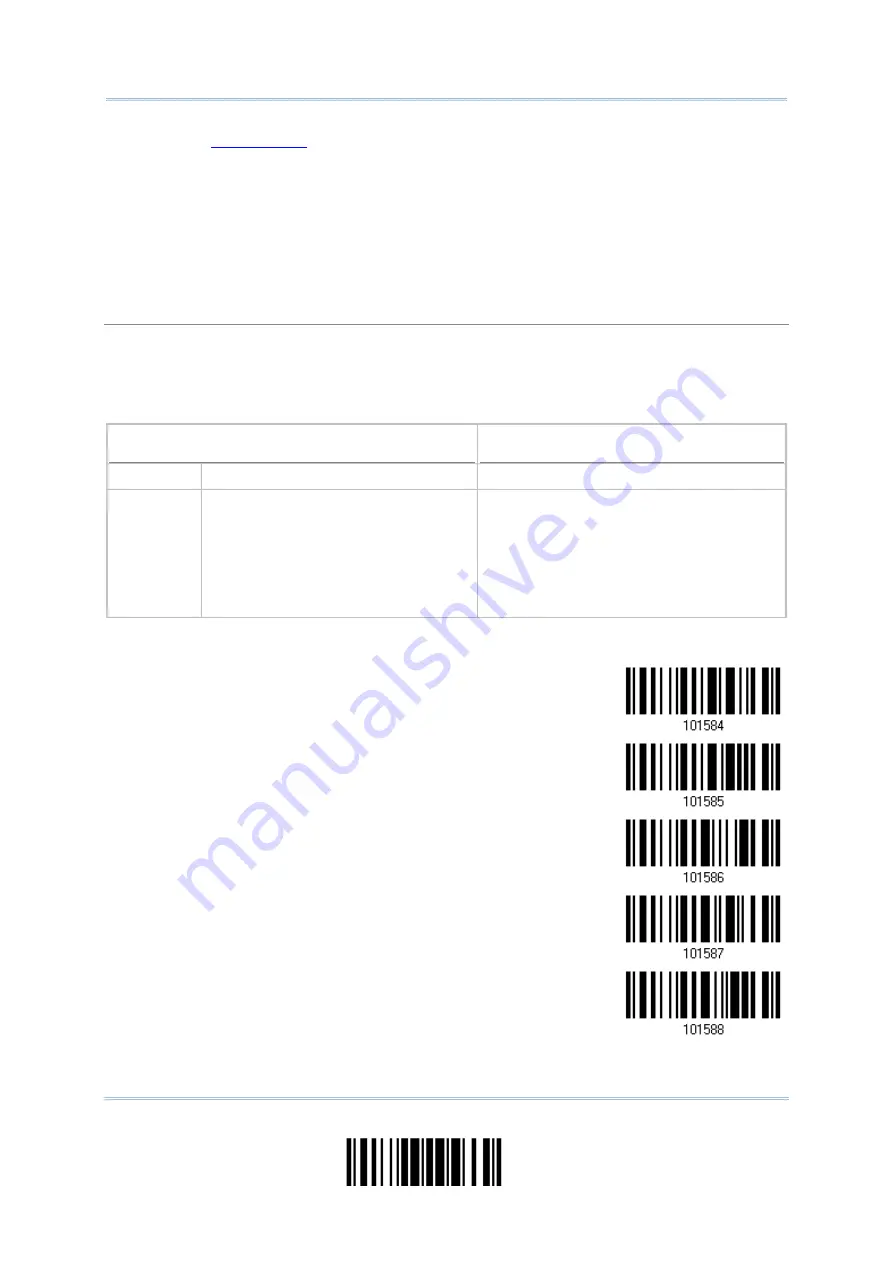
Key Type
Key Status
Scan Code Up to 2 scan code values are allowed. N/A
Normal Key Up to 4 character strings are allowed.
Add Shift
Add Left Ctrl
Add Left Alt
Add Right Ctrl
Add Right Alt
Refer to Keyboard Wedge Table.
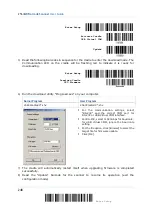
1. Read the barcode below to specify an additional field, one at a time.
Additional Field 1…
Additional Field 2…
Additional Field 3…
Additional Field 4…
Additional Field 5…
233
Update
Summary of Contents for 2564MR
Page 1: ...2564MR Barcode Scanner Setup barcodes included Version 1 00...
Page 6: ...Version Date Notes 1 00 Jan 09 2017 Initial release...
Page 124: ...Chapter 3 Setting up a WPAN Connection BT SPP Connected BT SPP Disconnected 113 Update...
Page 128: ...2564MR Barcode Scanner User Guide 4 2 CODE 25 INDUSTRIAL 25 Enable Disable 118 Enter Setup...
Page 140: ...2564MR Barcode Scanner User Guide 4 9 CODE 93 Enable Disable 130 Enter Setup...


