10 Printer Hardware Settings
36
NUMERIC
< CAL: PRINTER SPEED >
Print Speed (1-5) :[1]
1= Fastest, 5= Slowest
The printer has run for 20.532 Meters
Use FEED key to test
Press ALT for Auto Setup
NUMERIC
< SET: LABEL TYPE >
Type (0-2):[0] 57mm X 99mm Labels
Width (25-80): [60] mm= 2.362 inches
Length 40 mm= 1.574 inches
Gap 3 mm= 0.118 inches
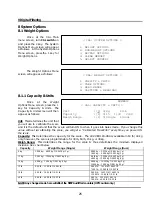
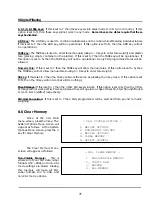
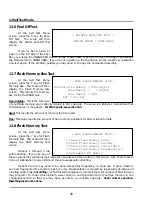
10.3 Print Speed
At the Printer Hardware
Settings Menu screen, press the 2
key for Print Speed. The Print
Speed screen will then appear.
If you press ENTER or SAVE,
the scale will print a TPH (Thermal
Print Head) test label at the
indicated speed and return to the
previous screen.
Speed 1 is 4”/second (100 mm/sec); speed 5 is approximately 2”/second (50 mm/sec.)
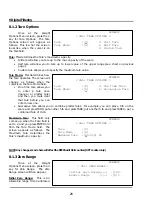
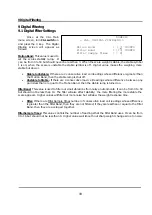
10.4 Printer Odometer
At the Printer Hardware
Settings Menu screen, press the 3
key for Printer Odometer. The
Printer Odometer screen will then
appear.
If you press FEED you will
see the odometer change.
This feature is useful to keep track of TPH (Thermal Print Head) life and printer wear & tear. If you
replace a TPH, you can write down the odometers value at the time of replacement so that if the new
TPH were to fail too soon, you would be able to tell how long that TPH was actually used for.
To exit, press the ESC key and the scale will return to the previous screen.
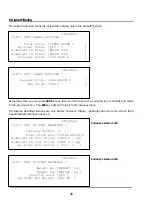
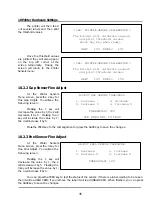
10.5 Label Type
At the Printer Hardware
Settings Menu screen, press the 4
key for Label Type. The Label
Type screen will then appear.
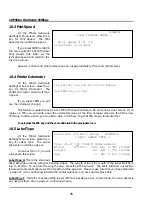
For Label Type = 0, you will
always see this screen.
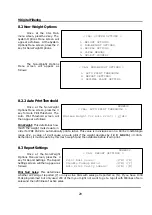
Label Type 0:
This is the standard
fixed sized label media with liner backing paper. The Length value is the length of the label itself from
top to bottom. To capture the Length value, press the ALT key twice. The scale will feed out several
labels and automatically detect the length and the gap size. Please make sure that you have standard
“gapped” (non-continuous) labels in the printer whenever you execute this procedure.
Label Type 1
: This is for continuous strip labels with liner backing paper. In this mode, the Gap Sensor is
not used as there are no gaps on continuous media.
Summary of Contents for LP-2G
Page 2: ......
Page 8: ......
Page 11: ...1 General 3 Note Specifications are subject to change without notice ...
Page 46: ...11 Network Options 38 11 Network Options Refer to Network manual ...
Page 66: ...16 Troubleshooting 58 16 2 Versioning Changes ...
Page 69: ...17 Schematic Diagrams 61 17 3 Main PCB ...
Page 70: ...17 Schematic Diagrams 62 17 4 Ethernet Memory Expansion PCB ...
Page 71: ...17 Schematic Diagrams 63 17 5 Power Supply PCB ...
Page 72: ...18 Exploded Views 64 18 Exploded Views 18 1 Scale ...
Page 73: ...18 Exploded Views 65 18 2 Printer Assembly ...
Page 74: ......
Page 89: ...Appendix C 85 ...
Page 90: ...Appendix C 86 ...
Page 91: ...Appendix C 87 ...
Page 92: ...Appendix C 88 ...
Page 93: ...Appendix C 89 ...
Page 94: ...Appendix C 90 ...
Page 95: ...Appendix C 91 ...
Page 96: ...Appendix C 92 ...
Page 97: ...Appendix C 93 ...
Page 98: ...Appendix C 94 ...
Page 99: ...Appendix C 95 ...
Page 100: ...Appendix C 96 ...
Page 101: ...Appendix C 97 ...
Page 102: ...Appendix C 98 ...
Page 103: ...Appendix C 99 ...
Page 104: ...Appendix C 100 ...


